Customers
This guide provides step-by-step instructions on how to manage customer settings within Bookified. It covers importing/exporting customer lists, adding customers manually, viewing/editing/deleting customer profiles, and deleting multiple customer profiles simultaneously. It also highlights the importance of customer registration and password security. This guide is essential for anyone wanting to efficiently manage their customer database.
- Navigate to the Customers menu to see a complete list of all customers.

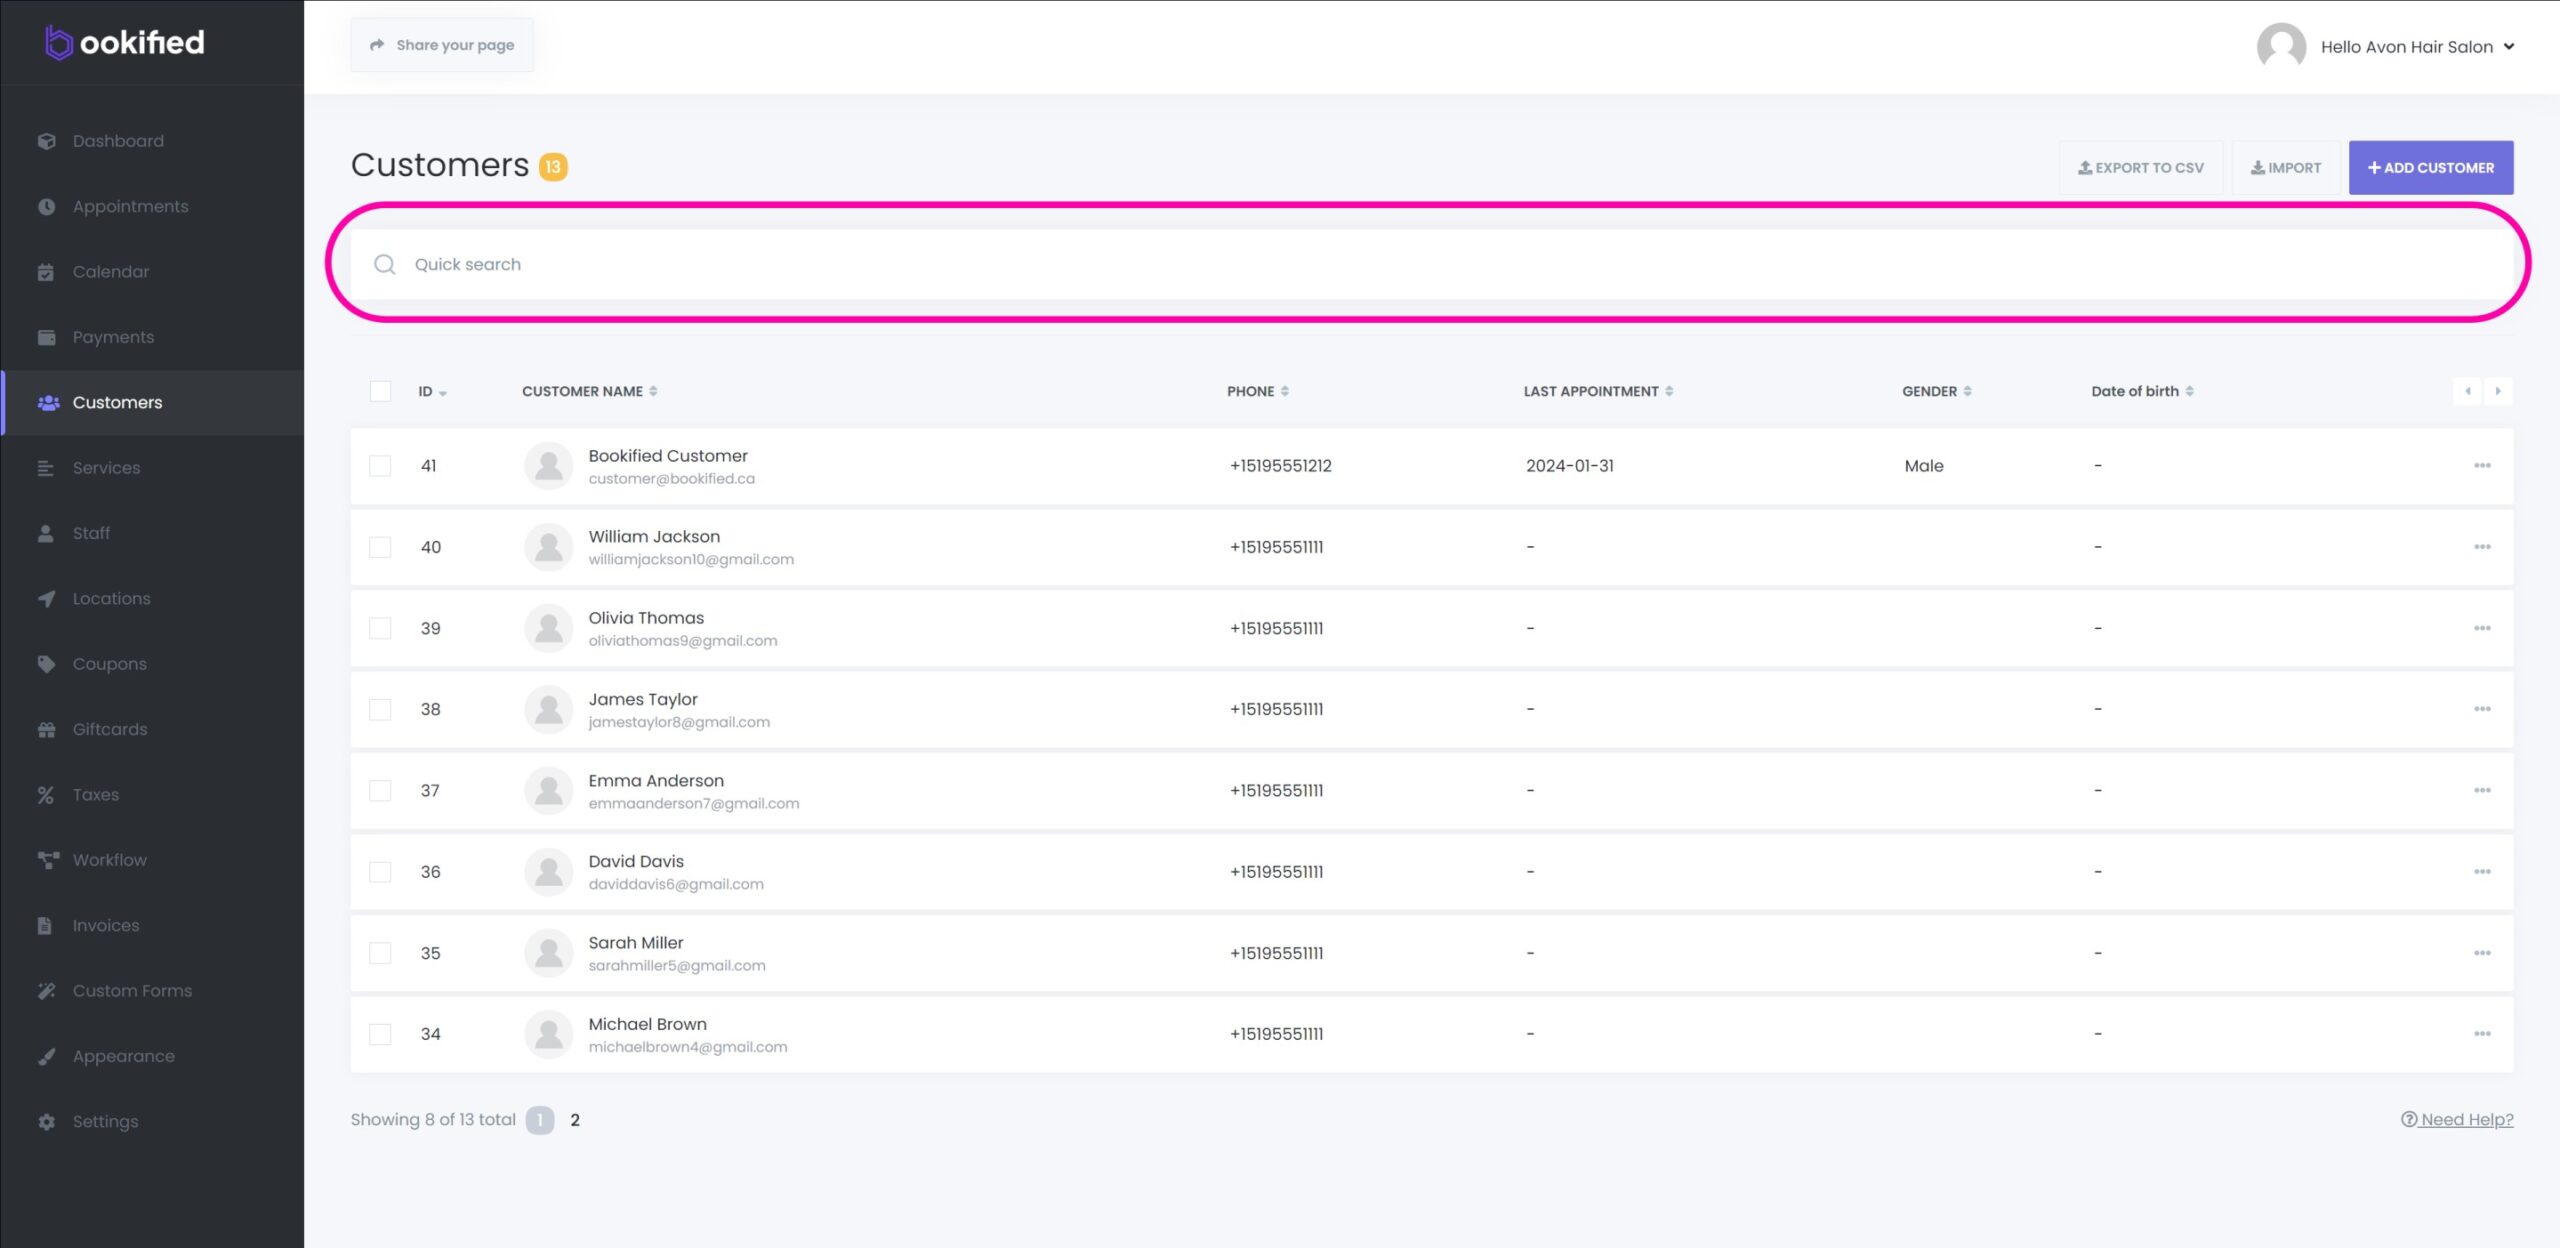
Quick Search
- Customers is equipped with a quick search filter, allowing you to efficiently search for customers by name, email, or phone number.
Import & Export Customers
-
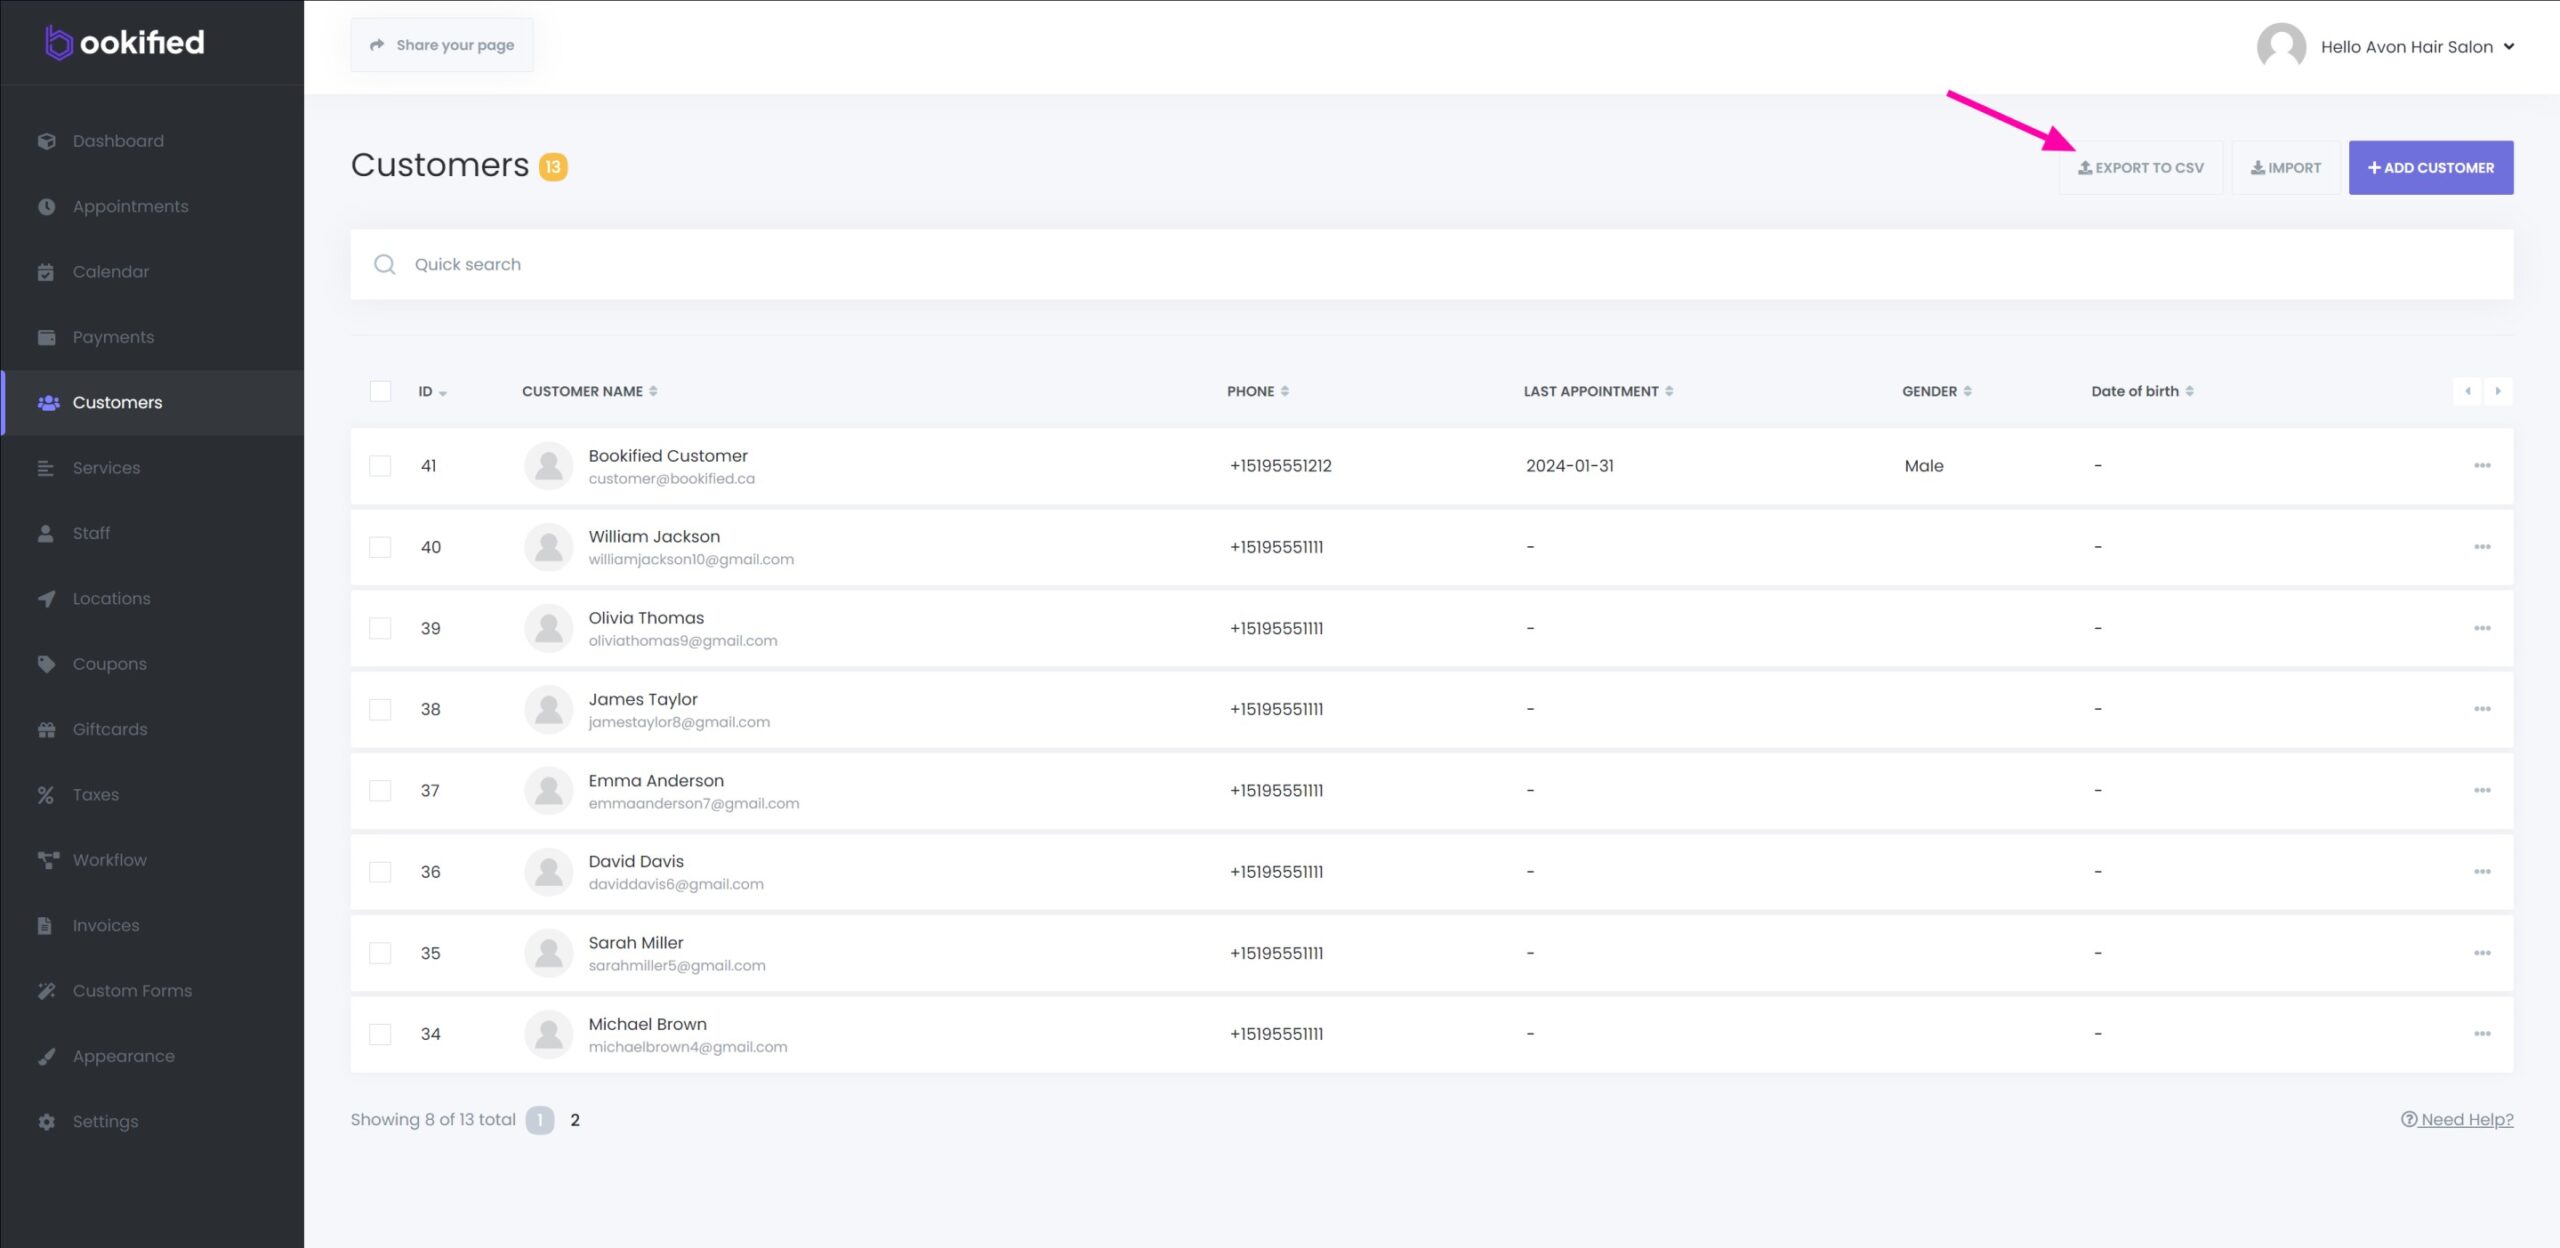
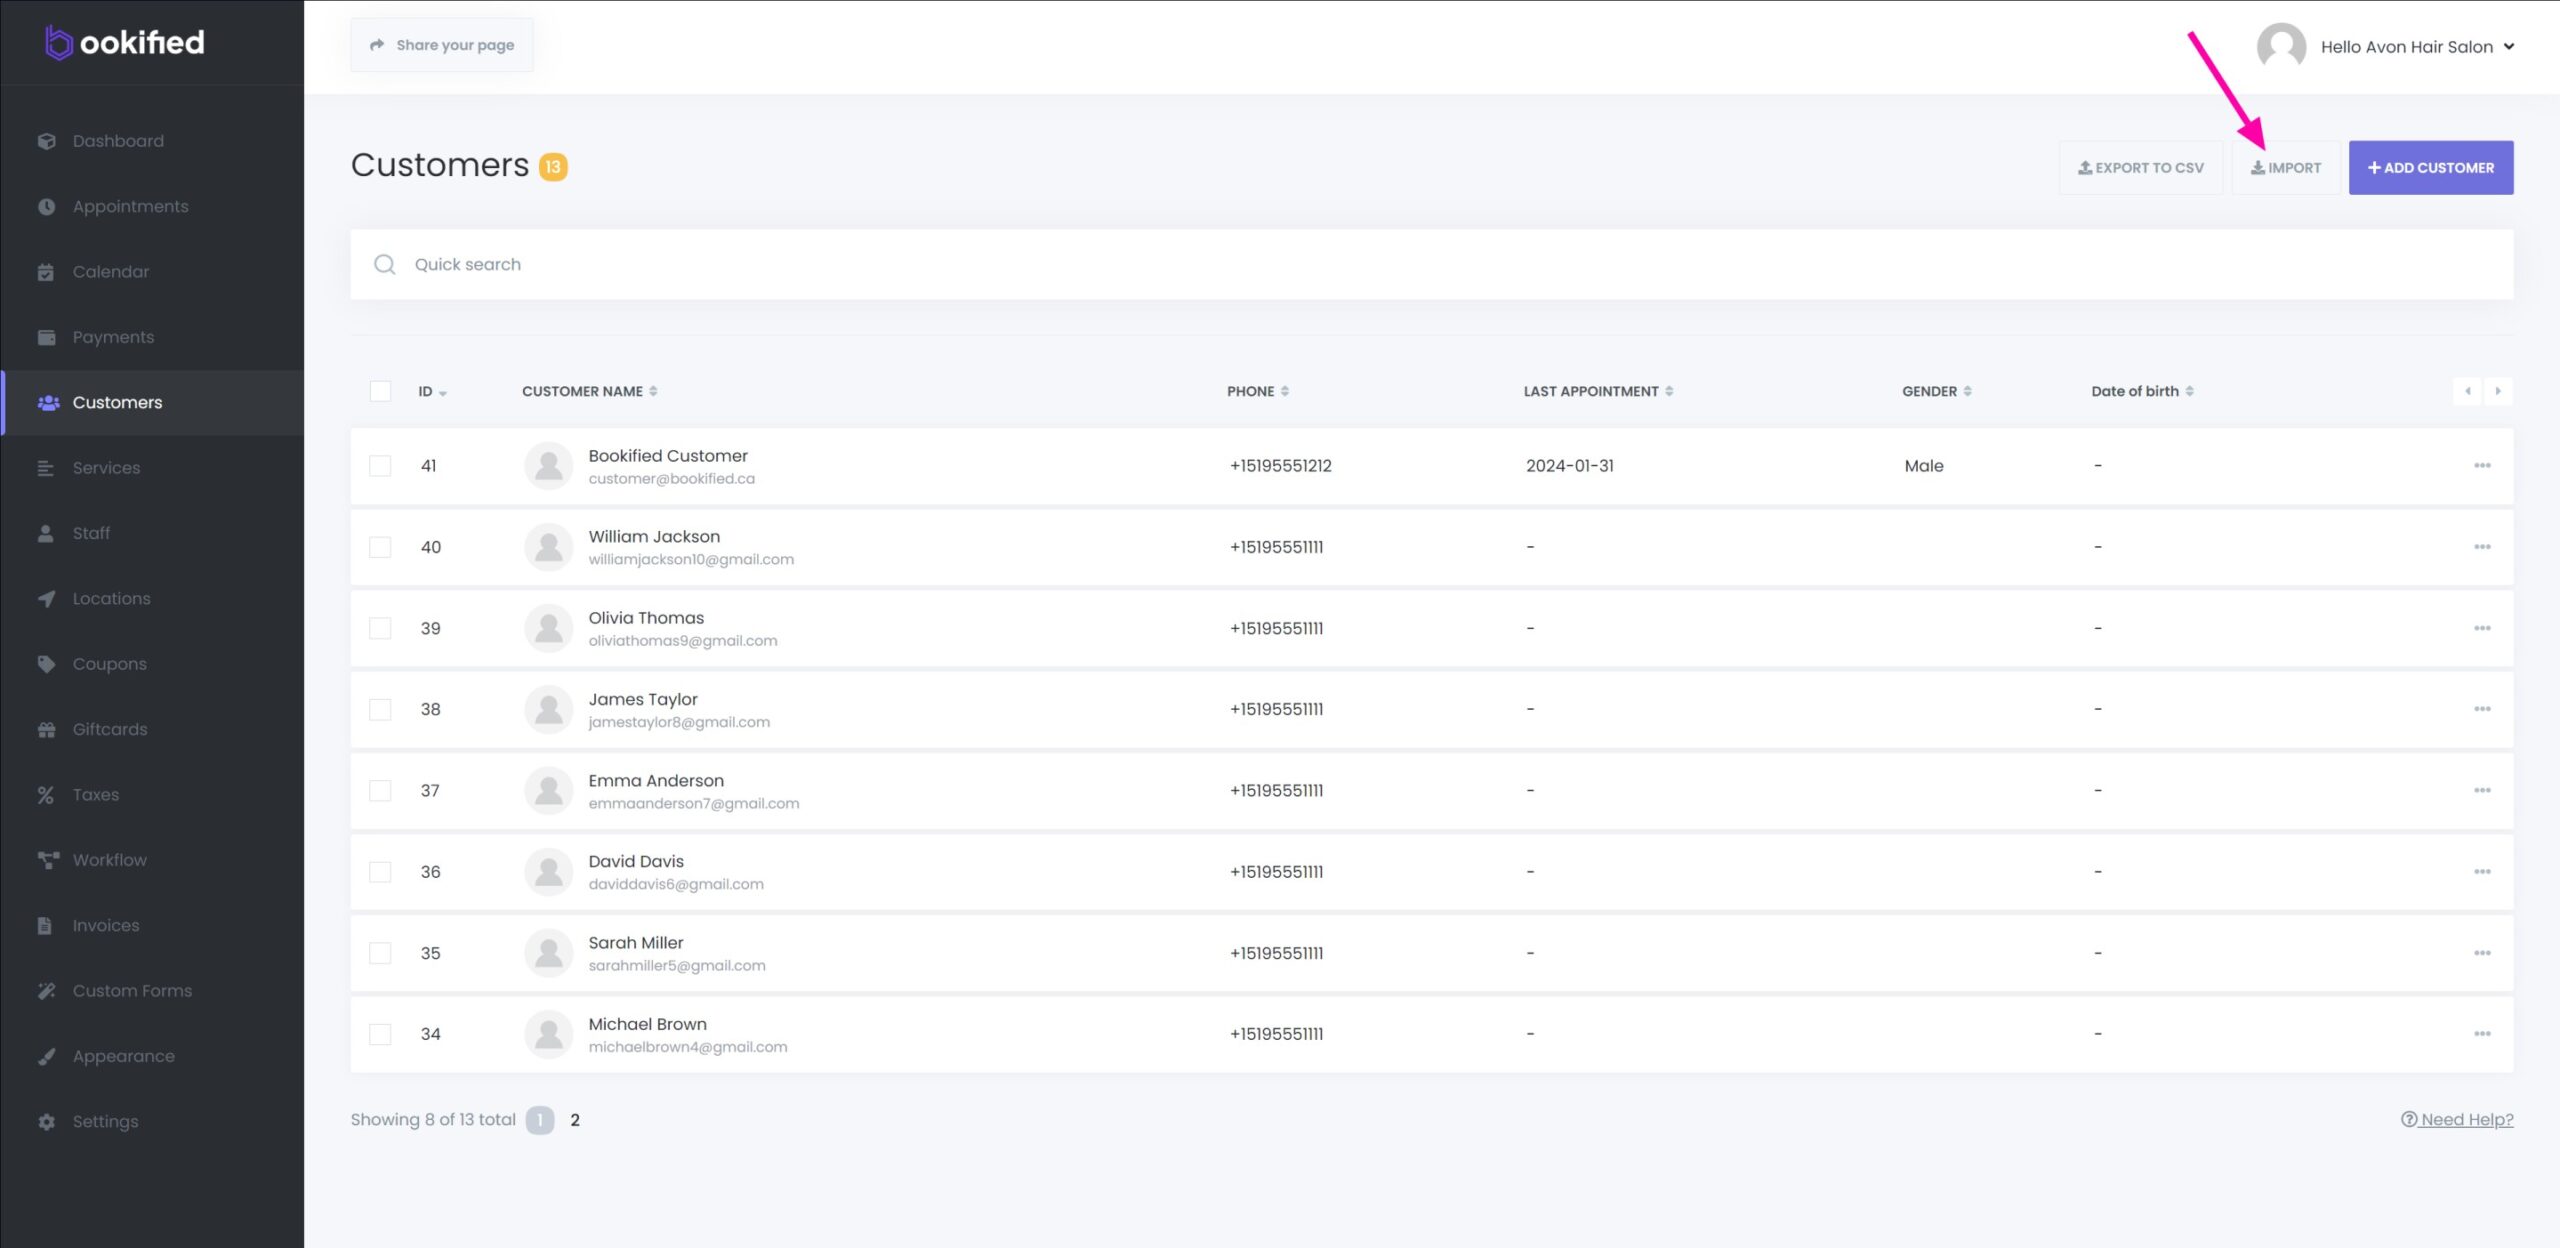
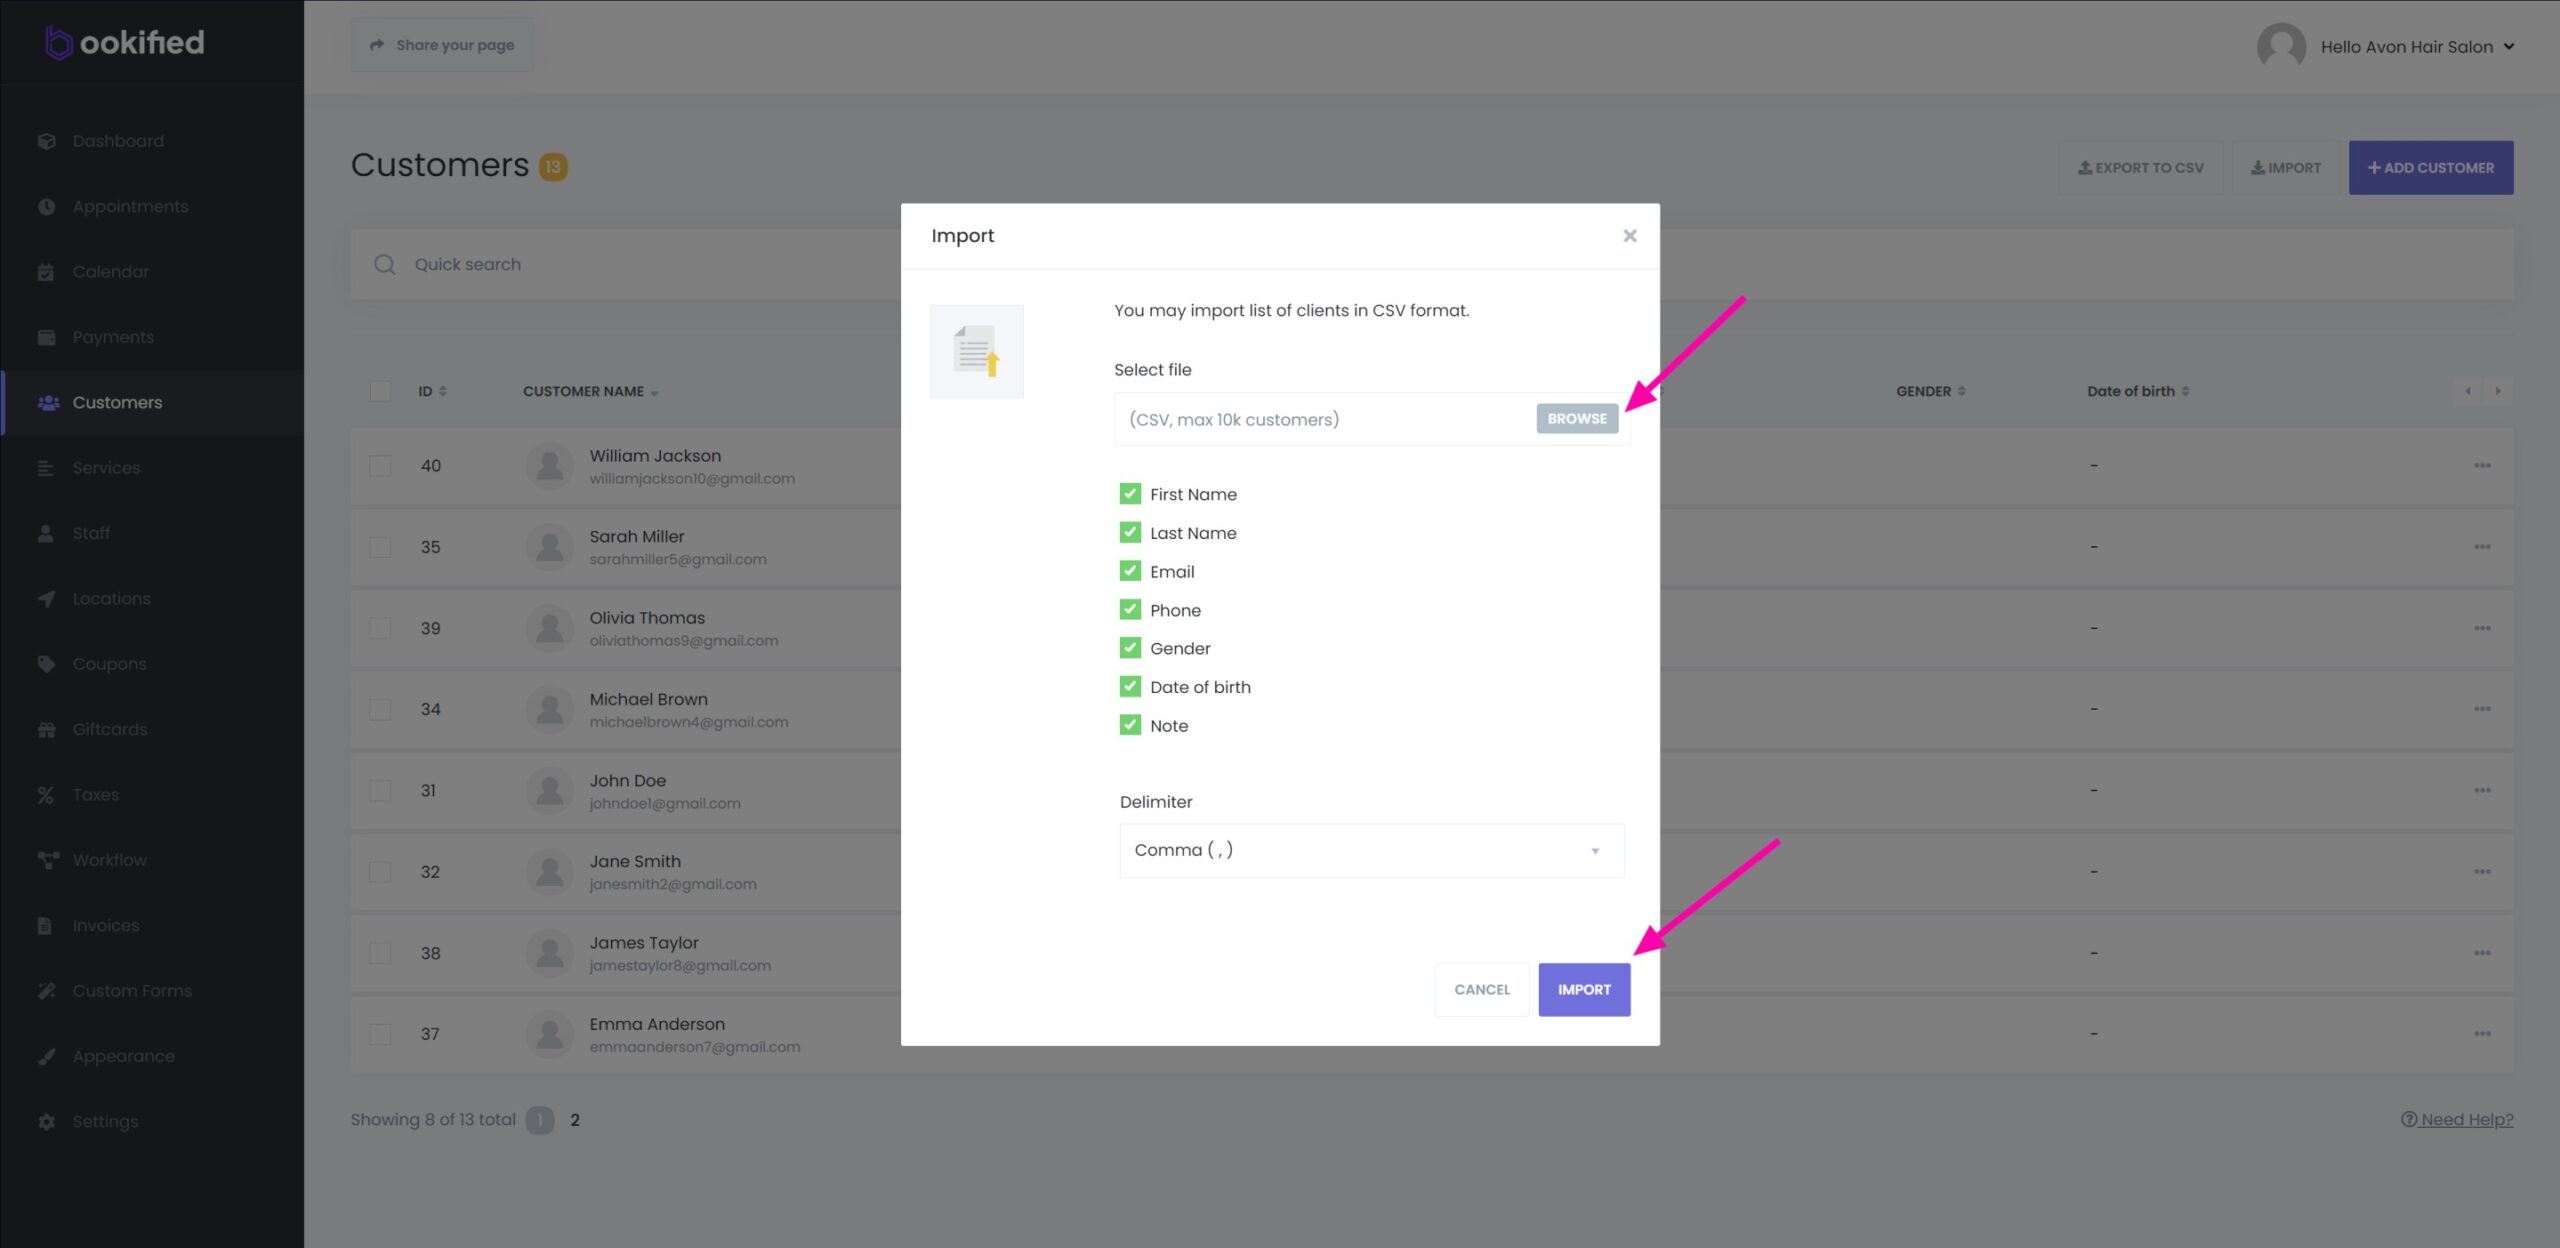
Bookified has a feature that lets you handle your customer list in a very user-friendly way. It allows you to import and export this list in a format known as CSV. This is akin to a digital notebook that’s compatible with many different computer programs. This means you can easily move your customer data between different systems. Plus, CSV files are plain-text, so you can open and edit them with common programs like Microsoft Excel or Google Sheets. If you’re switching from another provider, you can import all your data into Bookified seamlessly. Also, if you have a lot of customer data, this feature lets you upload or download all that information at once, saving you a lot of time. So, whether you’re looking to switch to Bookified or just keep a backup, this feature makes the process simple and efficient.
* Export Data *
* Import Data *
Adding a Customer Manually
-
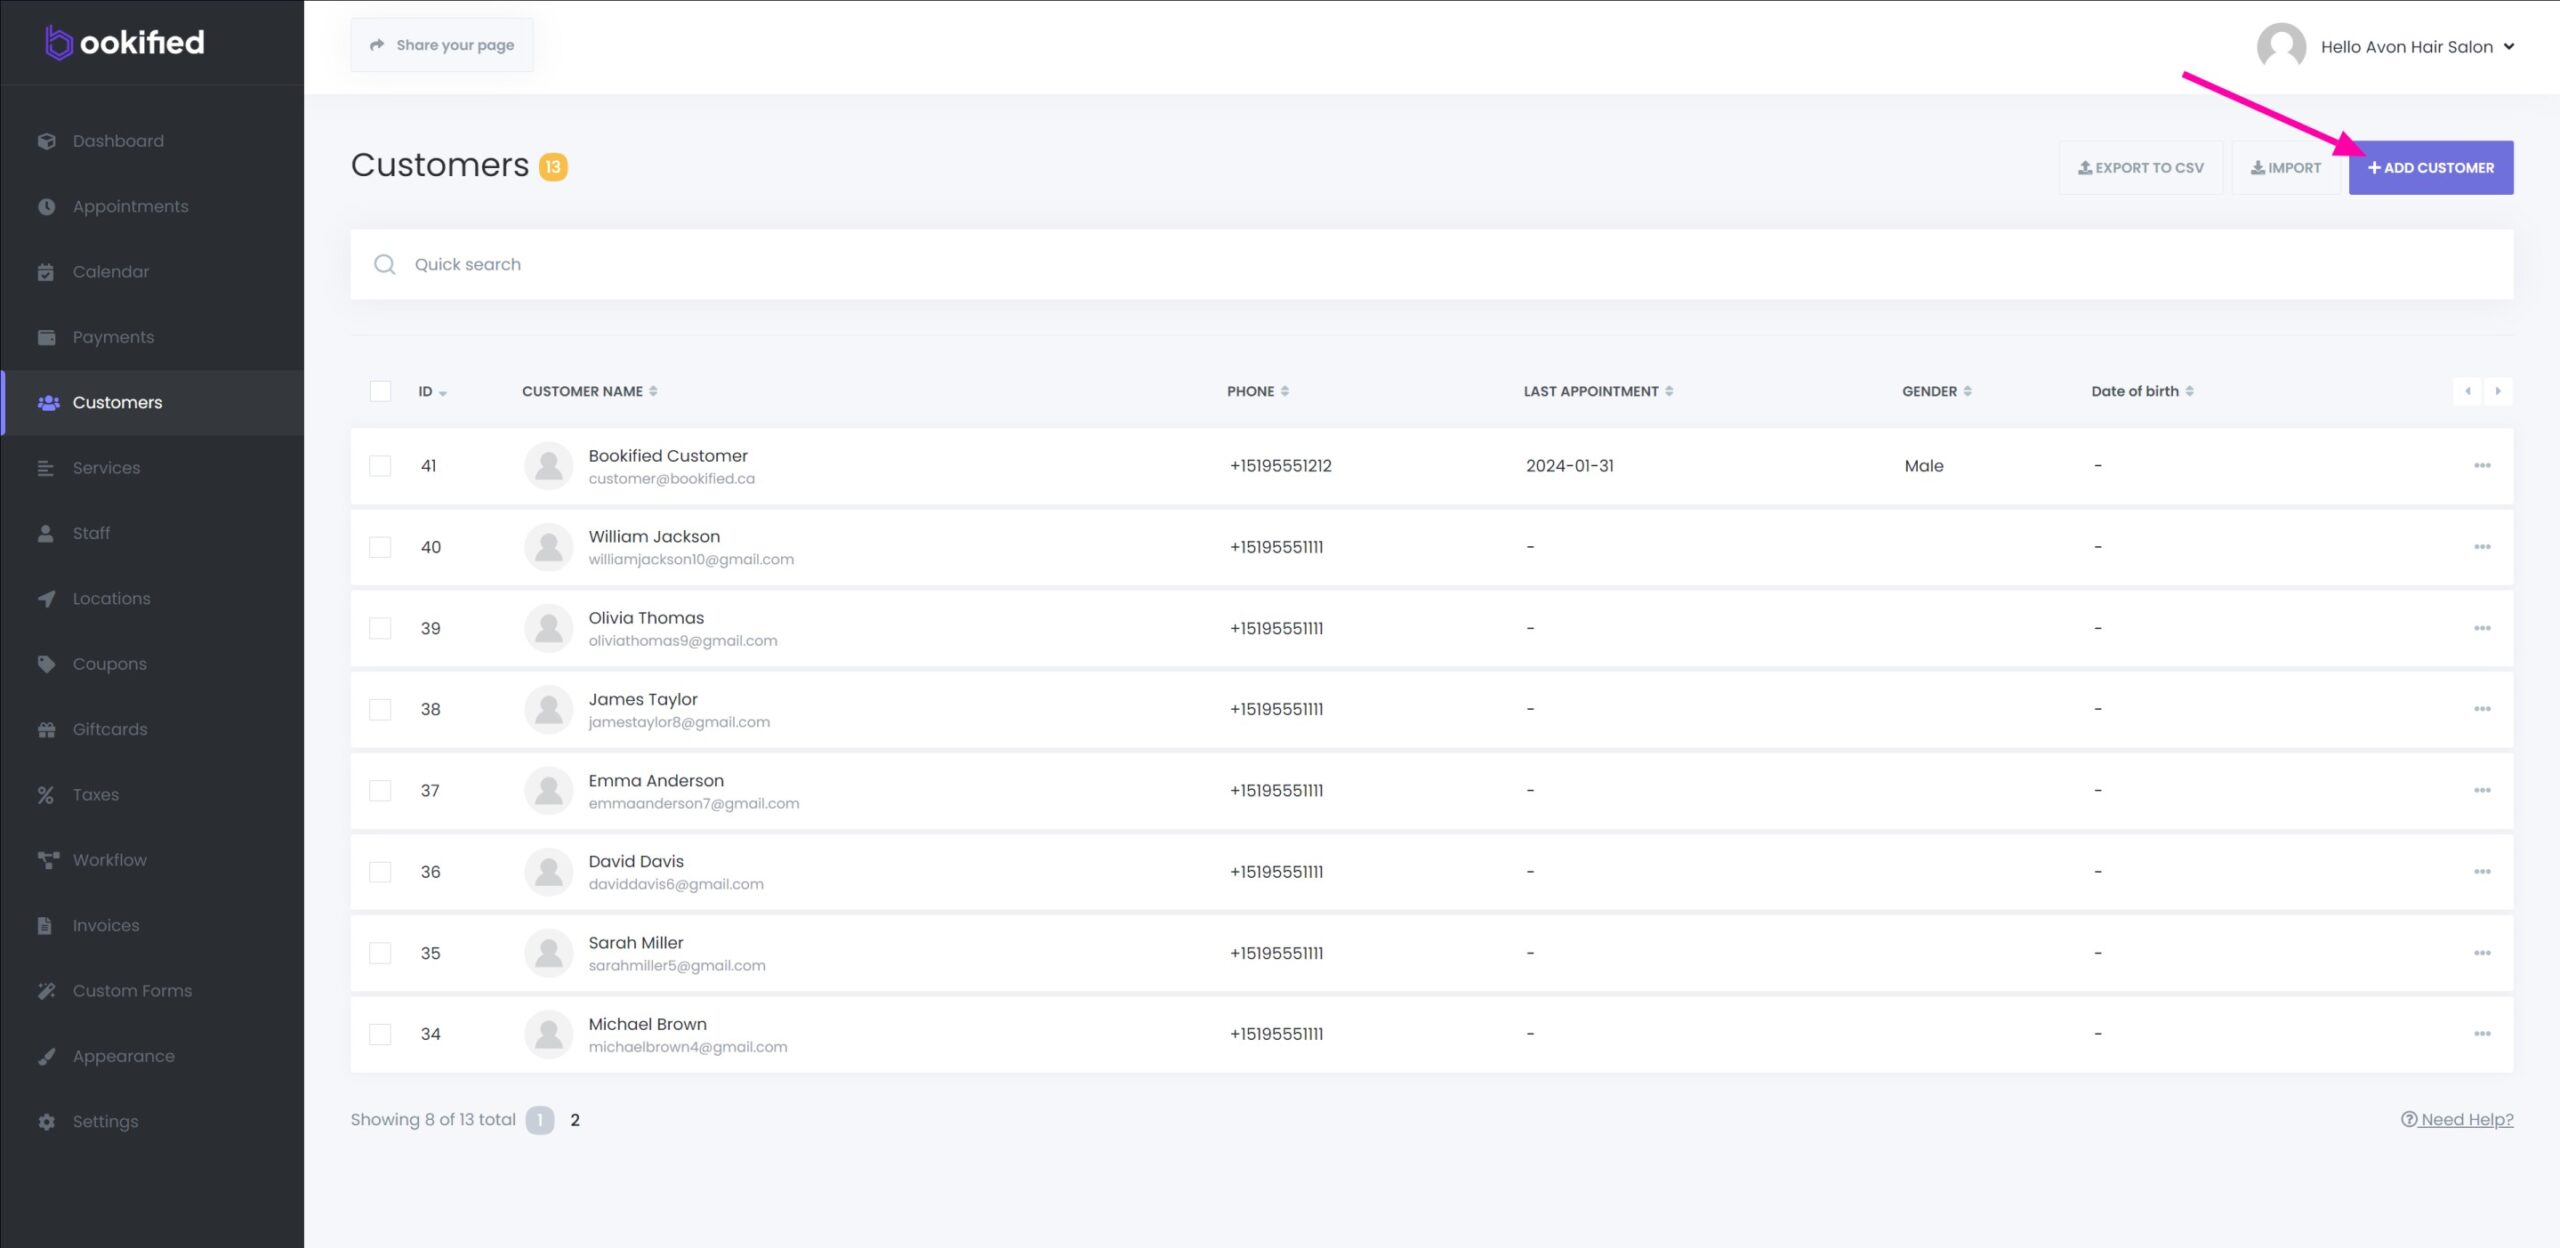
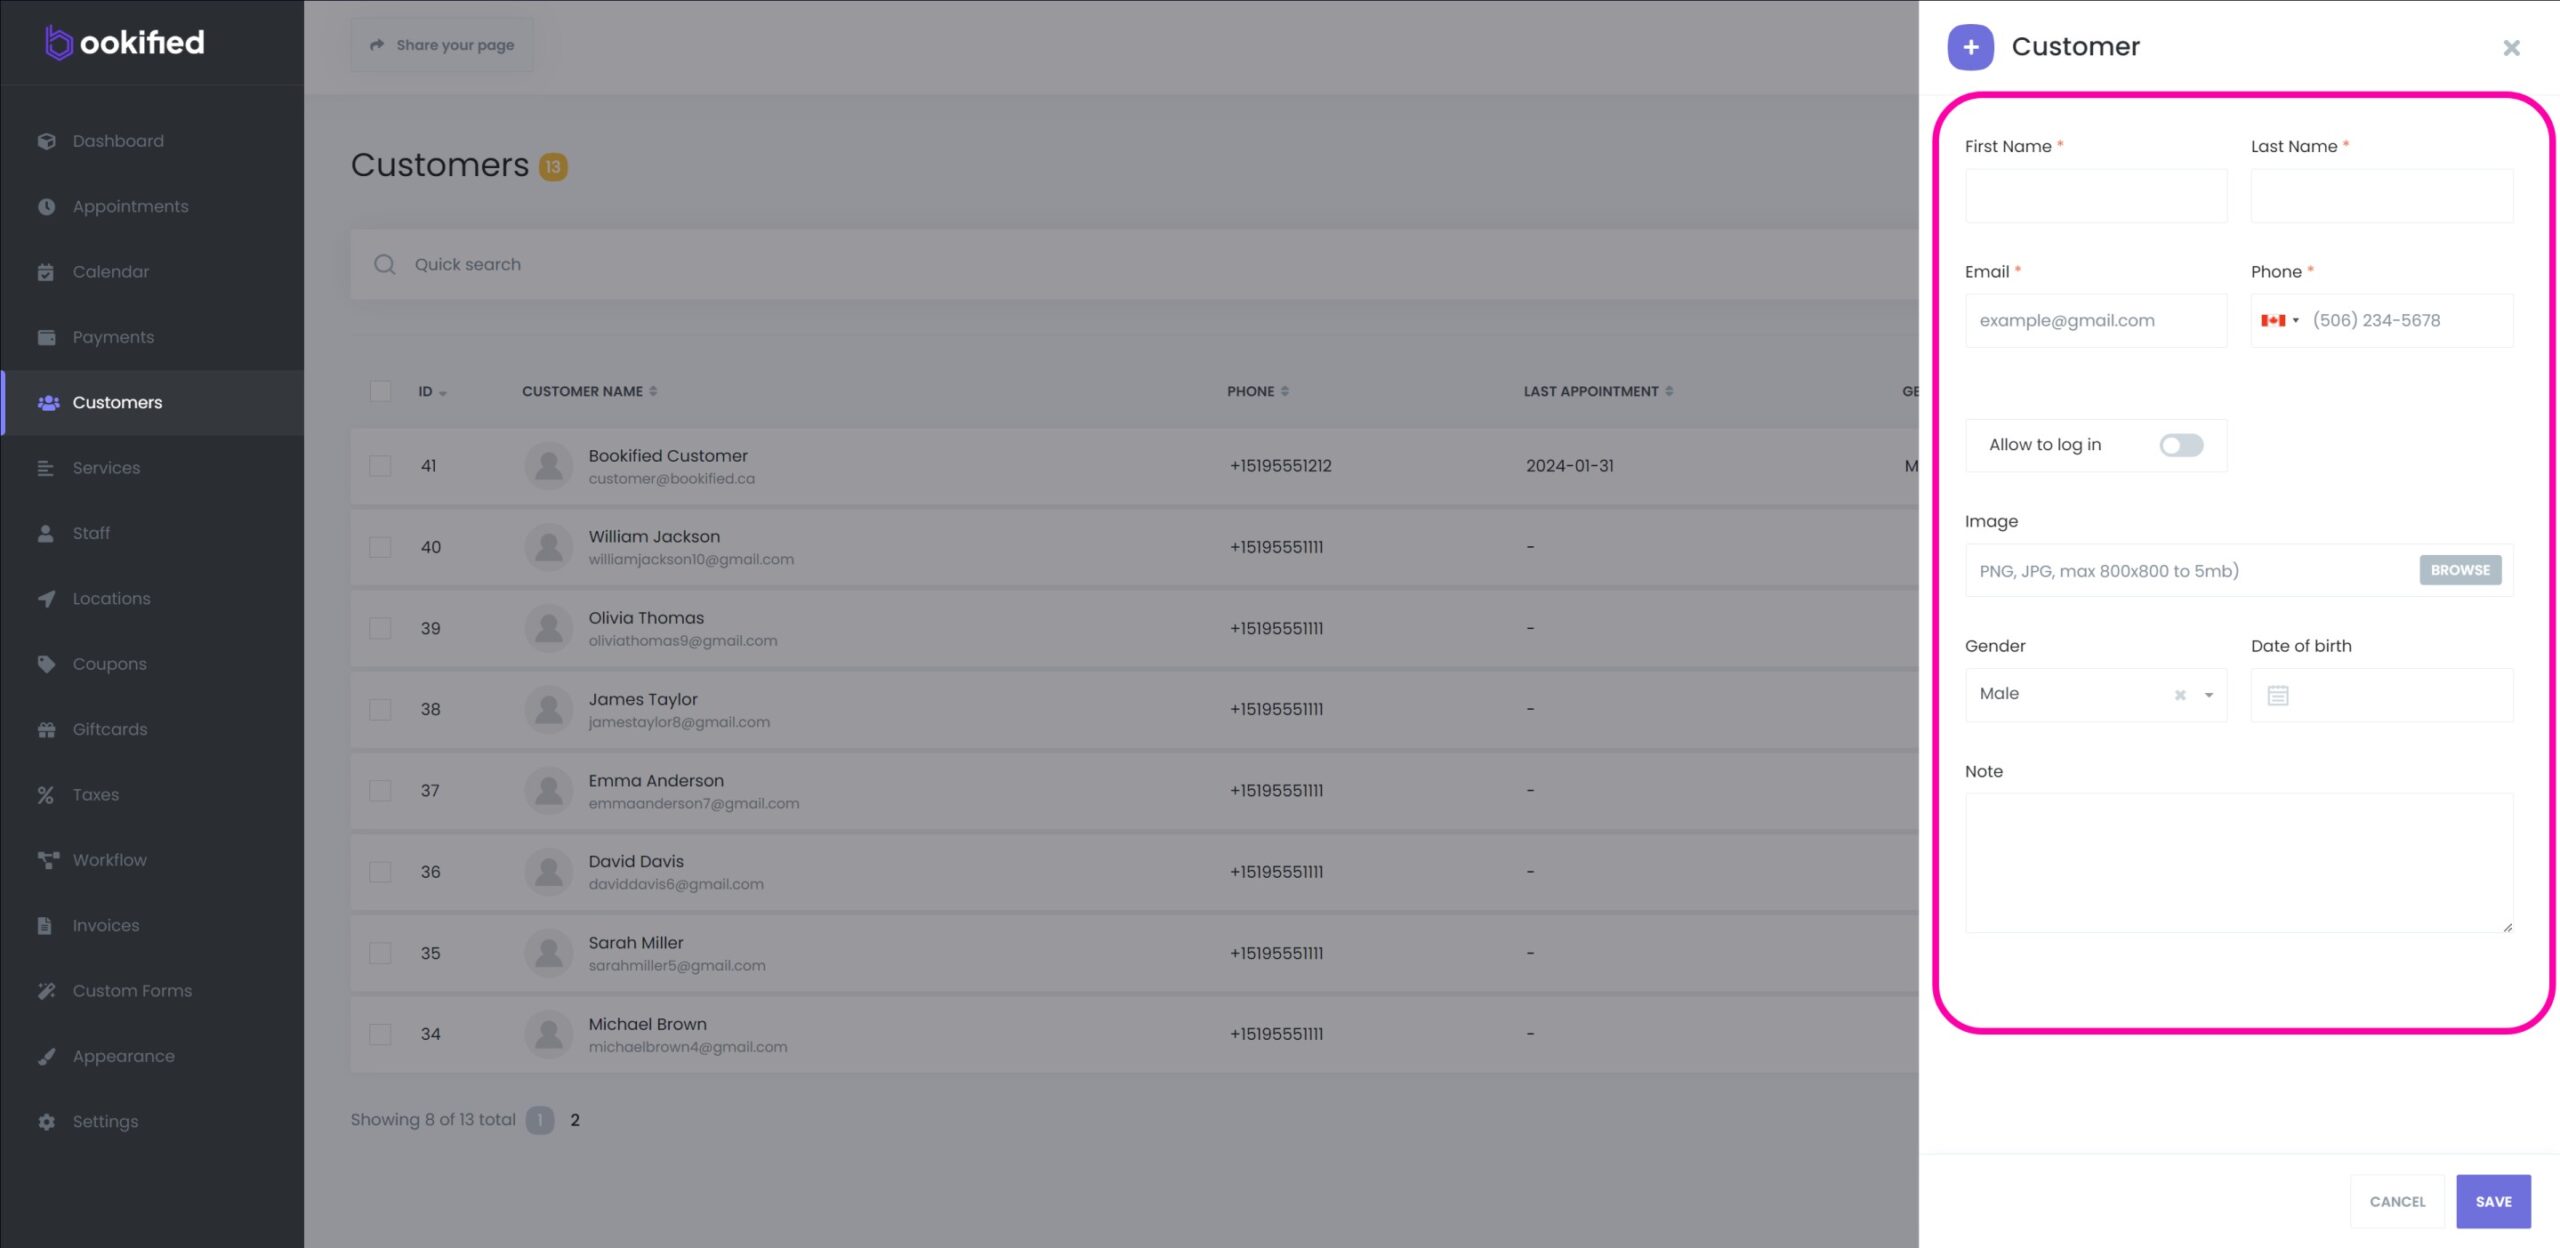
Customer profiles are automatically generated when a booking is made through your Booking Panel. However, should there be a need to manually add a customer, you can accomplish this by selecting the ‘Add Customer’ button at the top right side. This will prompt a slide-in popup where you can input the customer’s details, including their name, email, phone number, and other relevant information. Additionally, you have the option to create an account for the customer, complete with a password. This account grants them access to their own customer panel, enabling them to manage their appointments efficiently.
Viewing, Editing or Deleting a Customer
-
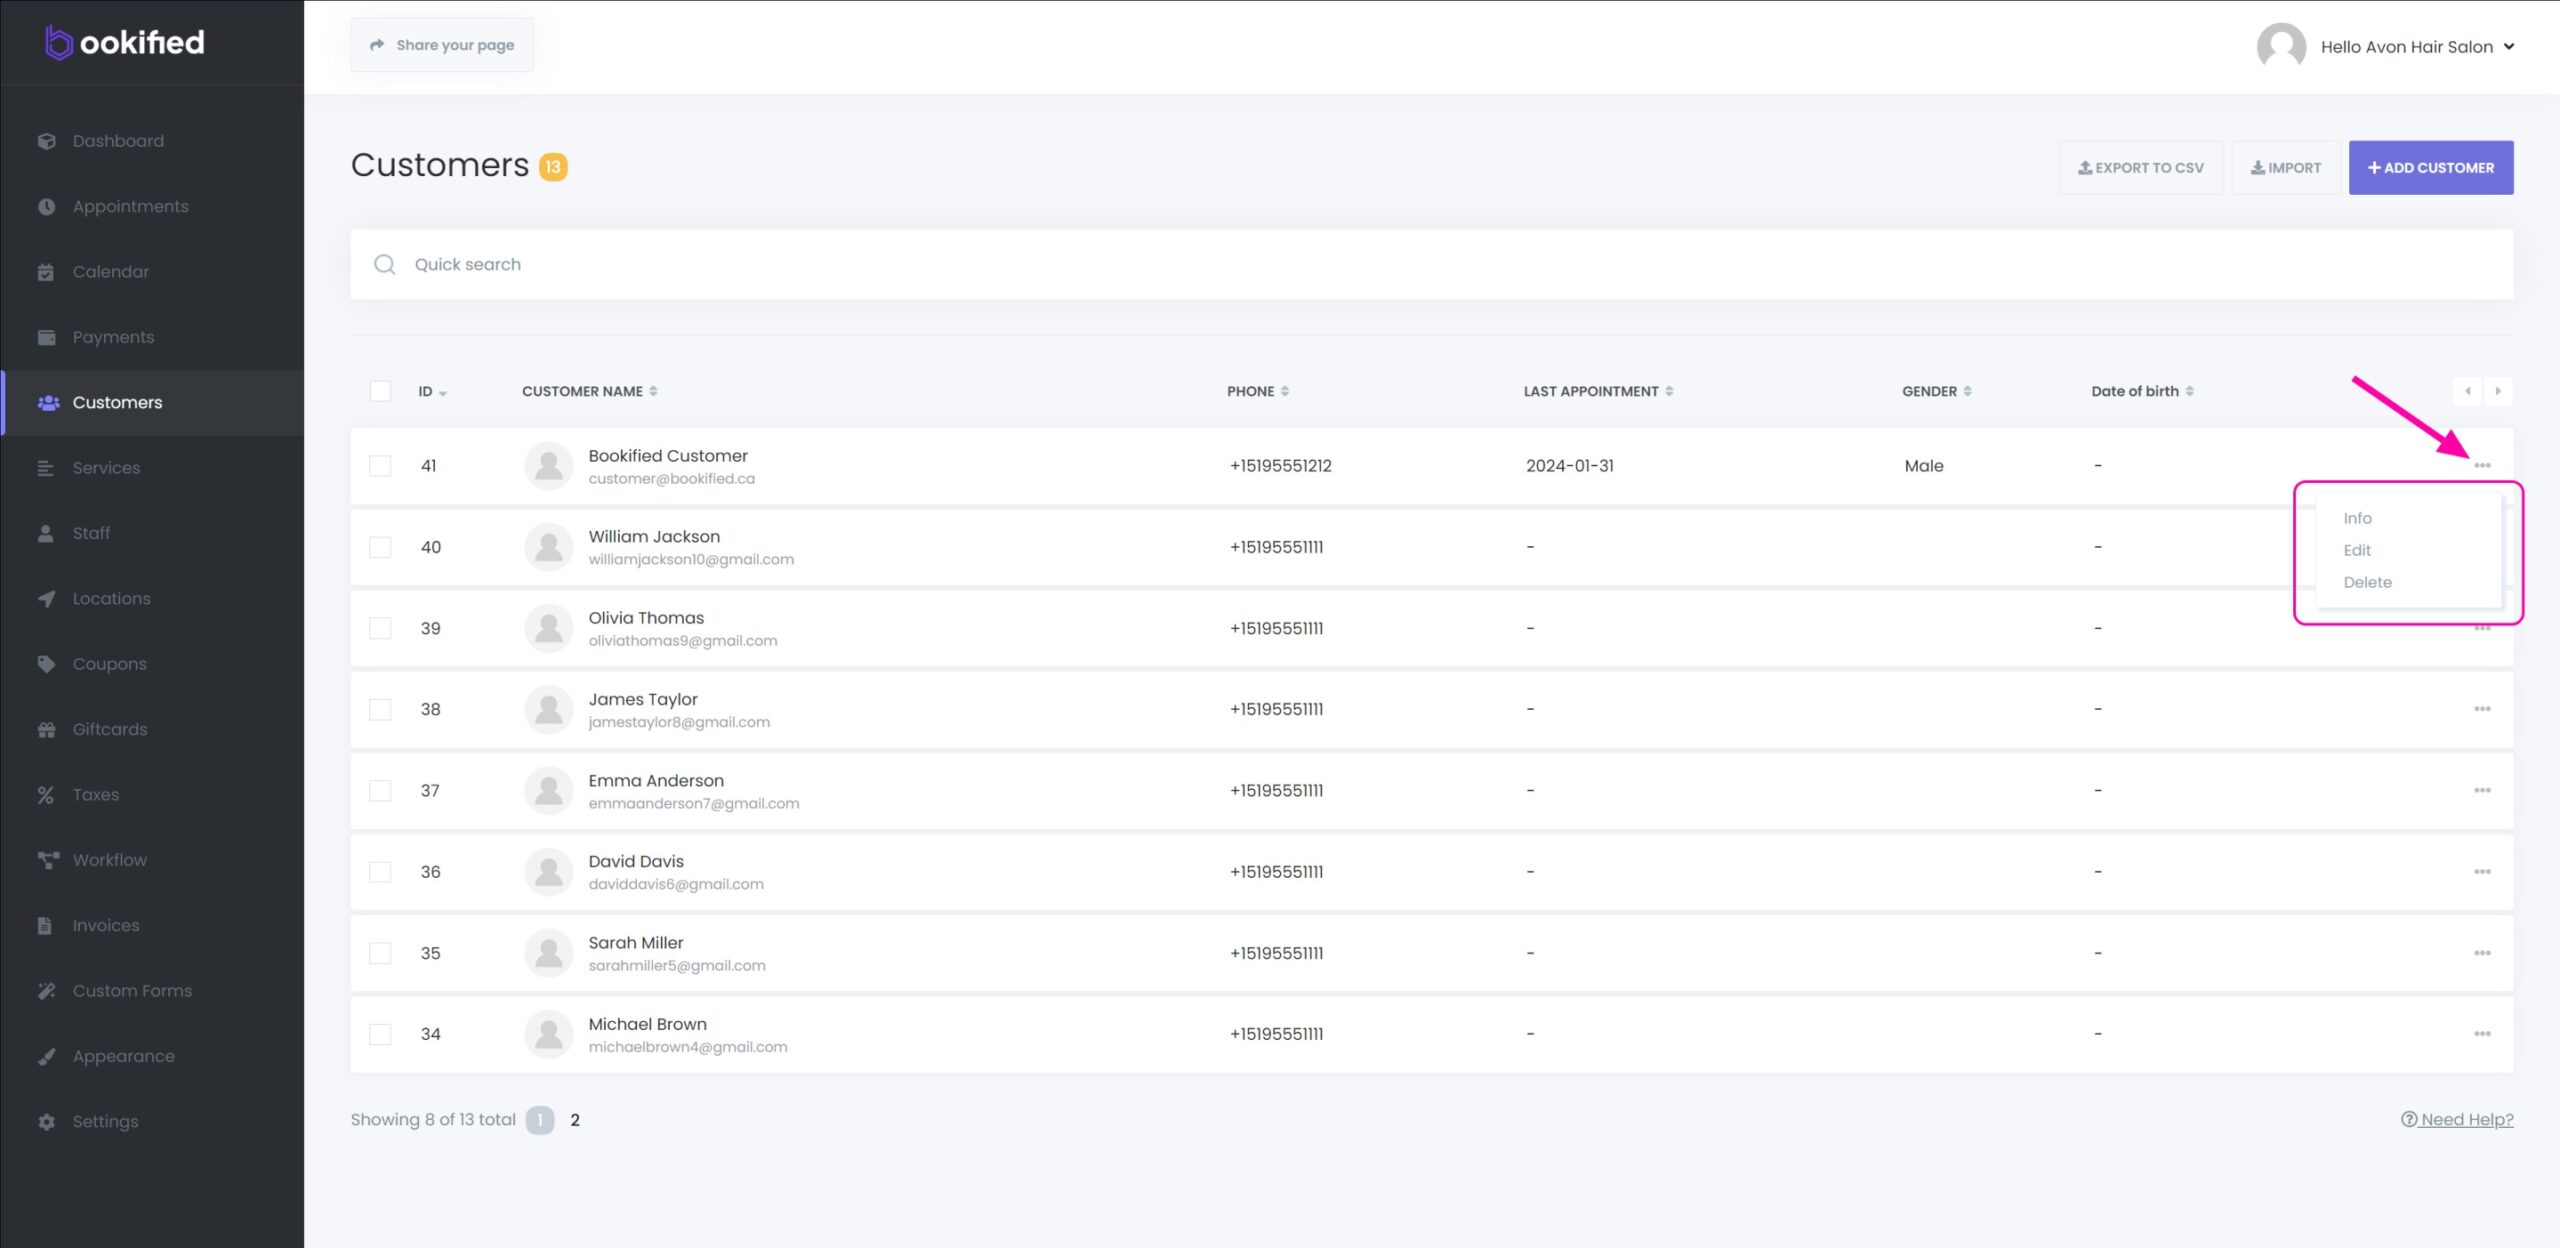
Clicking on the three dots next to any customer entry allows you several actions. You can view detailed customer information by selecting ‘info’, make changes to their profile by clicking ‘edit’, or completely remove the customer from your system by choosing ‘delete’.
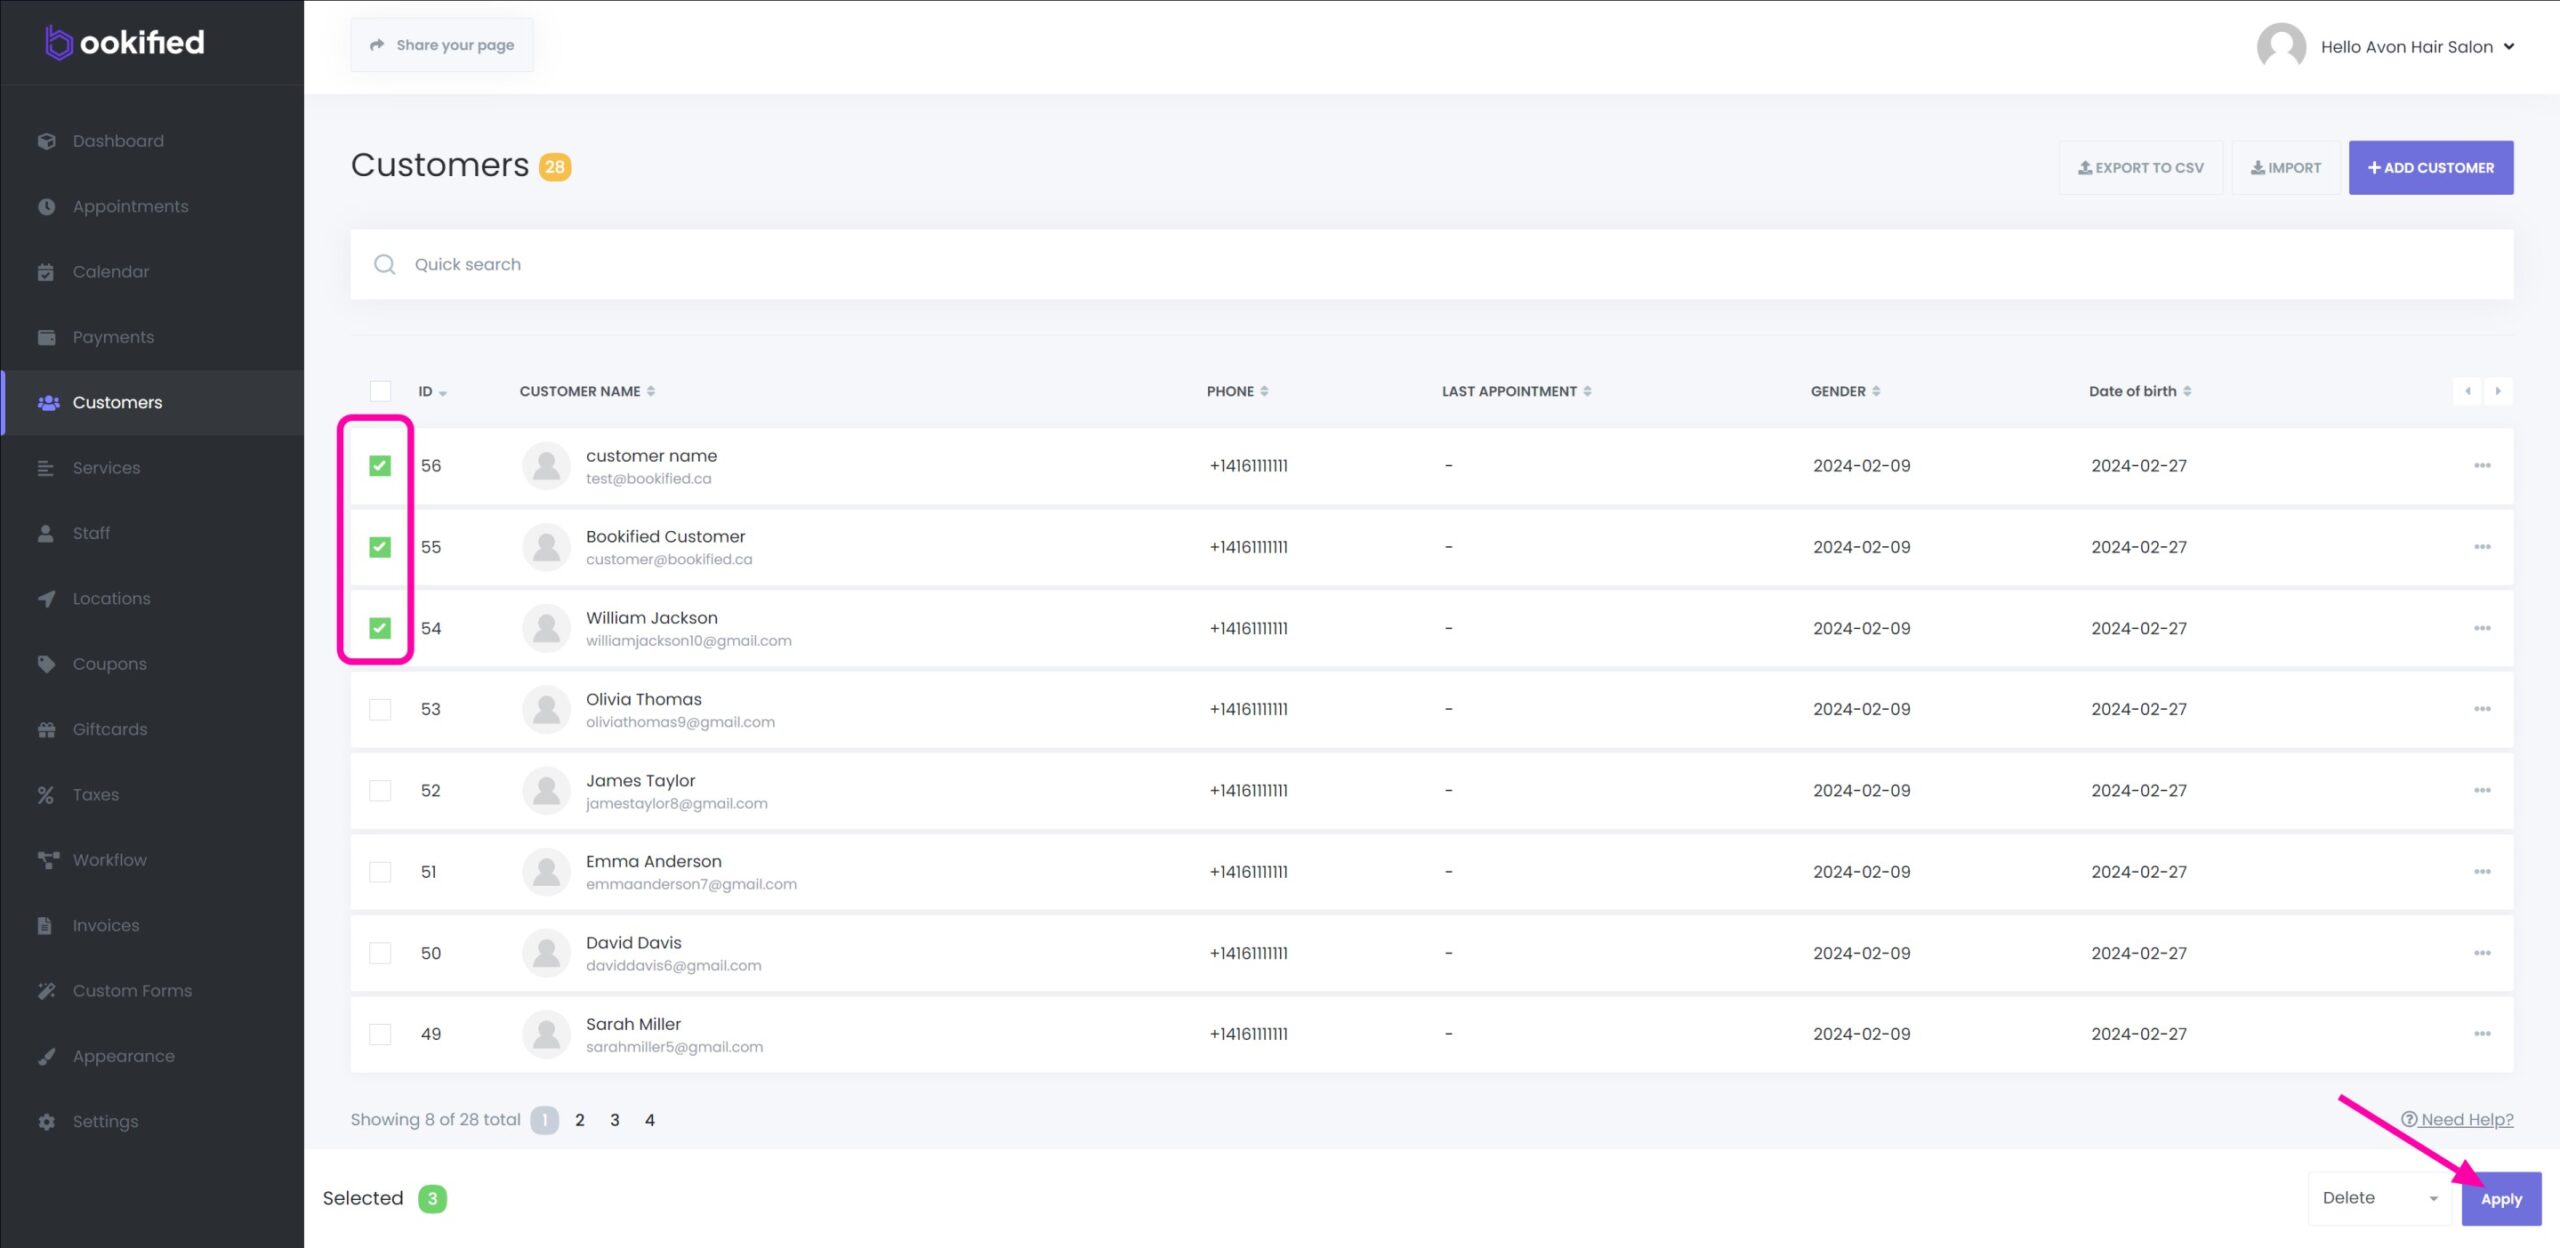
-
To remove multiple customer profiles simultaneously, first mark the checkboxes next to the profiles of the customers you wish to delete. This action will trigger a bottom banner to appear. From there, select ‘delete’ from the dropdown menu and then click ‘apply’ to confirm and execute the bulk deletion of the selected customer profiles.