Booking Panel
This guide explains how to use the Booking Panel feature within Bookified. It covers how to share your booking panel link with your customers, which allows them to book appointments with your business online. It also covers how to customize your booking panel, such as adding your logo, choosing your color scheme, and displaying your services and staff. By following this guide, you can create a professional and user-friendly booking panel that reflects your brand and attracts more customers.
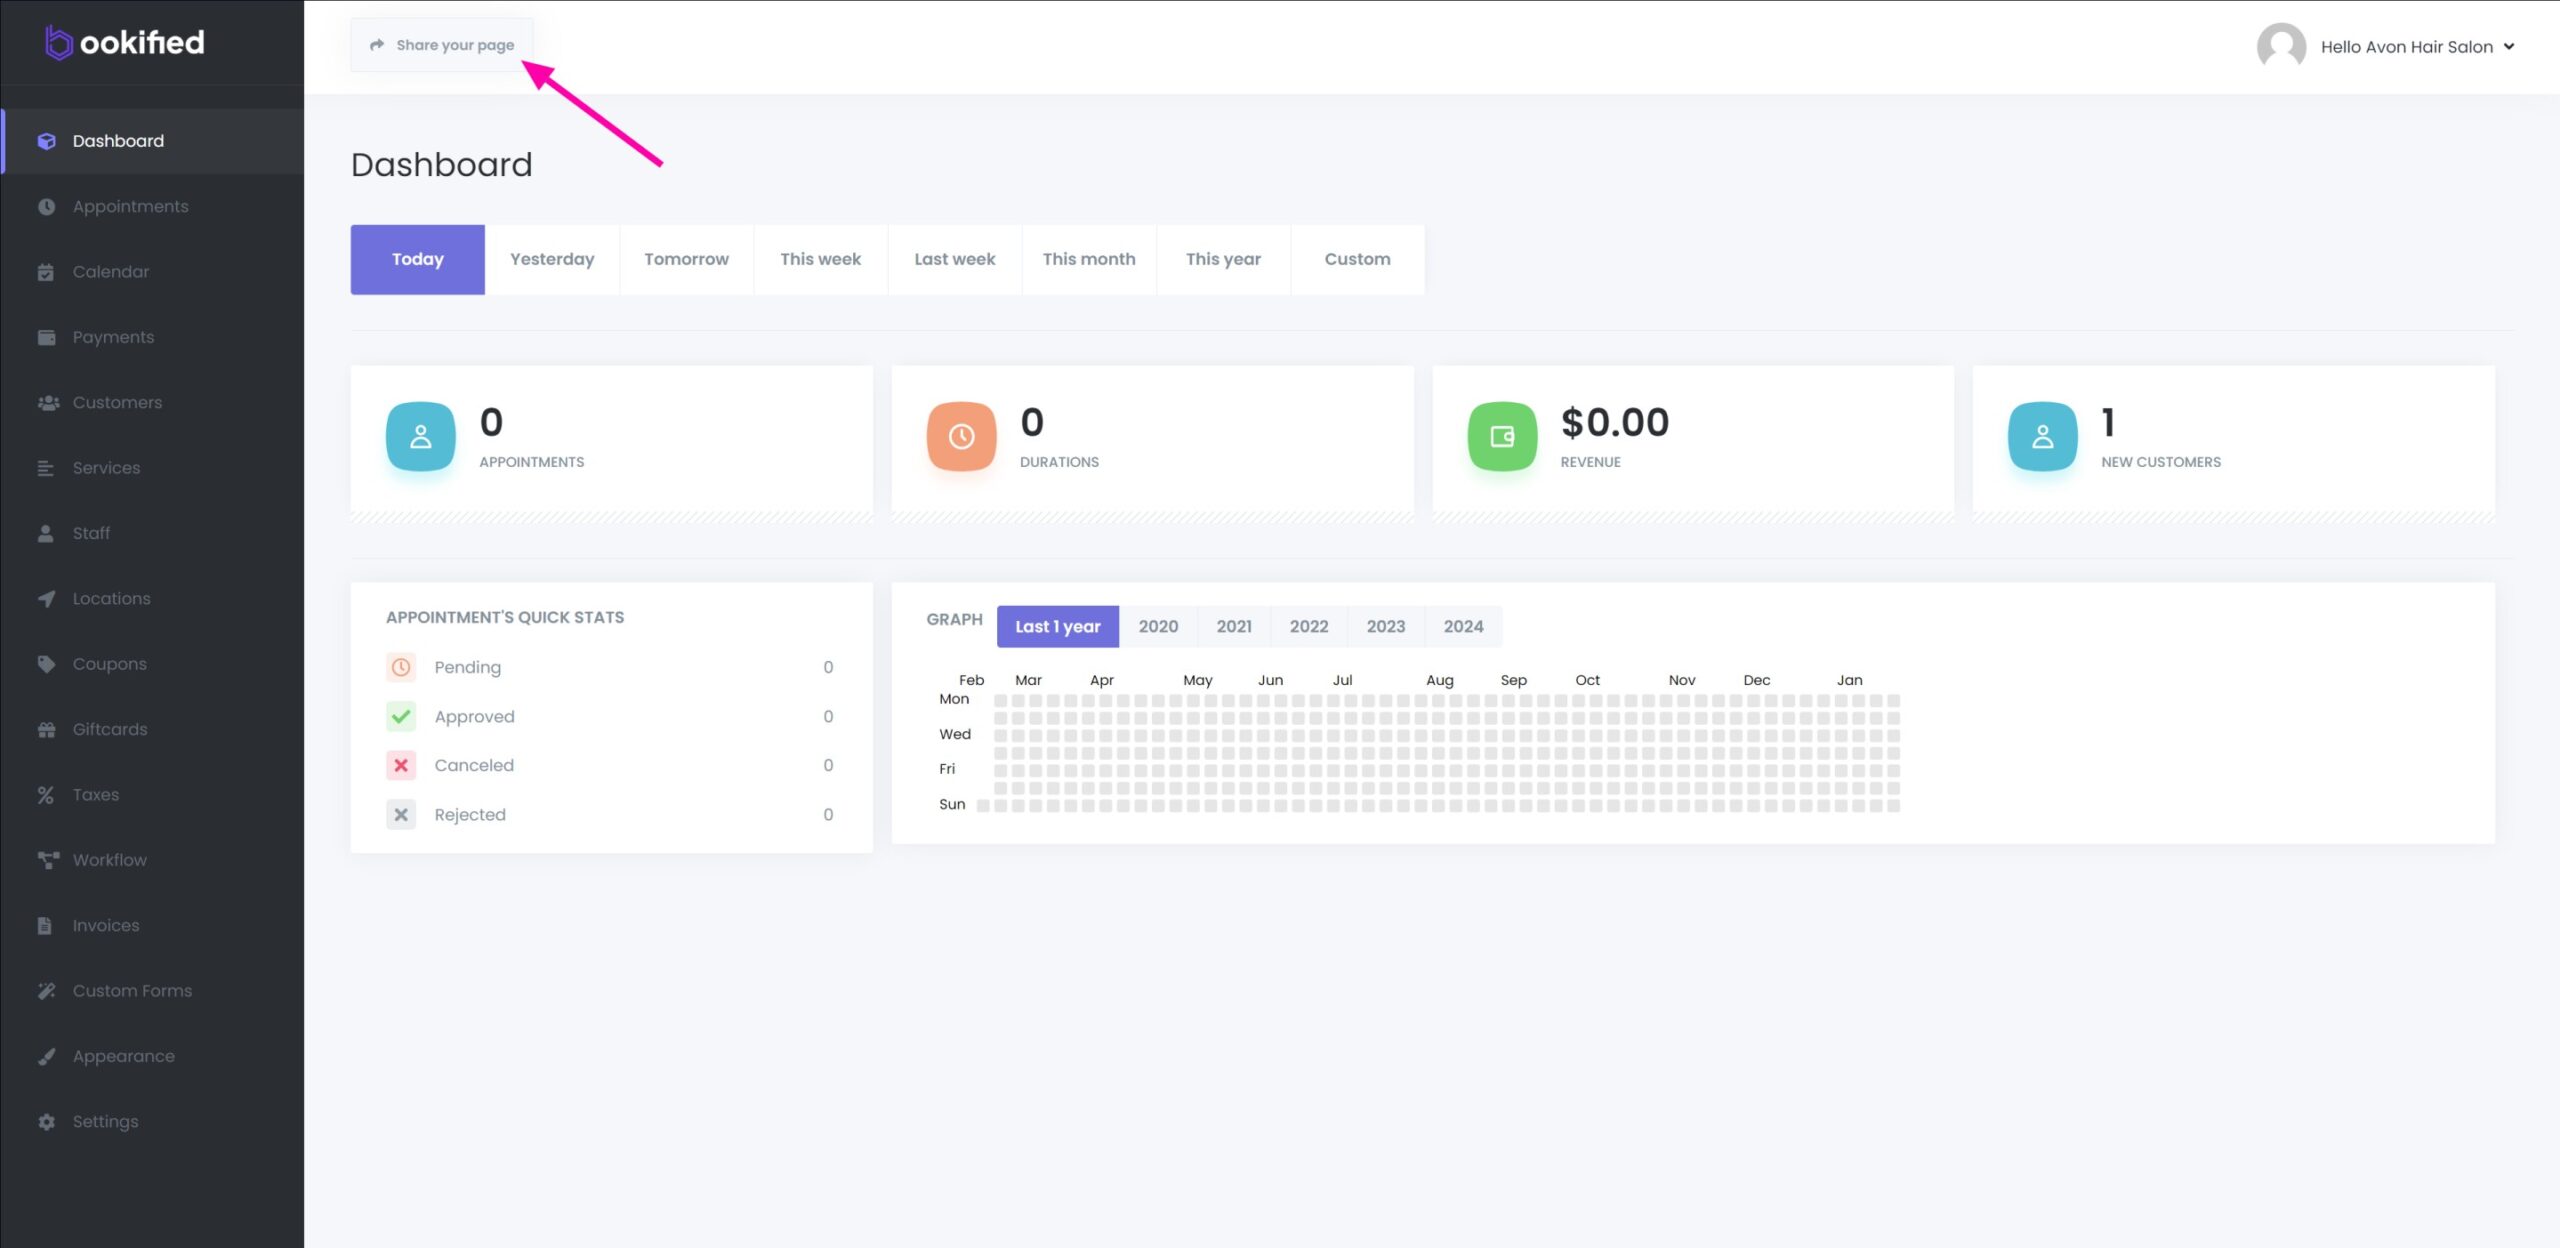
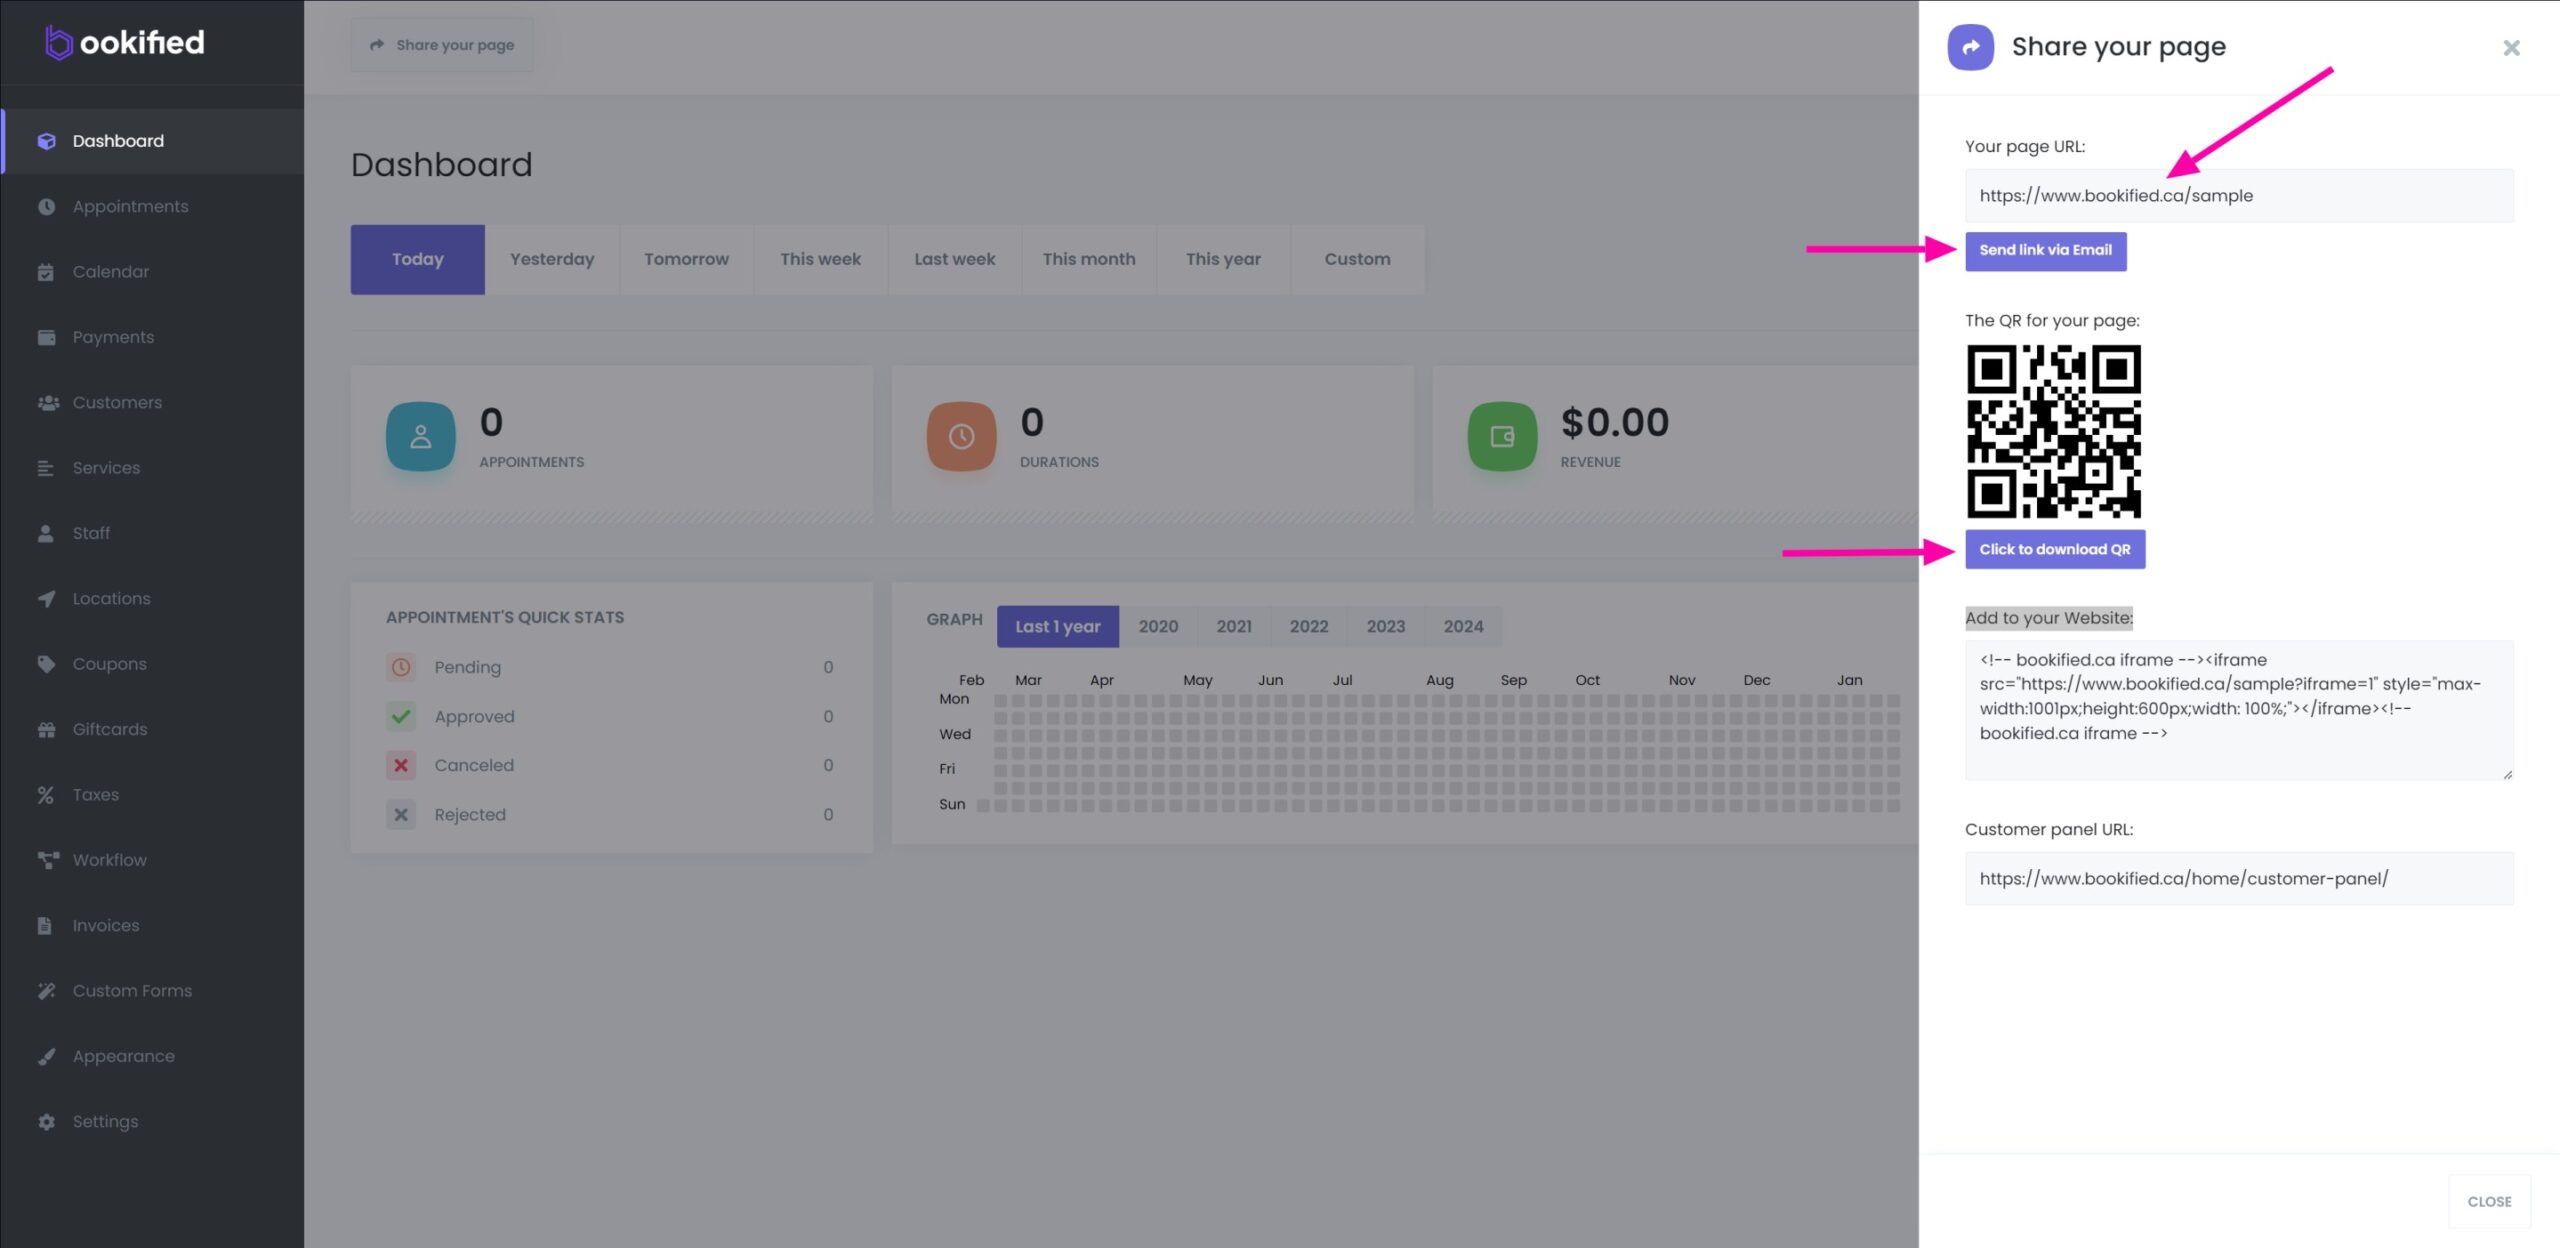
Booking Panel URL
- To get your booking panel link, or to download the provided QR code to display at your business for your customers to access, click on the ‘Share your page’ button located at the top left.
Booking Panel iFrame
- This is an HTML ‘iFrame’ element, which is used to embed another HTML document within the current one. In this case, it’s used to embed a booking panel from bookified.ca into your website.
HOW TO USE IT
1. Copy the code: The entire code snippet you provided should be copied. It starts with <!– bookified.ca iFrame –> and ends with <!– bookified.ca iFrame –>.
2. Paste the code into your website’s HTML: You need to paste this code into the HTML of the webpage where you want the booking panel to appear. This could be in the body section of your HTML code.
3. Adjust the size if necessary: The style attribute in the iFrame tag specifies the size of the embedded booking panel. You can adjust the values of max-width, height, and width to fit the panel appropriately on your webpage.
4. Save and refresh your website: After pasting and adjusting the code, save your HTML file and refresh your website. You should now see the booking panel from bookified.ca embedded in your website.
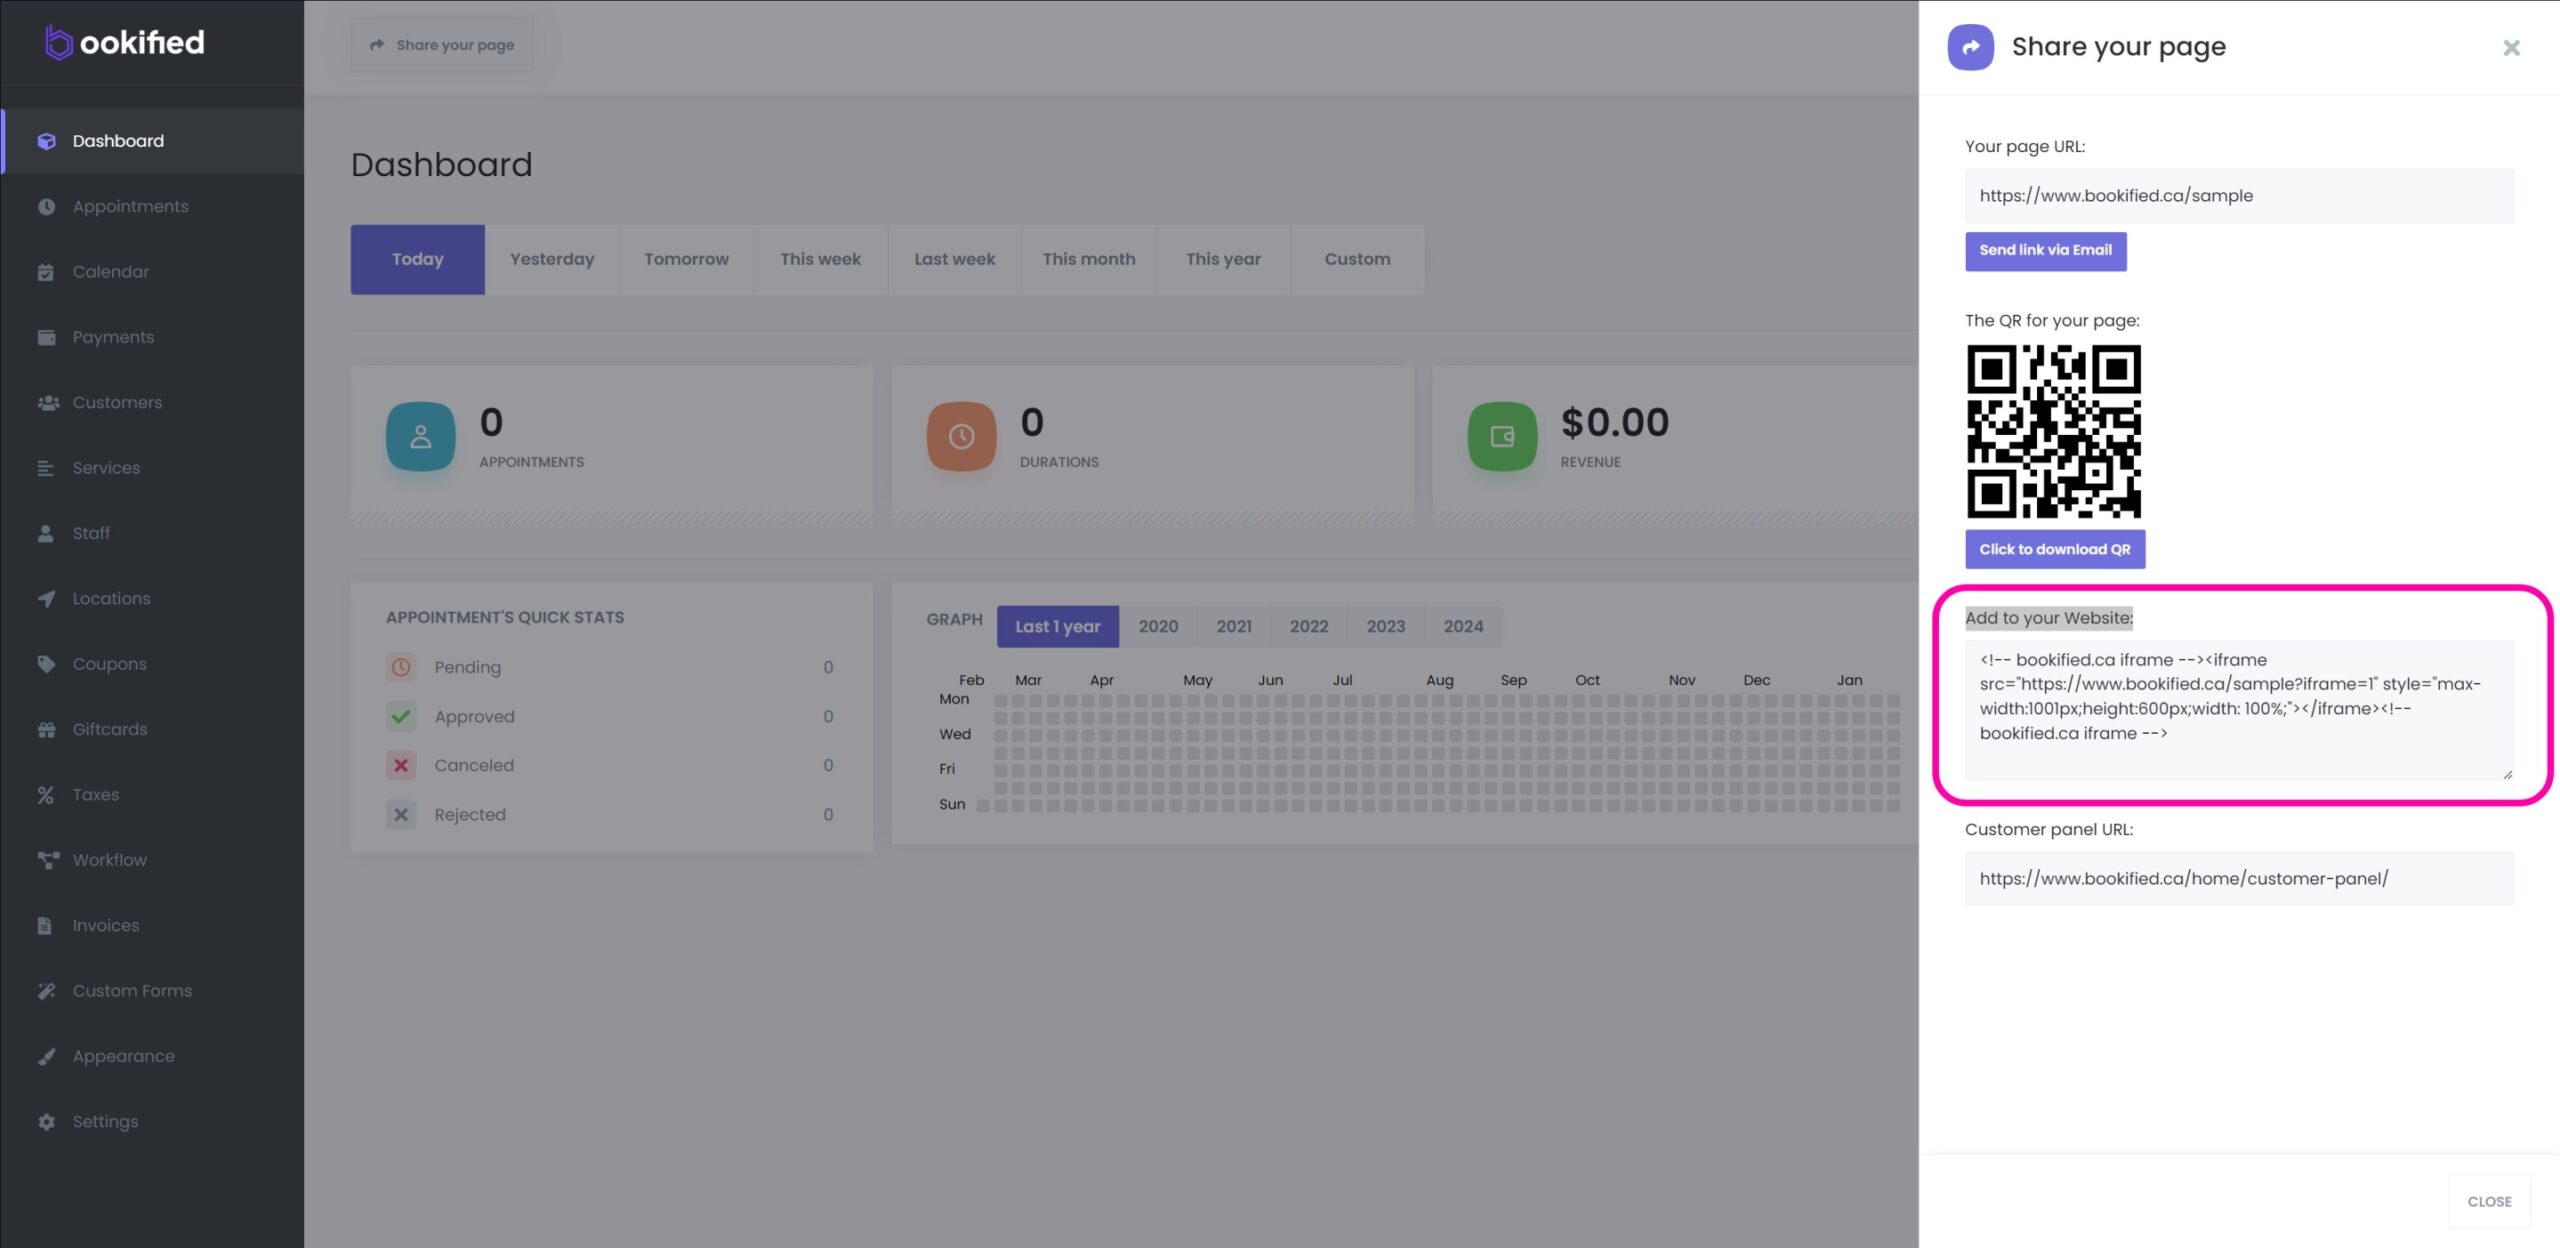
Remember, this requires some knowledge of HTML and how your website is set up. If you’re not comfortable doing this yourself, you might want to ask a web developer for help.
Reordering Booking Steps
-
The booking panel typically comprises 7 steps to complete an appointment booking. However, the flexibility of the system allows for customization based on specific business needs. Below is how we visit the Booking Panel Steps for configuration.
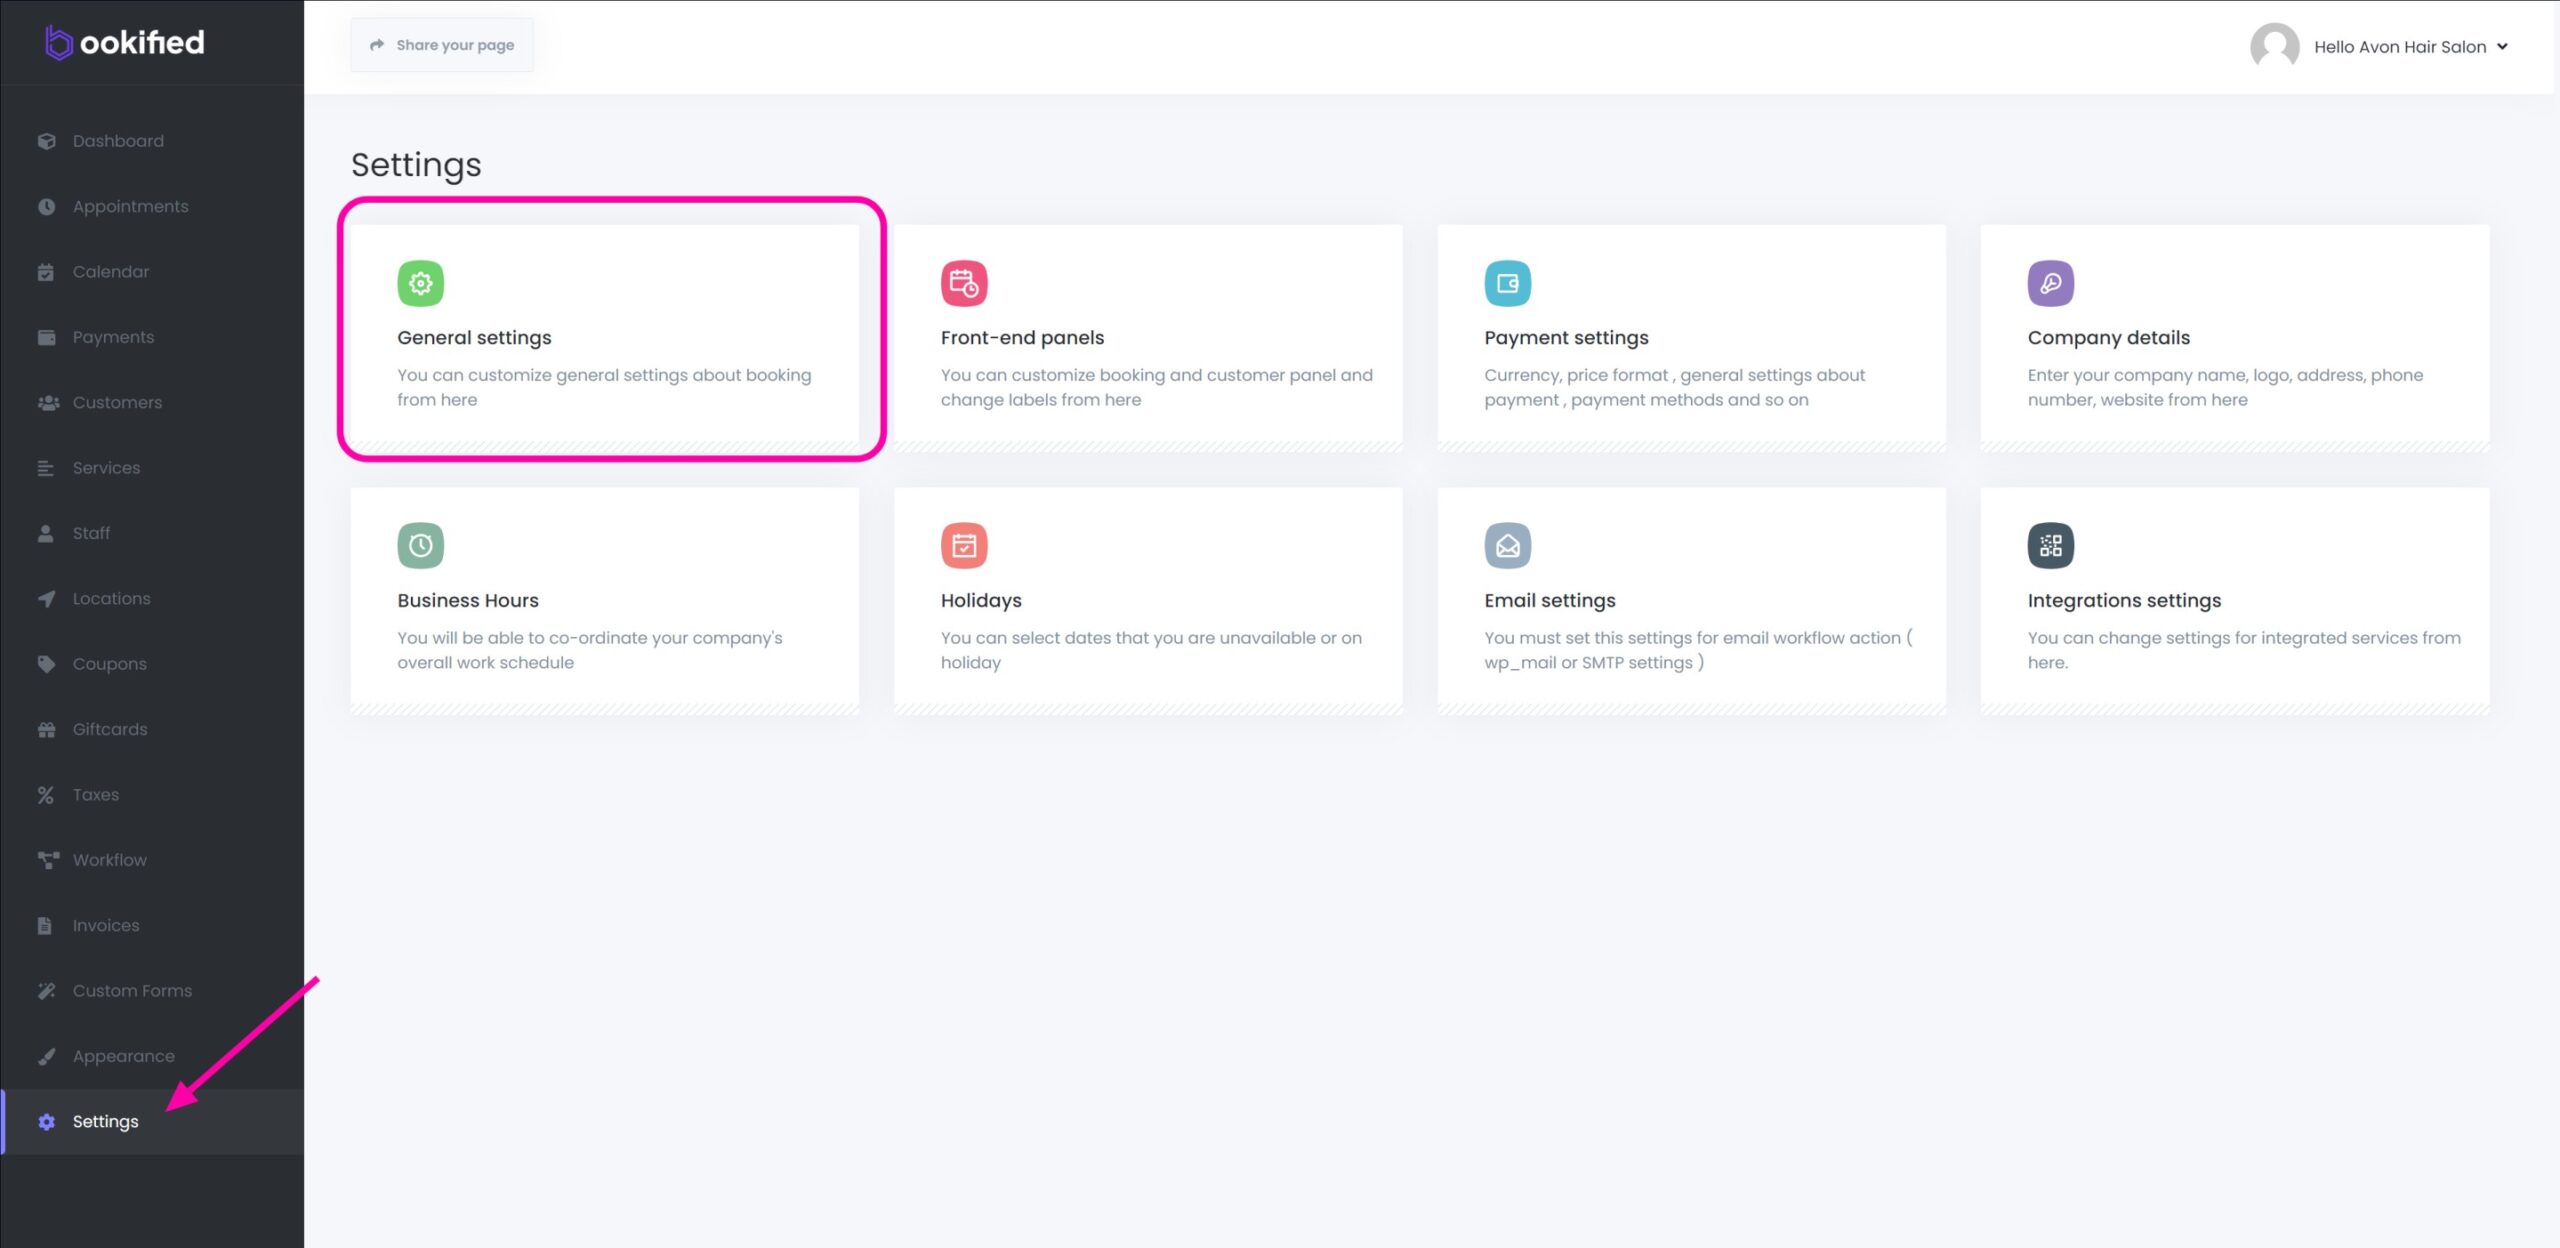
1. Select the ‘Settings‘ menu
2. Select ‘Front-end panels‘
3. Select ‘Booking Steps‘
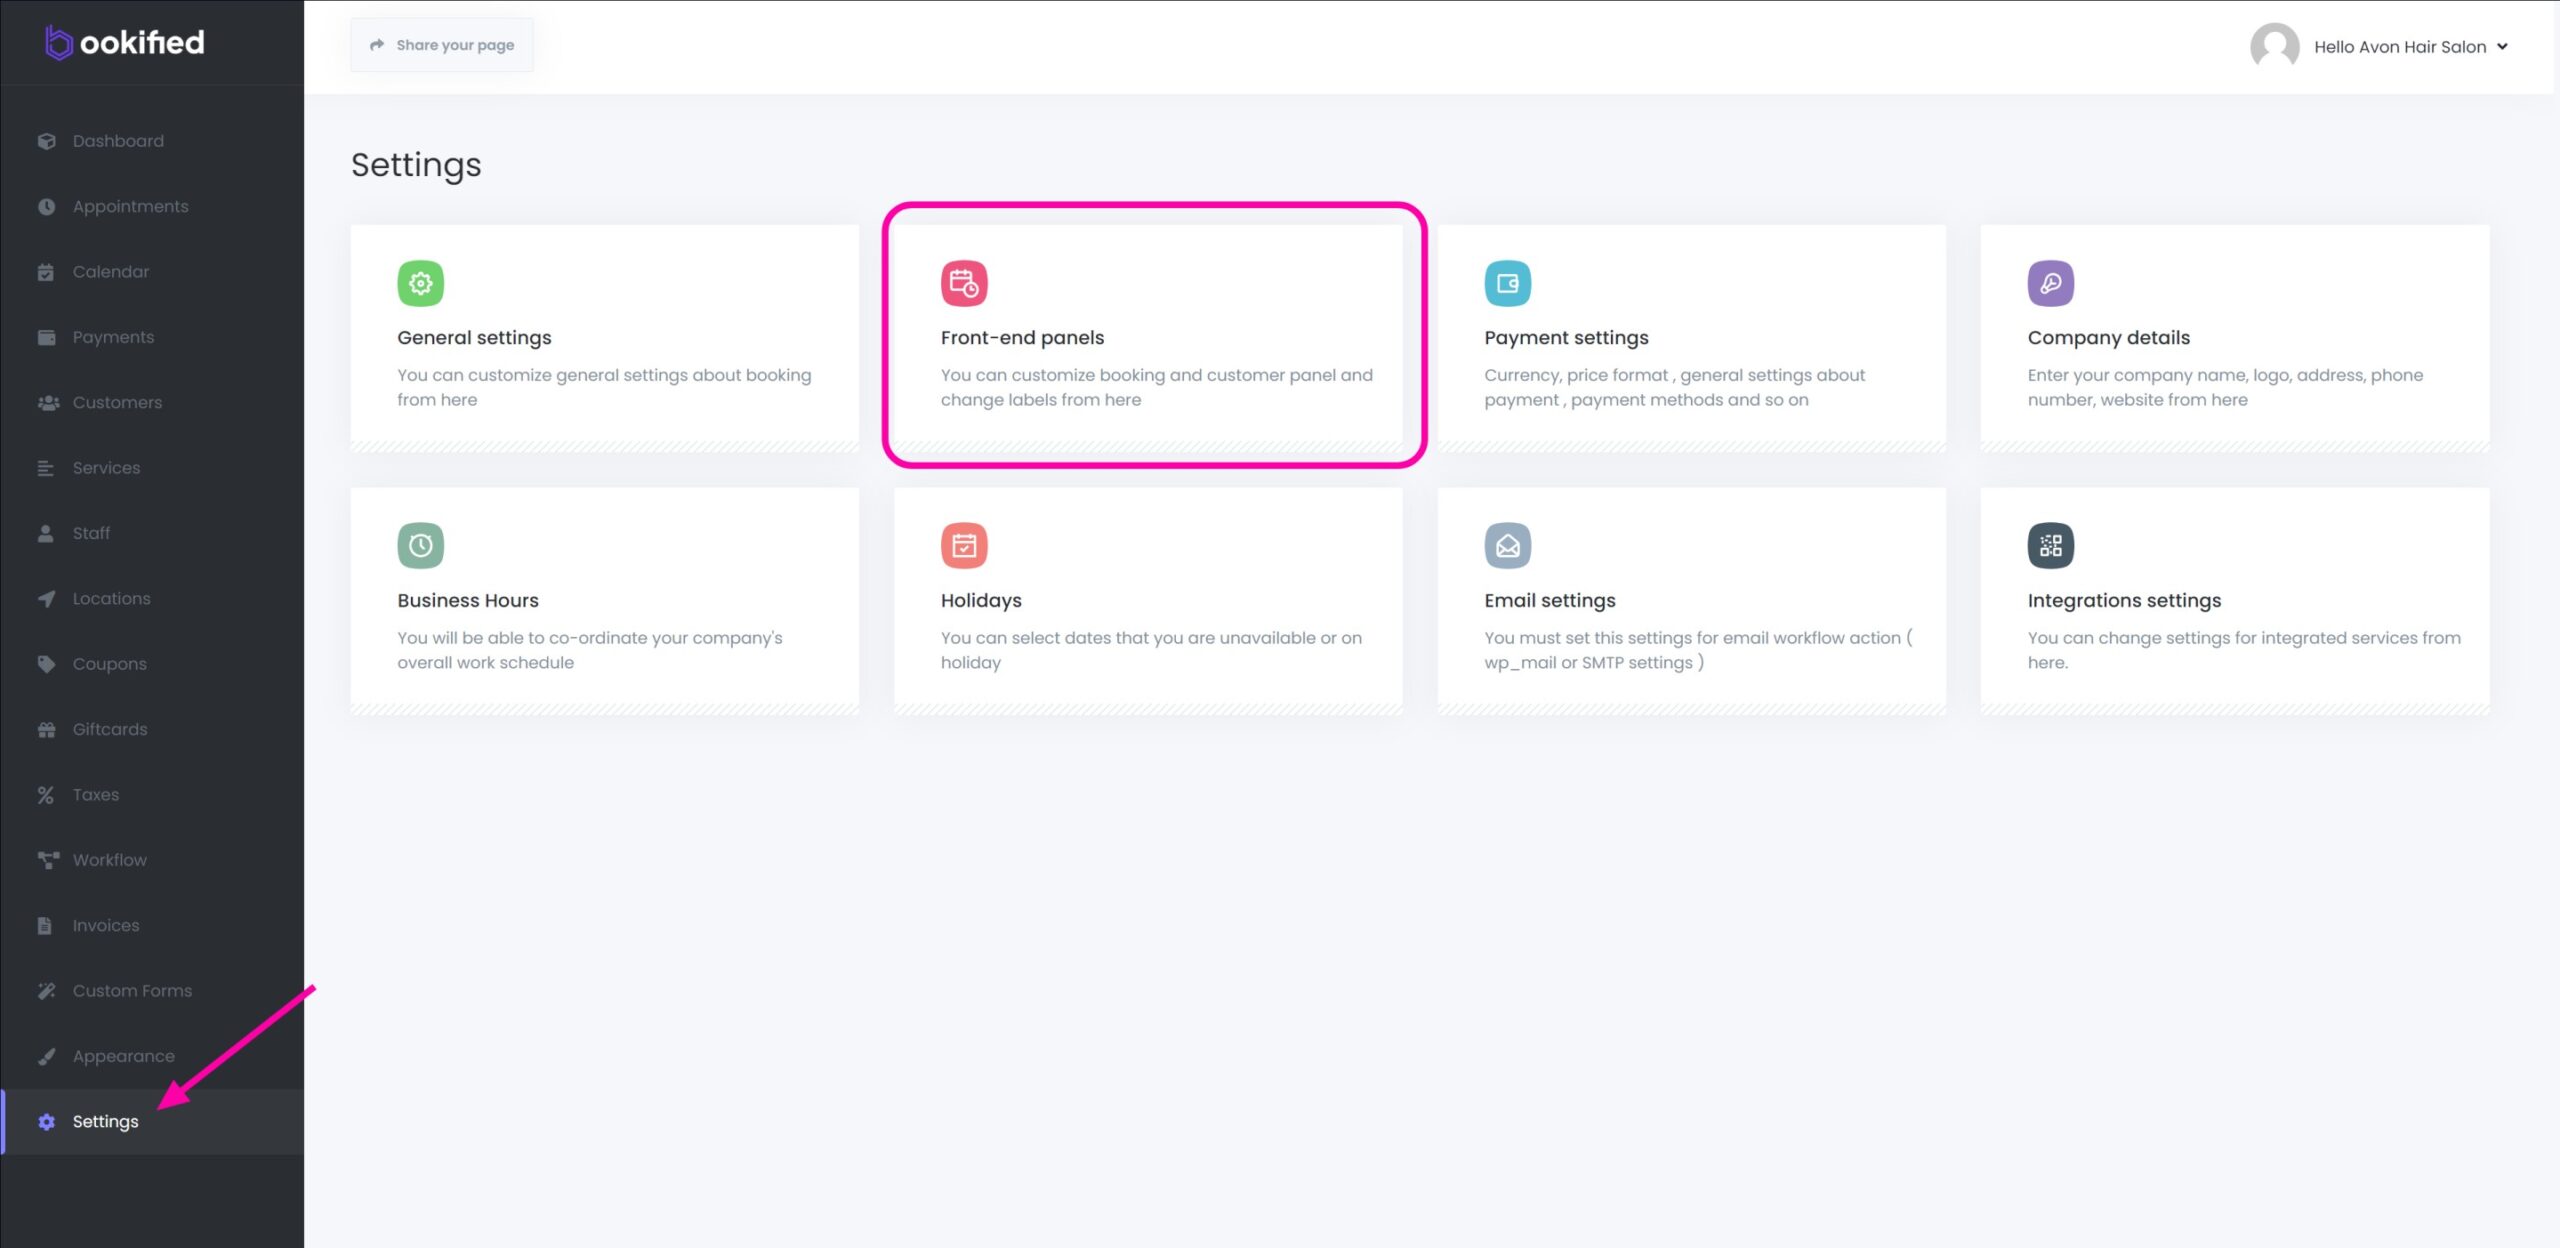
- This section enables you to enable, disable, or rearrange the booking steps to tailor them to your business needs. Additionally, each booking step presents additional options.
Renaming Labels
-
The booking panel enables you to modify the existing label names according to your custom requirements.
1. Select the ‘Settings‘ menu
2. Select ‘Front-end panels‘
3. Select ‘Labels‘
Personalizing Your Booking Panel with a Business Logo
-
The booking panel allows you to enhance your customers’ booking experience by adding your own business logo.
1. Select the ‘Settings‘ menu
2. Select ‘Company details‘
4. Click on the ‘picture frame with the +‘ and upload your logo
5. Toggle on ‘Display a company logo on the Booking panel:‘
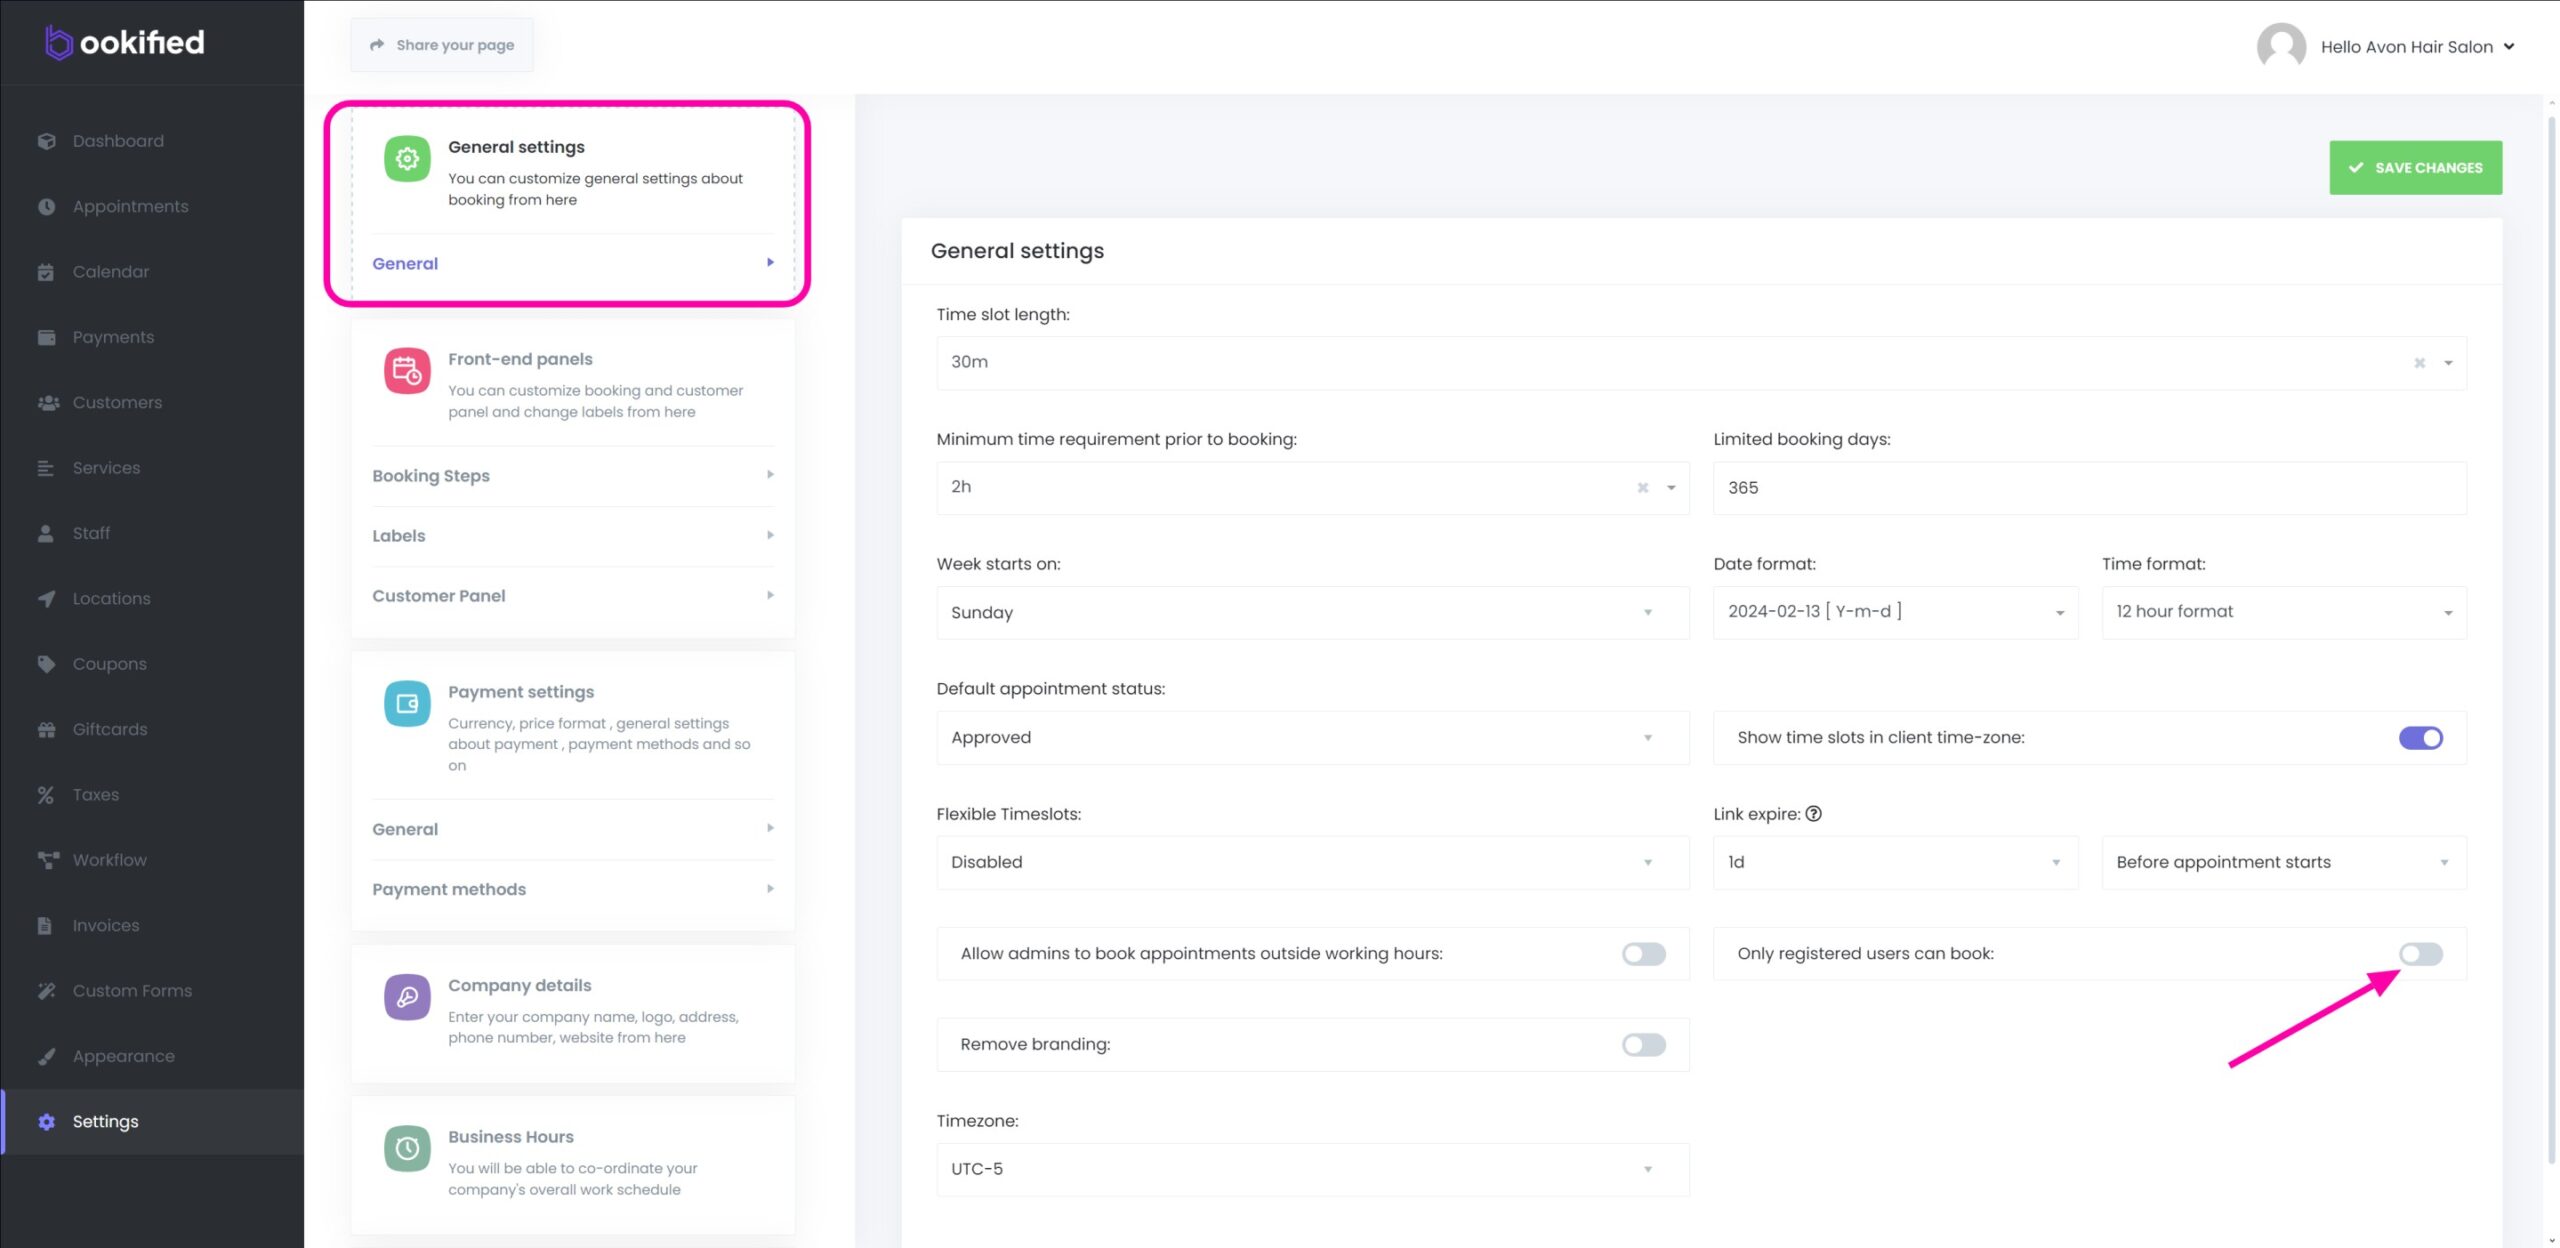
Restricting Booking Panel to Only Registered Users
-
By enabling the ‘Only registered users can book’ option in General Settings, you can restrict access to the booking panel to registered users only. This ensures that only users who are logged in can access the booking panel. Users who are not logged in will be directed to the login page, where they have the option to register if they don’t already have an account.
Requiring users to register can enhance security by preventing spam or fraudulent bookings, as it necessitates the provision of valid information to create an account. It also improves user convenience, as registered users often have the ability to view, modify, or cancel their appointments online. Furthermore, the registration process can foster customer loyalty, as users who have taken the time to register may be more likely to return and use the services again. As always, the decision to require registration should consider the nature of the business, the services offered, and the needs and preferences of the customers, balancing the need for security with user convenience and privacy.
- For customizing your booking panel color, please refer to the ‘Appearance’ section in the documentation.
- For adding custom forms to the booking panel, please refer to the ‘Custom Forms’ section in the documentation.