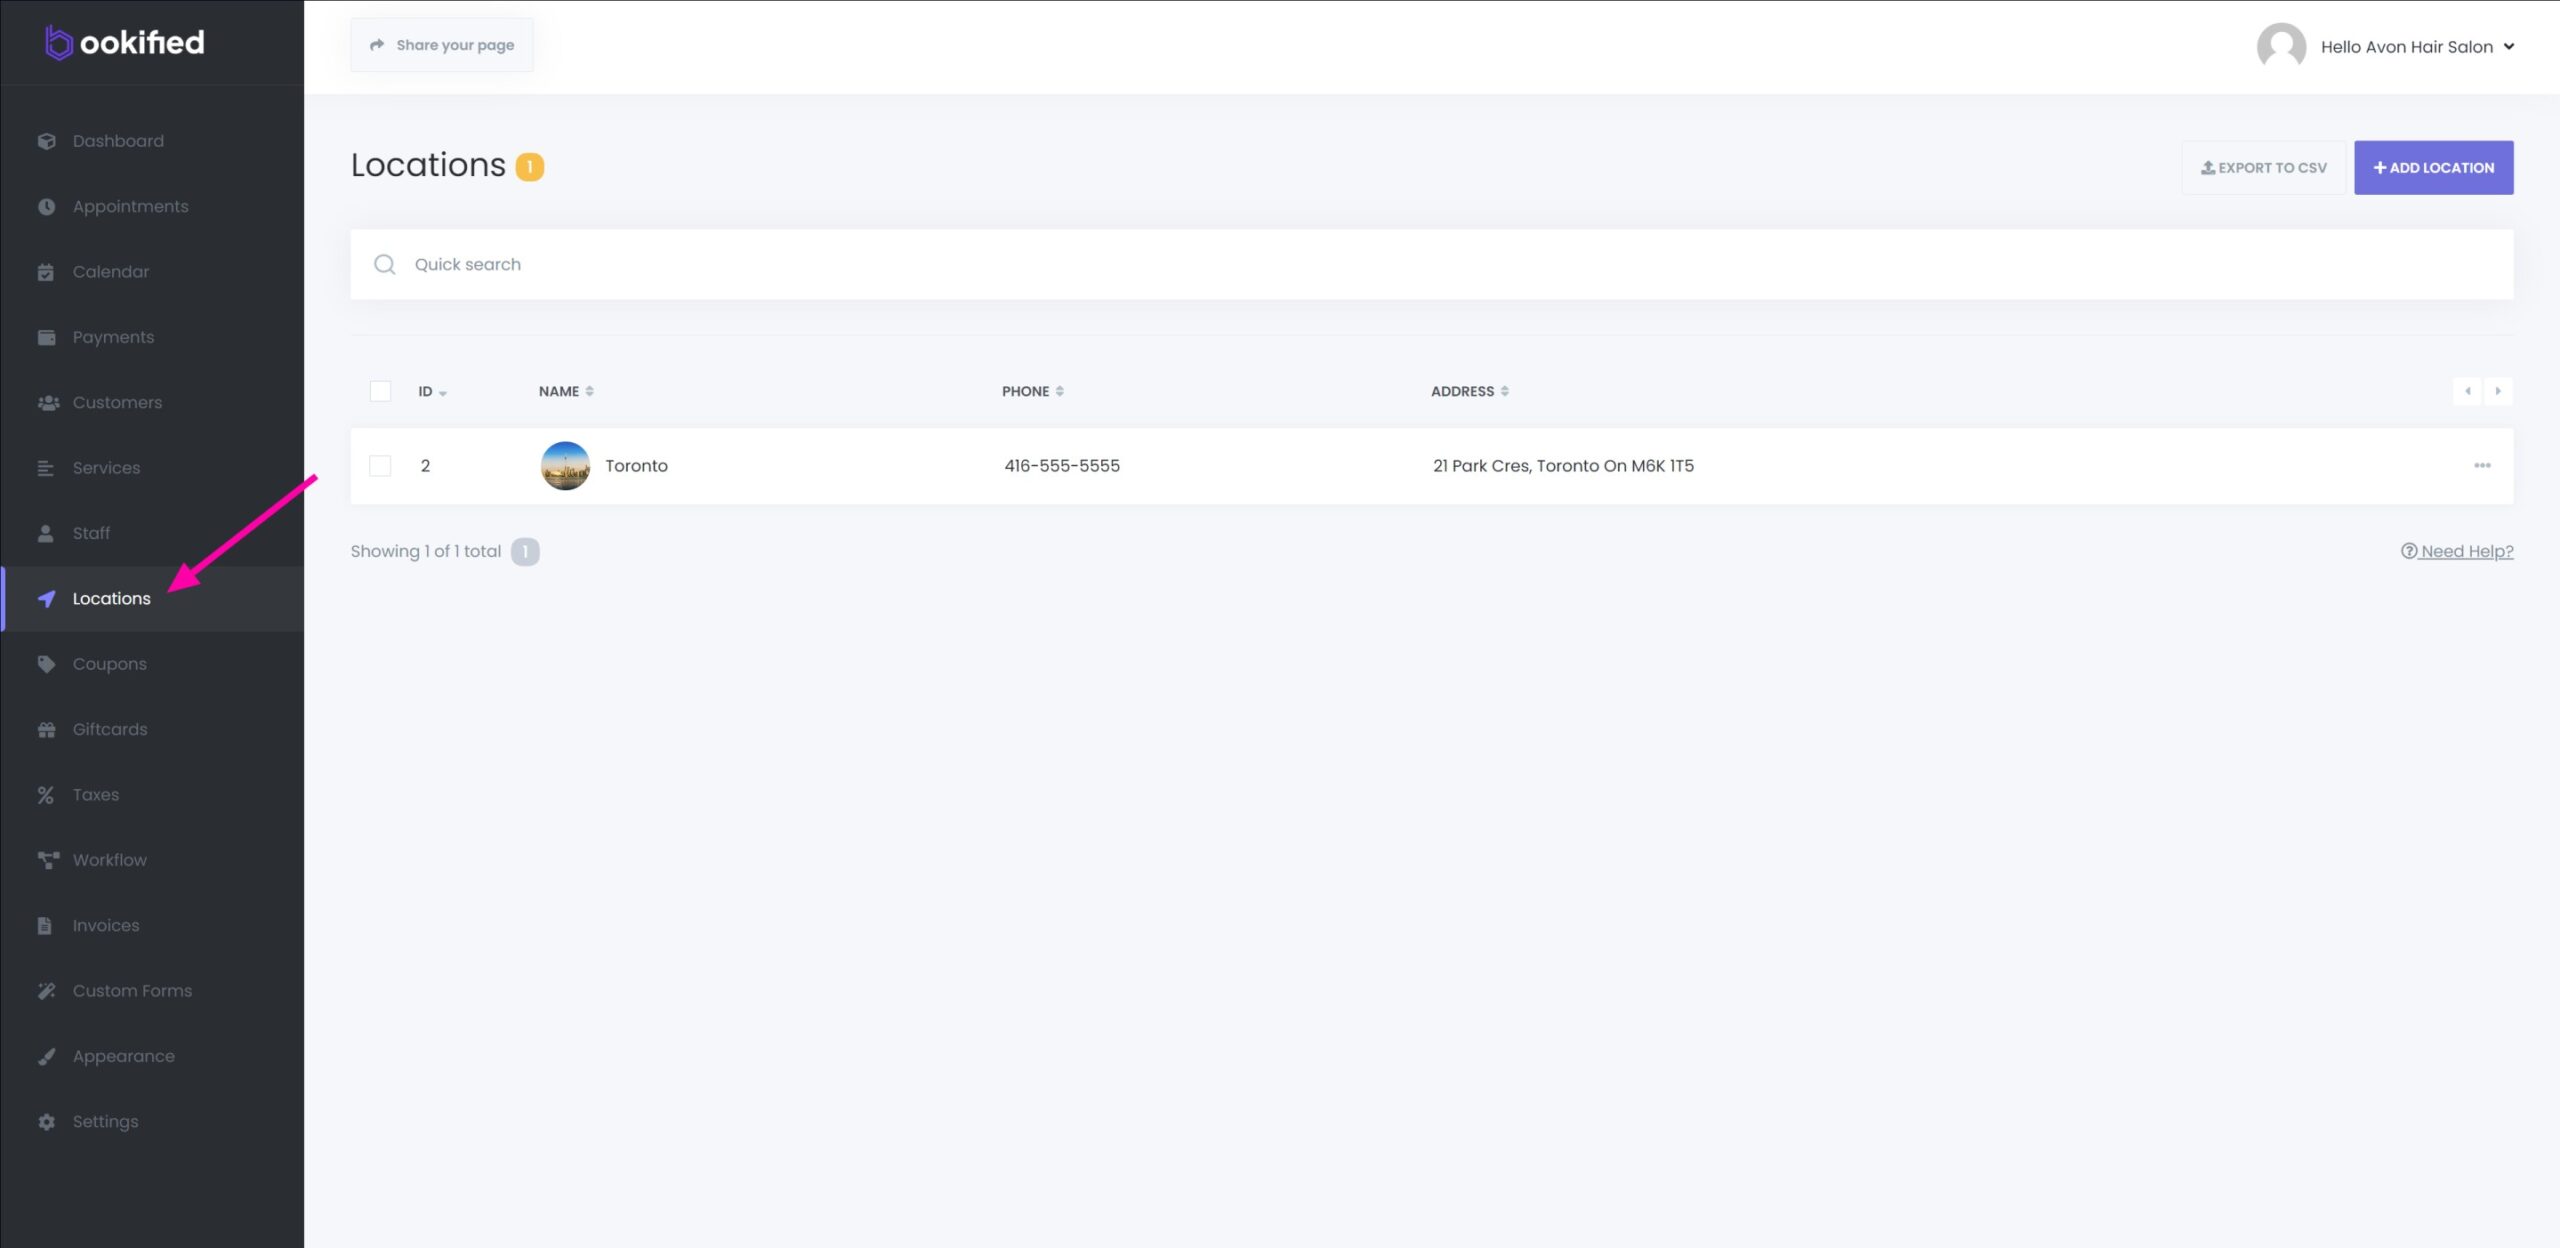
Locations
Bookified offers multi-location support. This feature allows businesses operating in multiple locations to integrate these sites into a single system by adding each one individually. The software enables distinct reservations to be made for each location. Furthermore, it simplifies the process of adding staff members specific to each location.
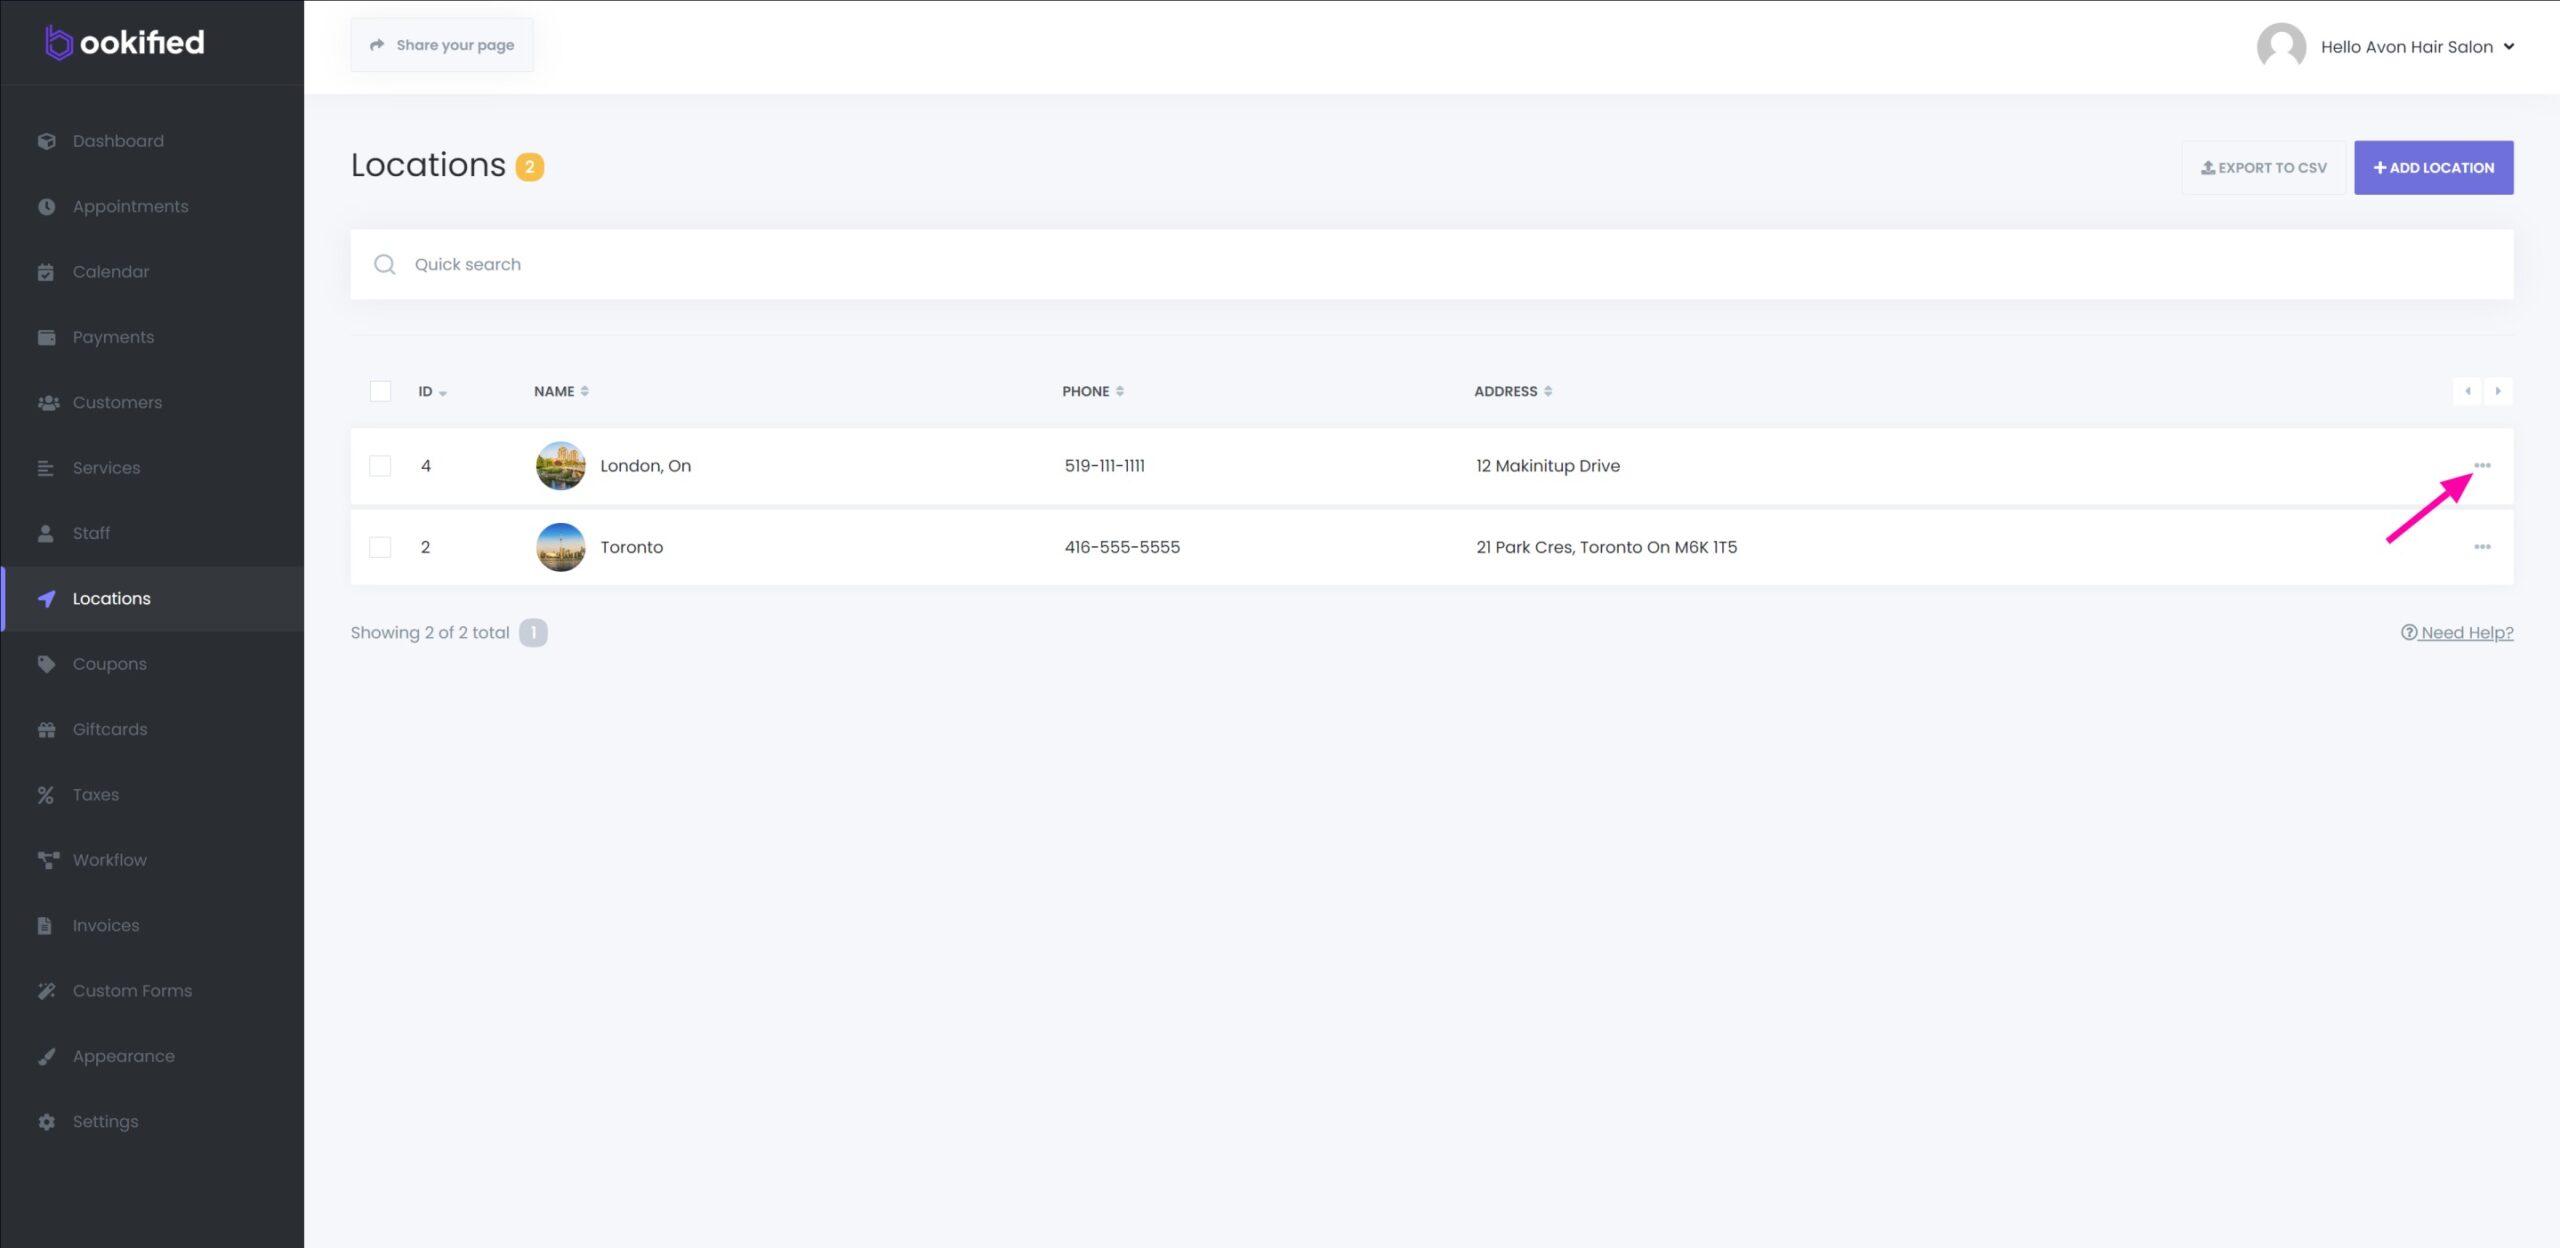
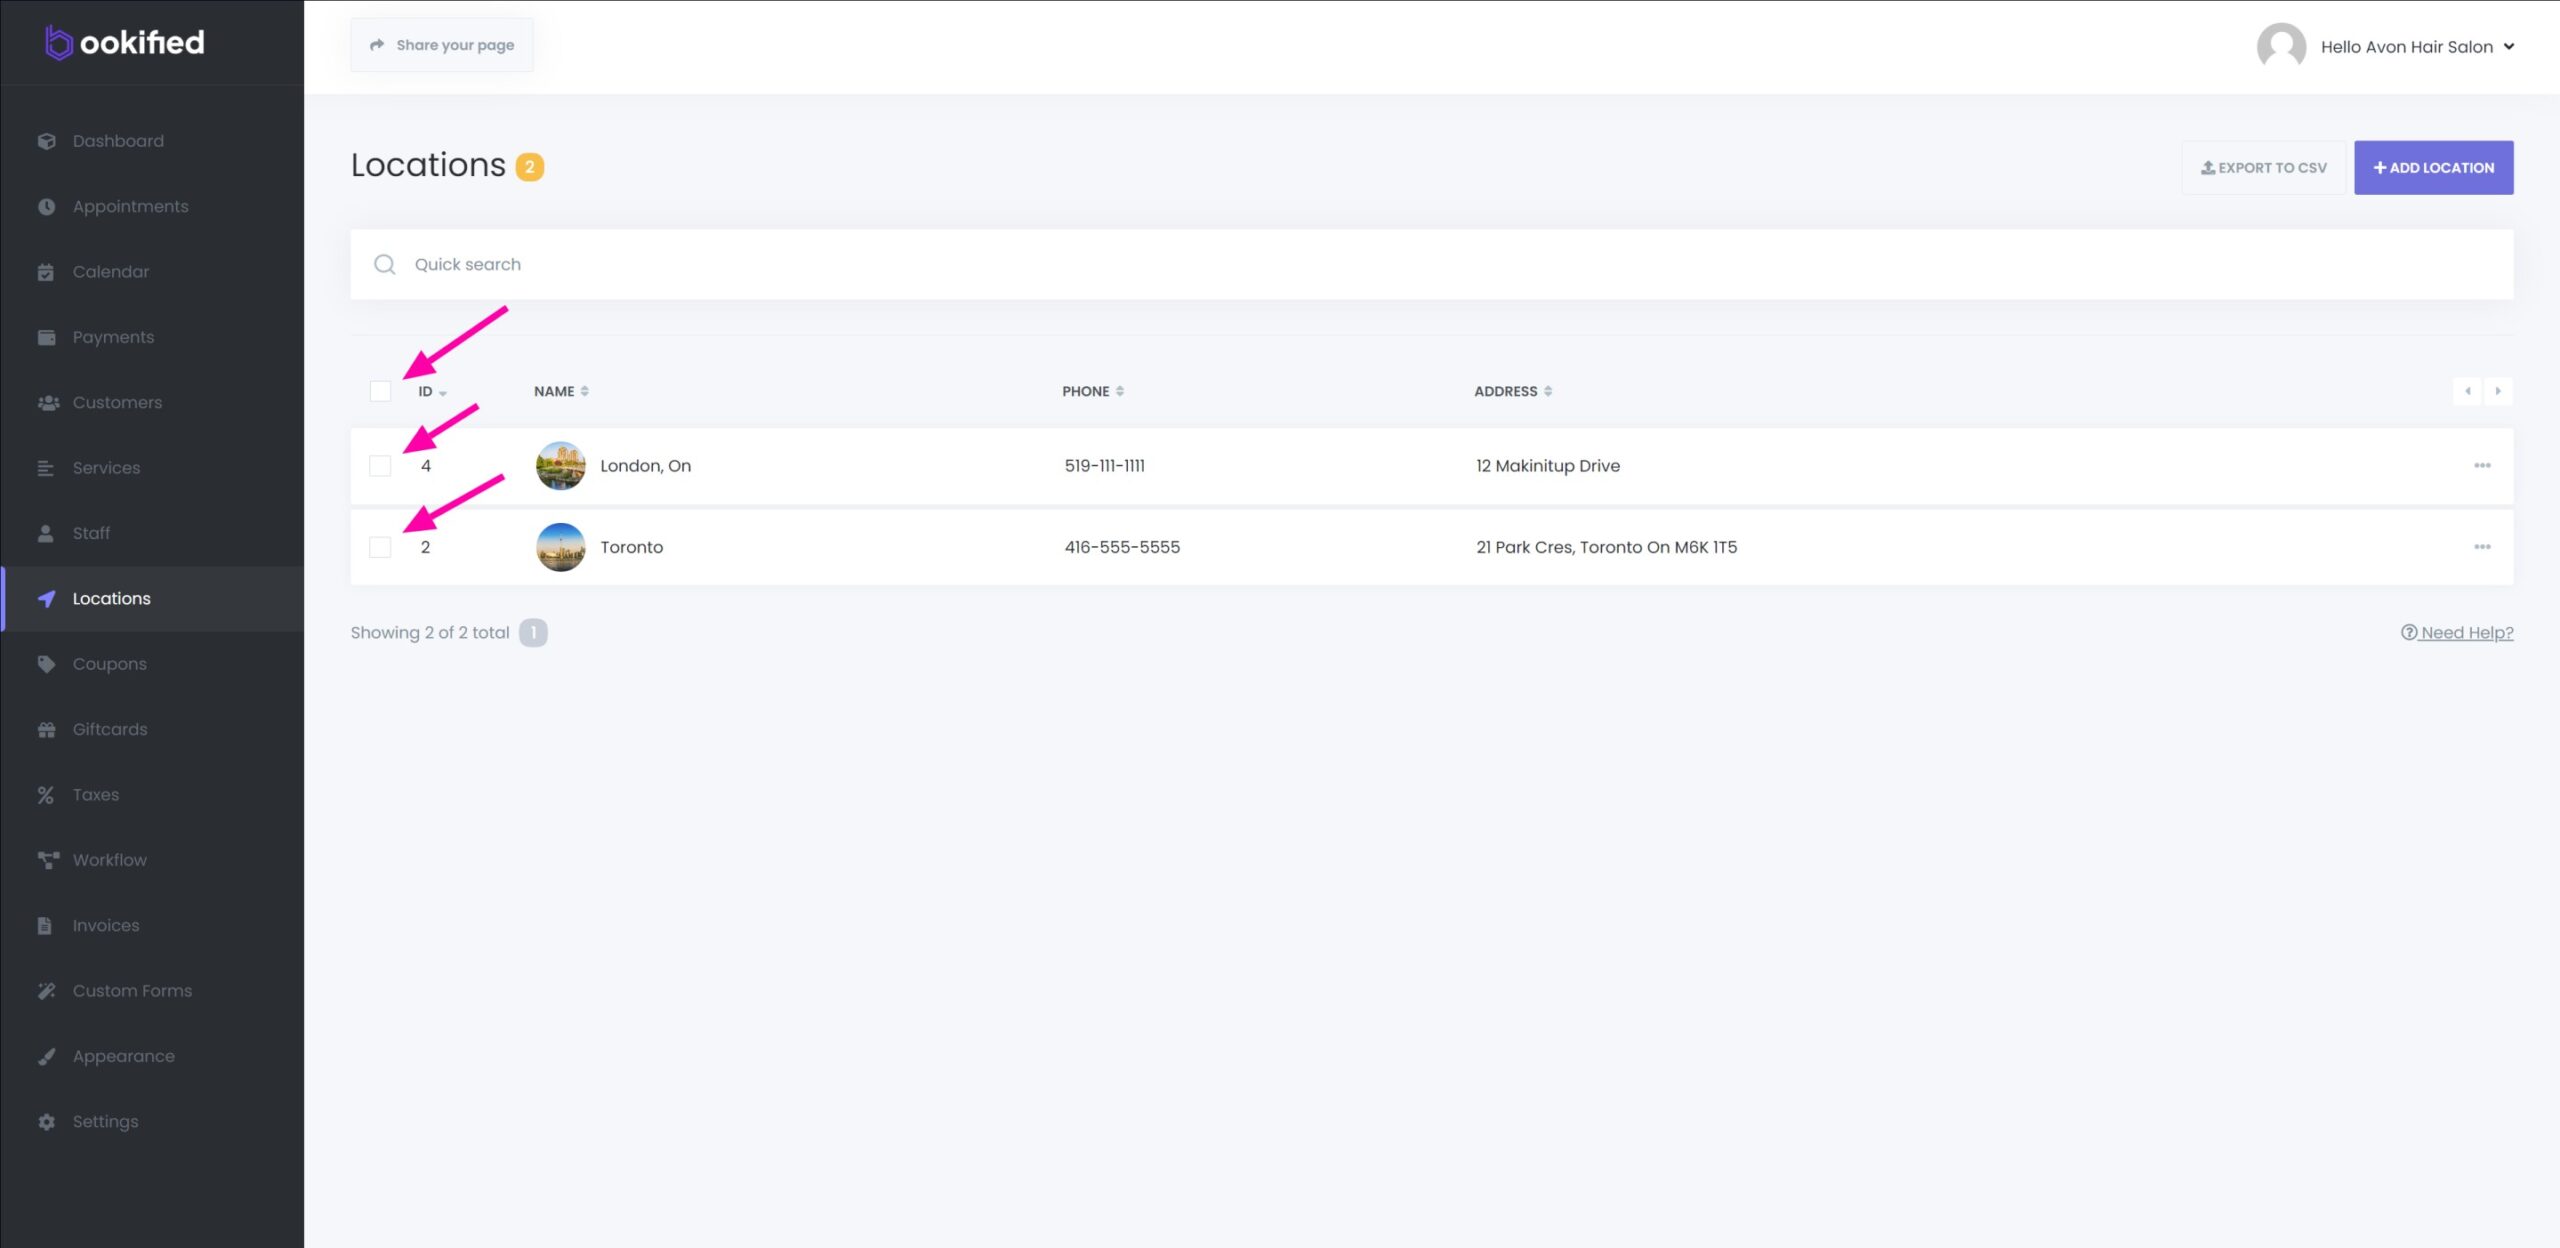
- Navigate to the Locations menu to see a complete list of all business locations.
Adding a New Business Location
-
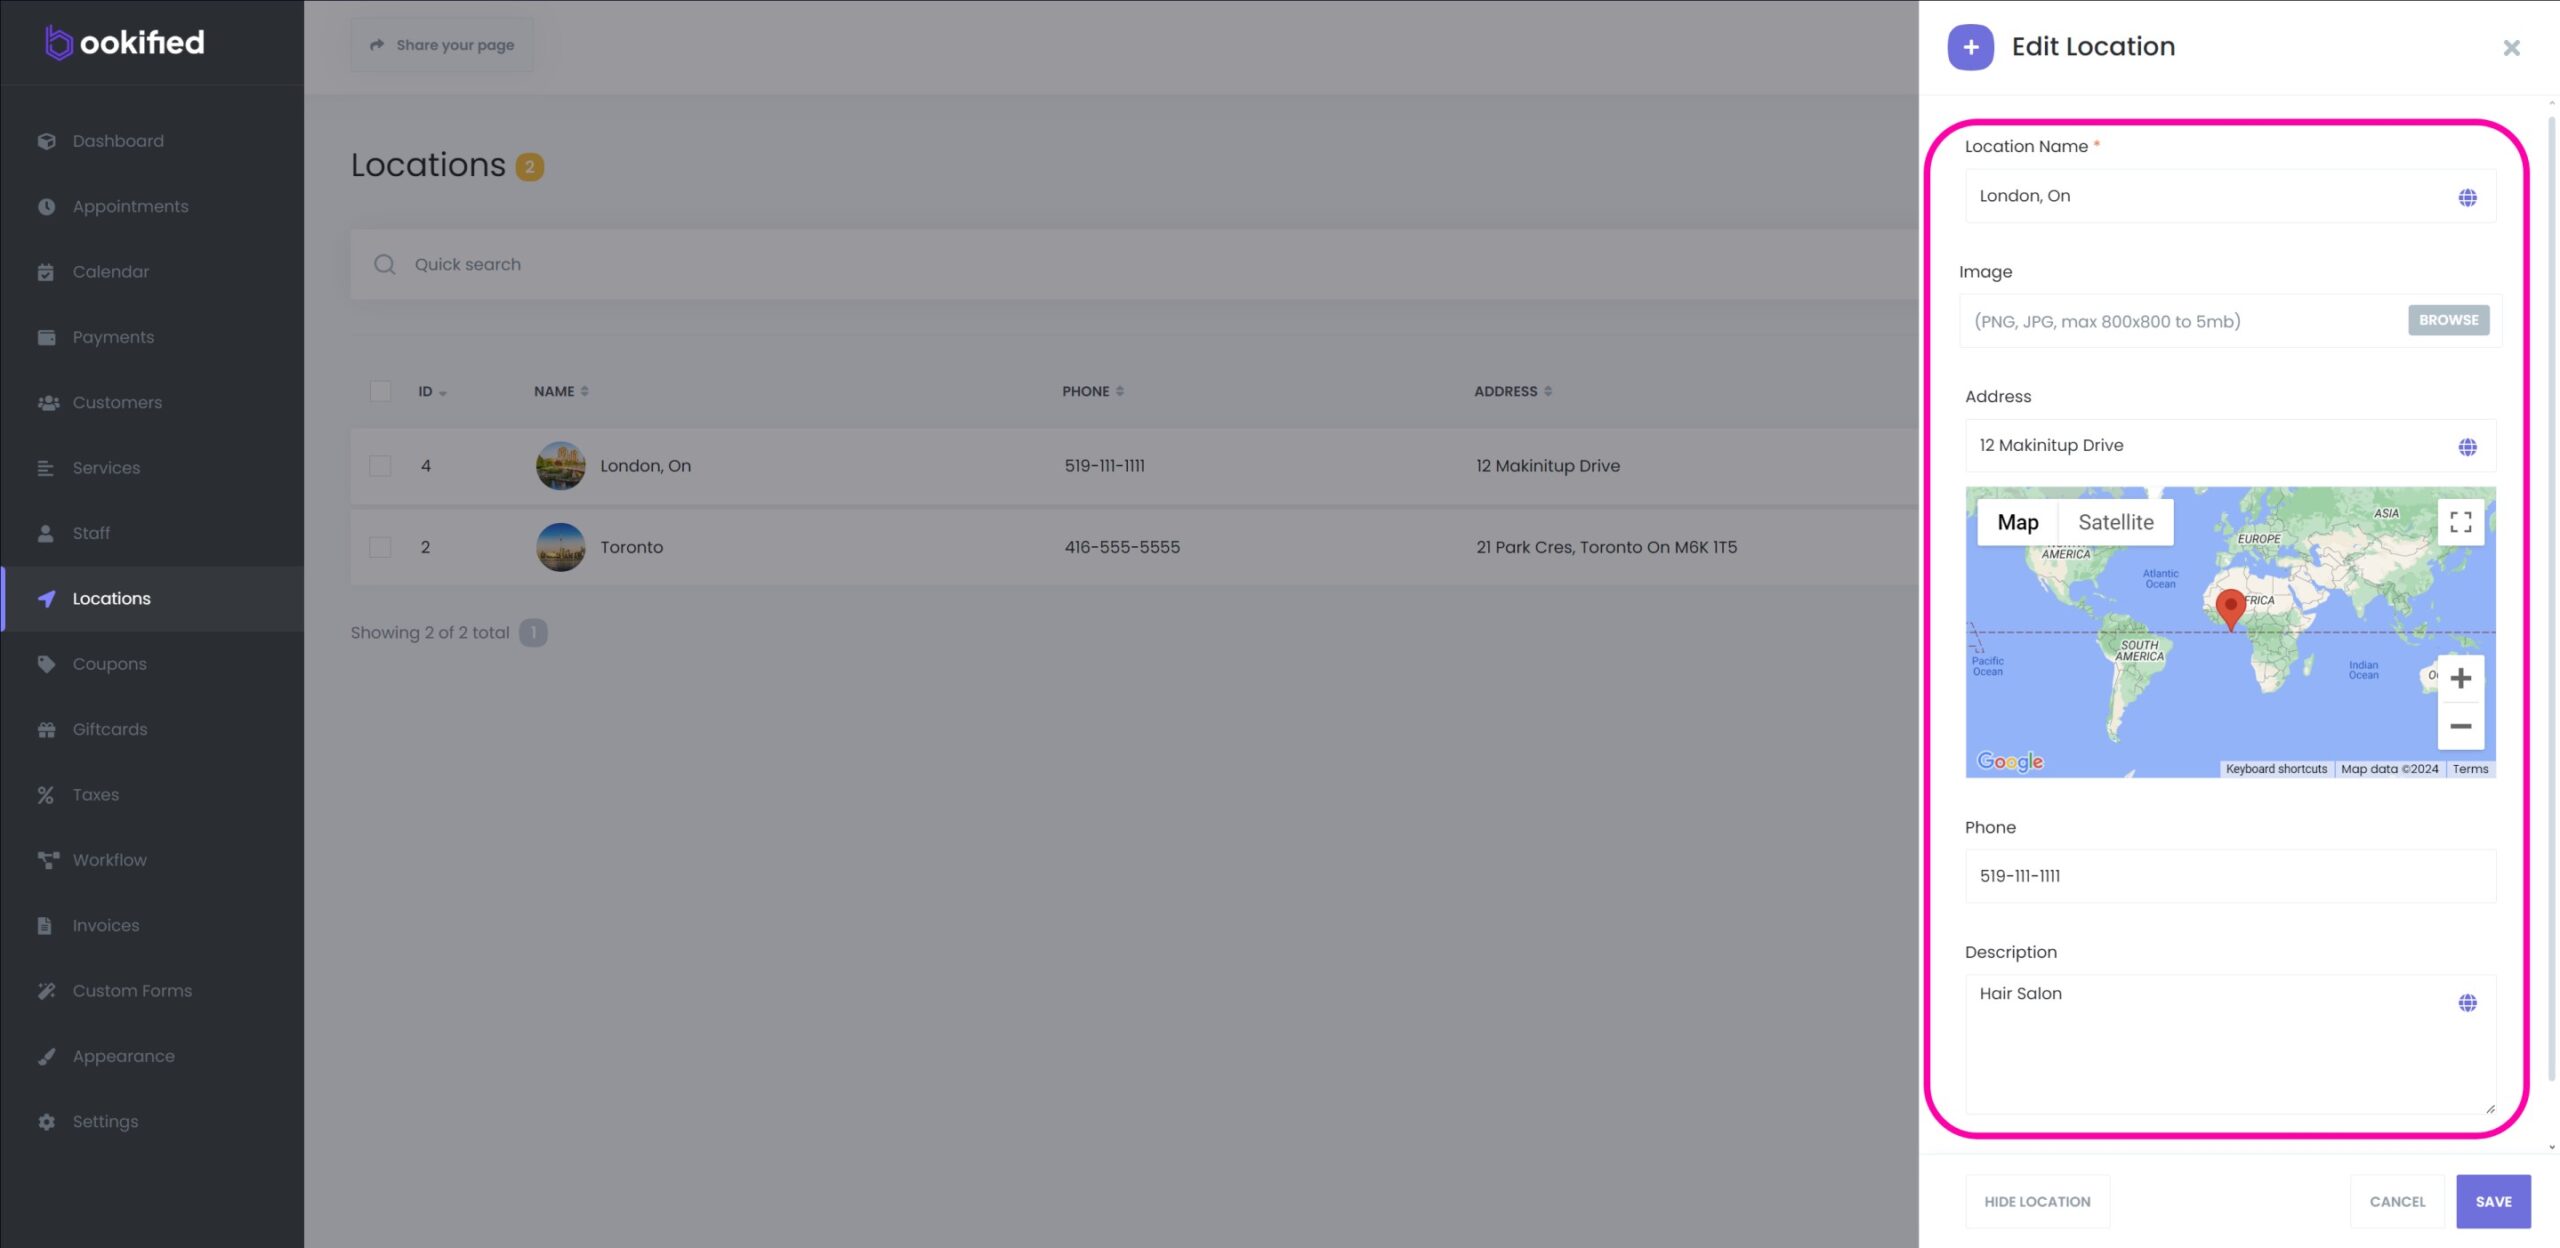
To add a new business location, select the ‘Add Location’ button located at the top right side. This action will trigger a slide-in popup, which contains several fields that need to be filled out. These fields include ‘Location Name’, ‘Location Image’, ‘Location Address’, ‘Location Phone Number’, and ‘Location Description’. After filling out all the required information, click the ‘Add Location’ button at the bottom of the slide-in popup to successfully add the new location.
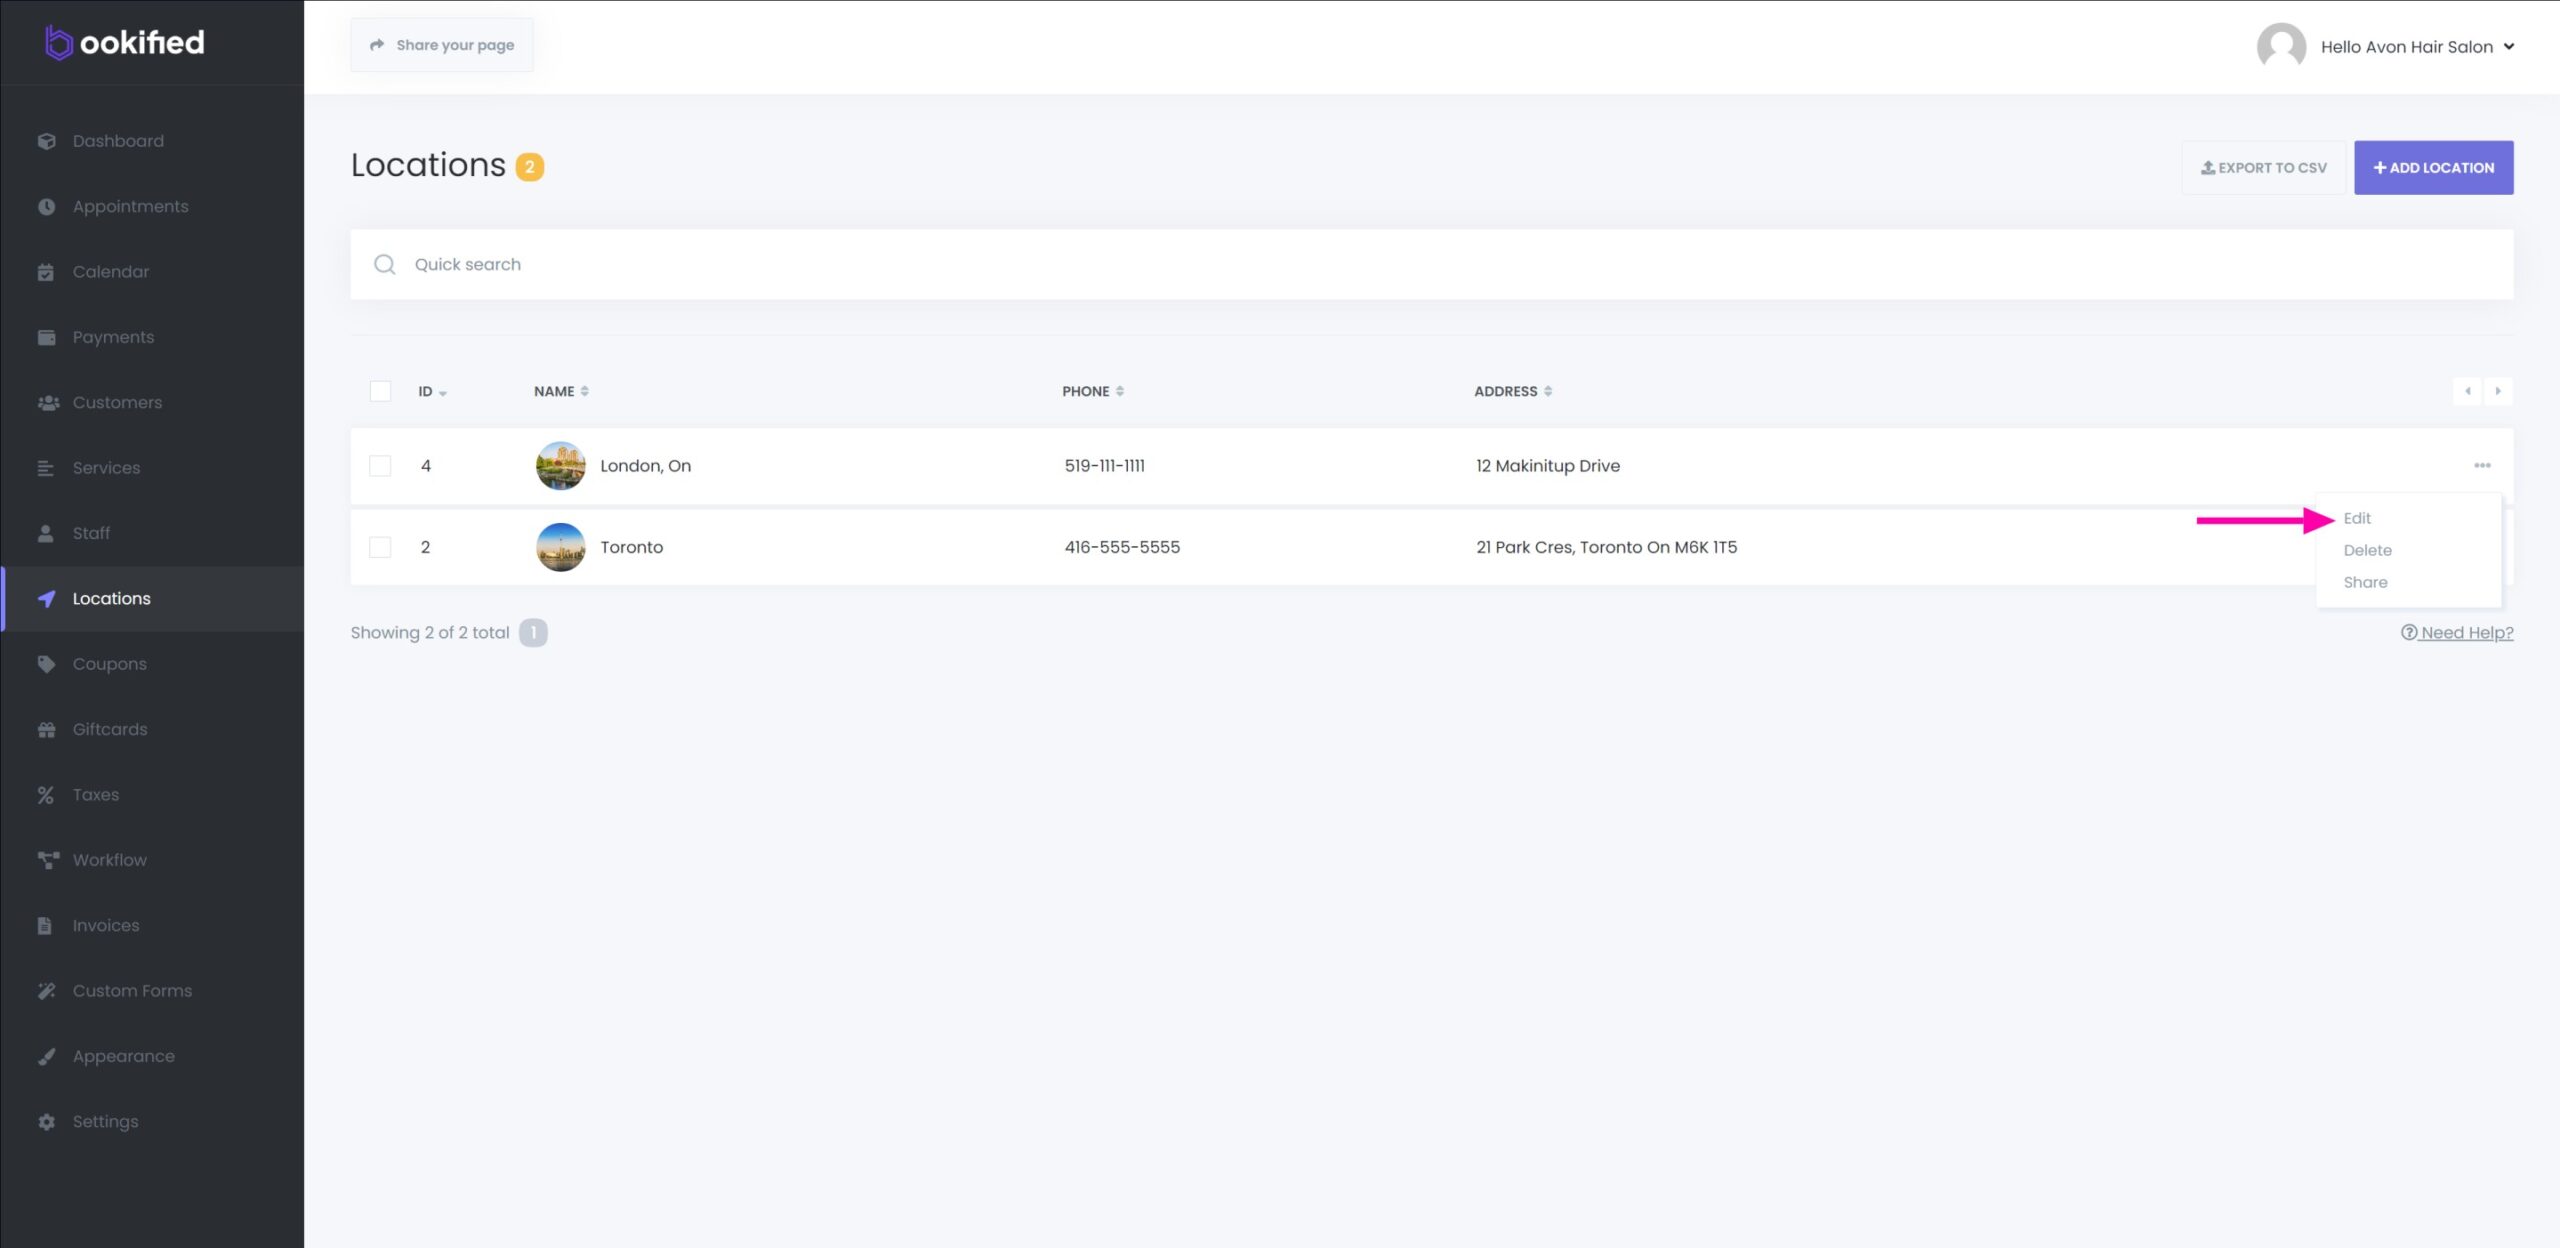
Editing a Business Location
-
To modify a business location, locate the three dots adjacent to the location you wish to edit. Click on these dots, and then select the ‘edit’ option to proceed with the editing process.
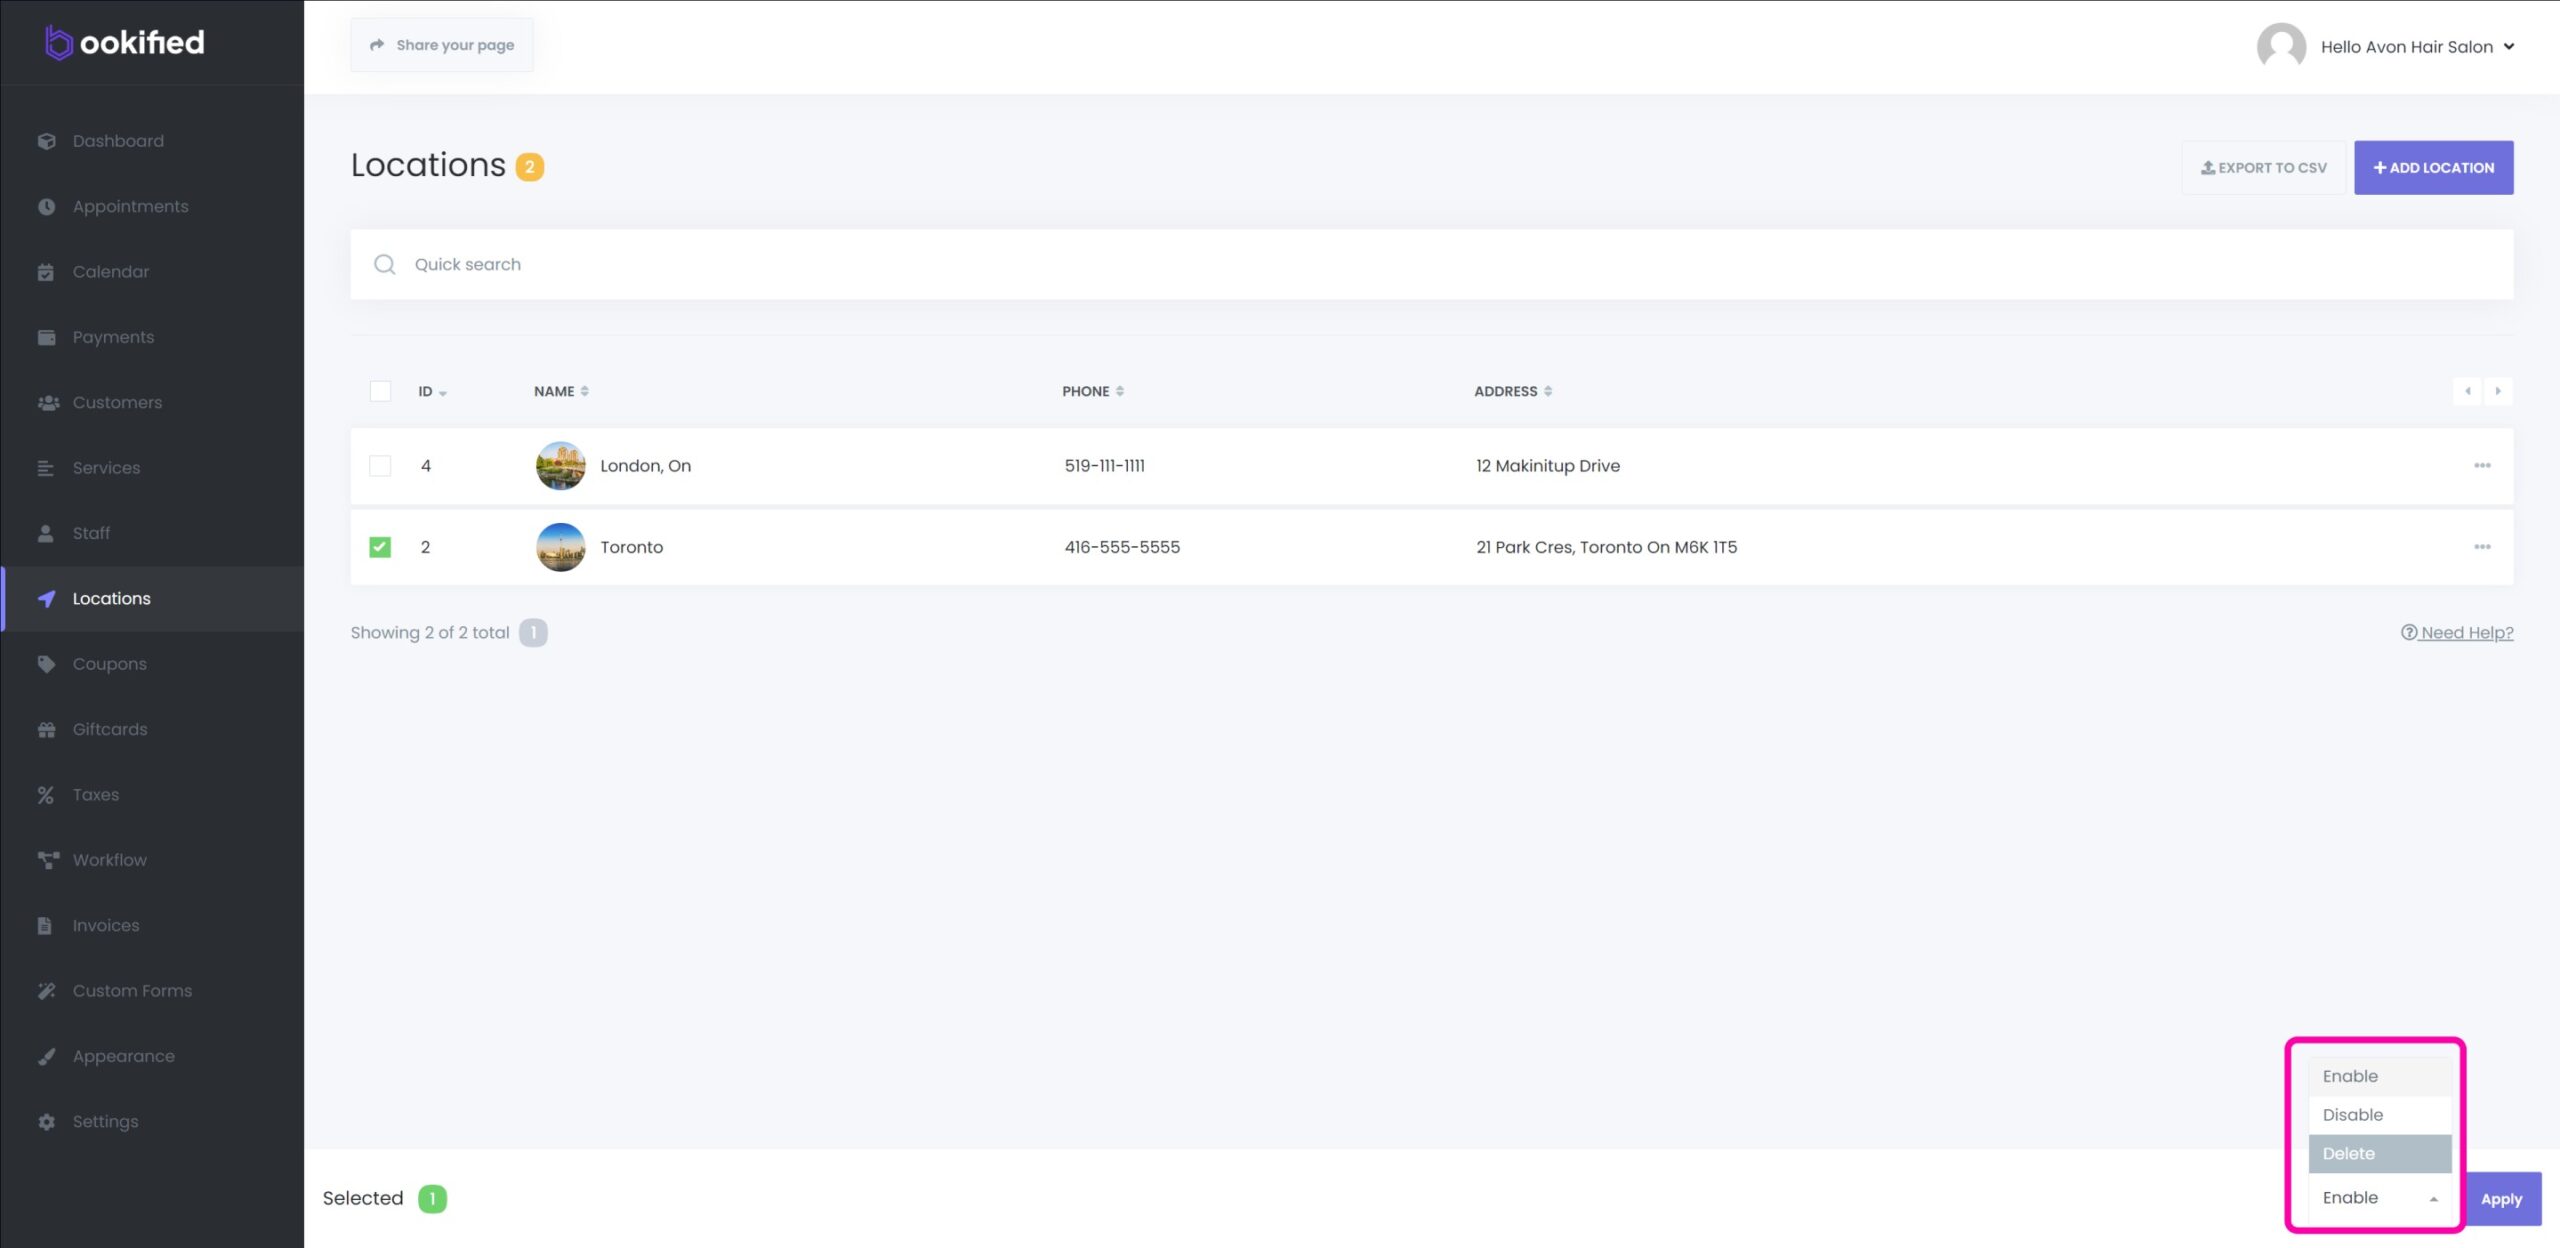
Enable, Disable (Hide) or Delete a Business Location
-
To manage a business location, such as enabling, disabling (hiding), or deleting it, first check the checkbox next to the relevant location. Upon doing this, a bottom banner will appear, presenting options to enable, disable, or delete the selected location(s). Choose the desired action and then click the ‘Apply’ button to execute the selected operation.
Generating and Using a Location-Specific Booking Link
- By clicking on the three dots next to any location, you can access several options. One of these is the ‘Share’ option. When you click on ‘Share’, a unique booking panel link is generated for that specific location. This link can be used by the staff member to direct bookings specifically to that location. They can share this custom link with their customers, who can then use it to book an appointment directly with the staff member at the chosen location..
Important: If you choose a specific staff member when creating the link, ensure that the staff member is assigned to that location before specifying their name. Otherwise, an error will occur when attempting a booking.