Custom Forms
This guide provides step-by-step instructions on how to create custom forms within Bookified’s multi-functional Form Builder. It explains how to name and select services for the form, build the form using various field types, customize fields, and utilize conditions to make the form dynamic and responsive. By following this guide, businesses can create customized forms that align with their service offerings and enhance the booking experience.
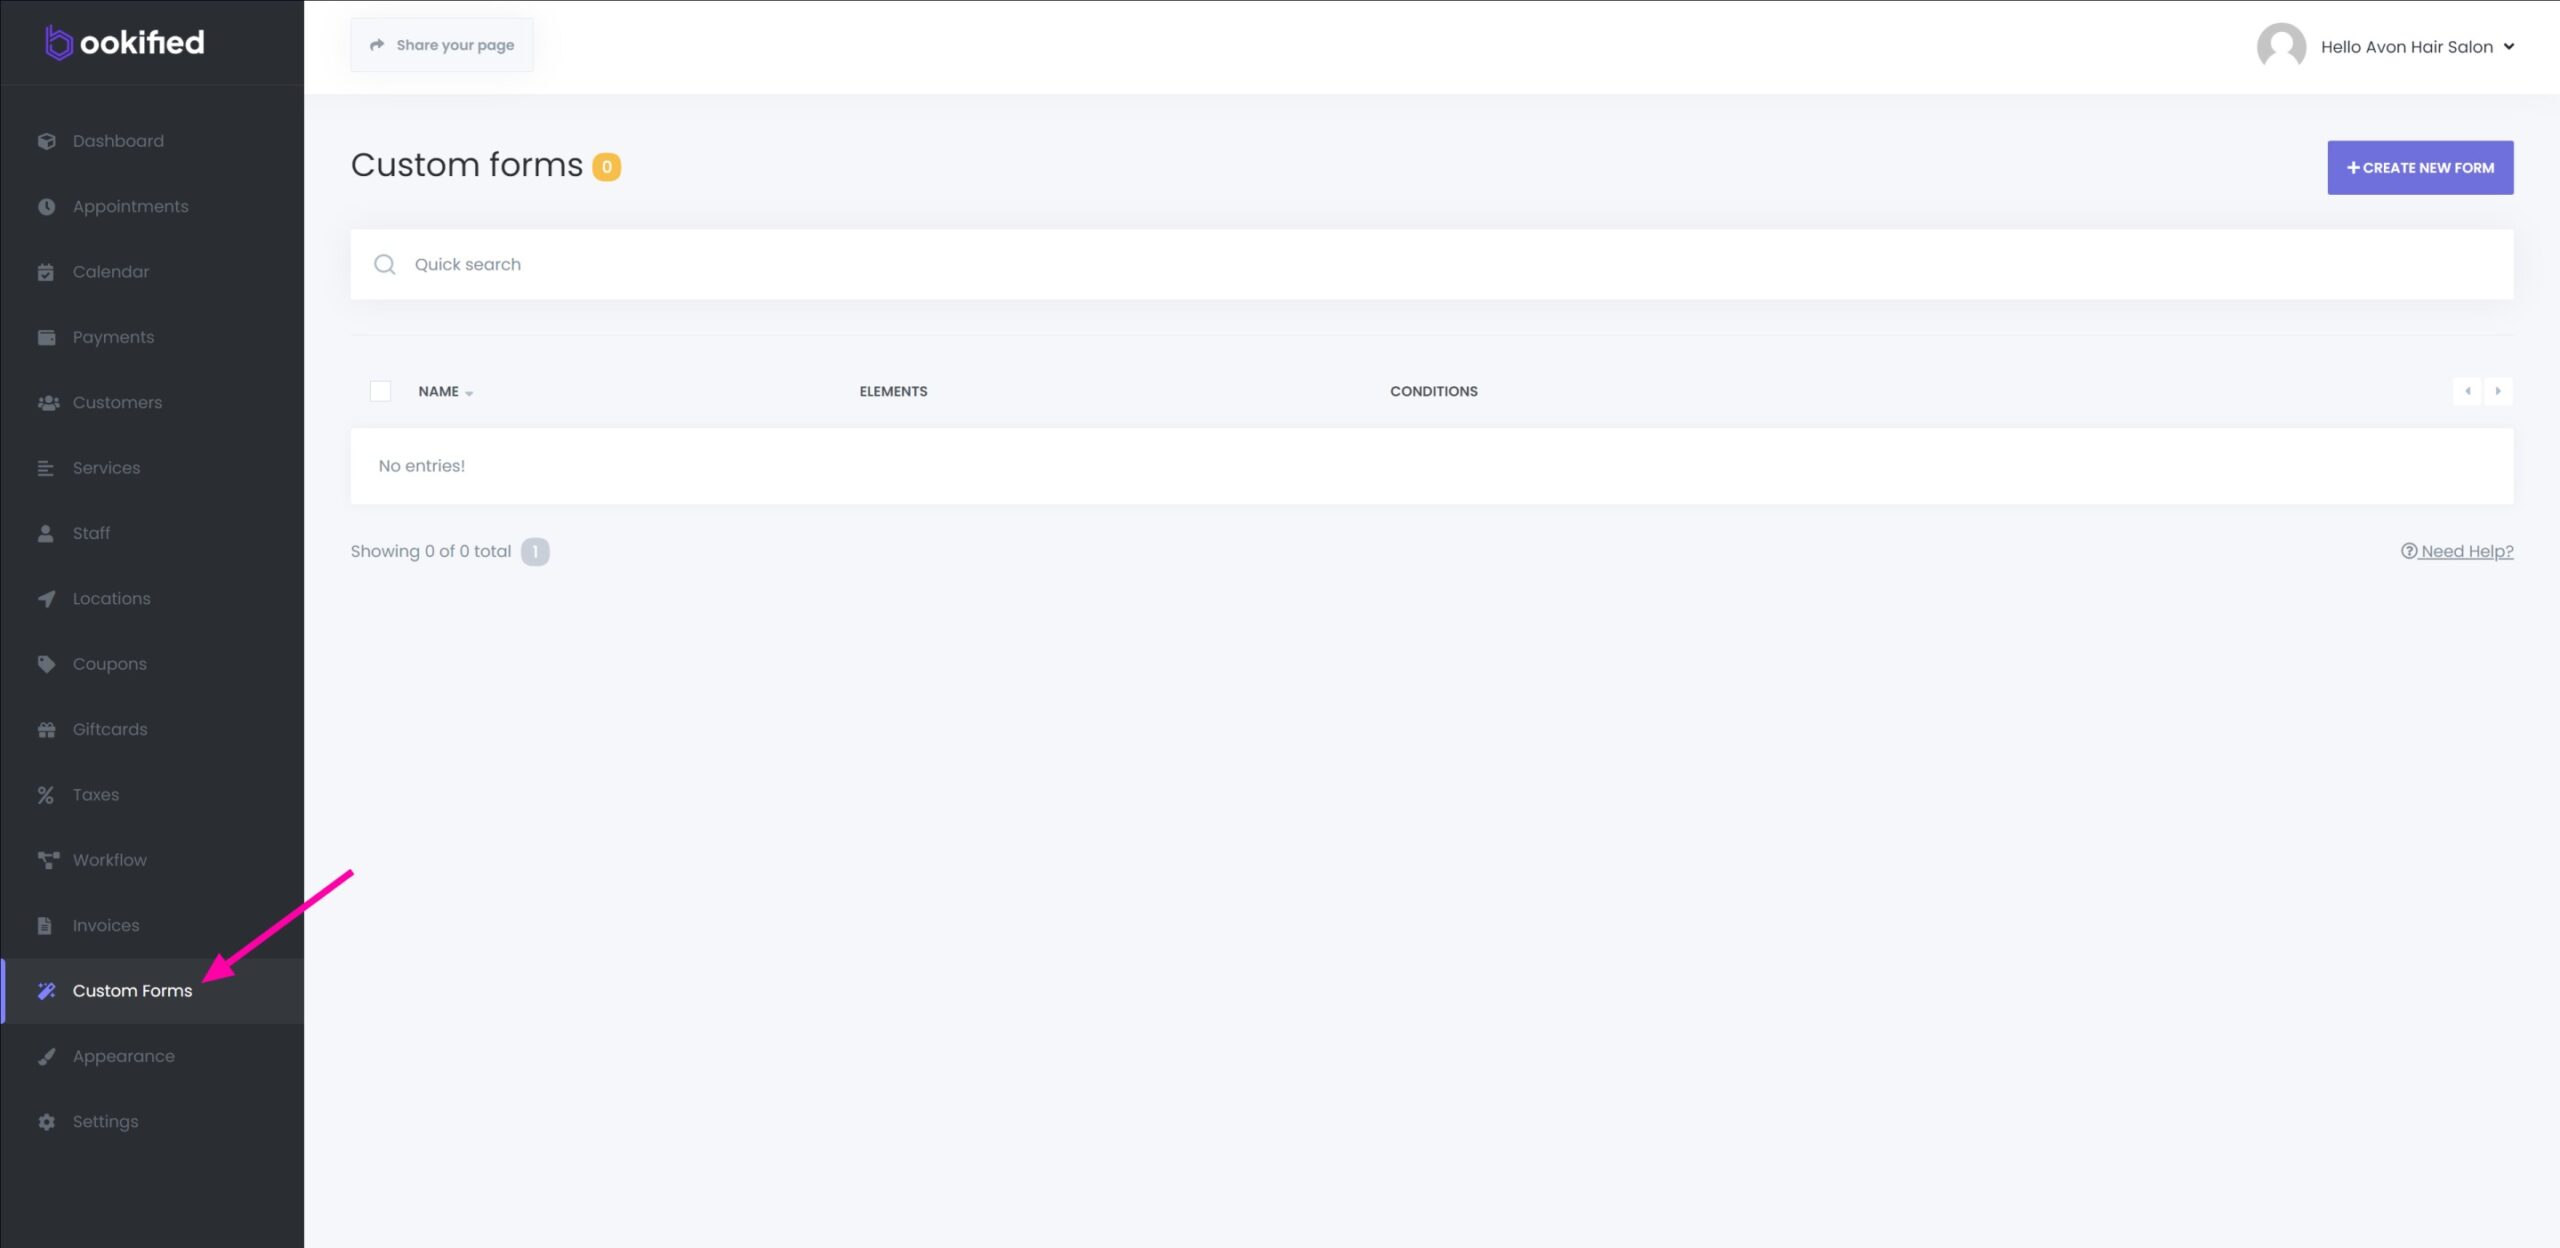
Custom Forms are applied to your booking panel within the ‘Information’ section.
- Navigate to the Custom Forms menu to get started.
Creating a New Form
-
Starting the Process:
-
Navigate to the Custom forms menu and click on the ‘+ CREATE NEW FORM’ button to begin creating a new form.
-
-
Naming and Service Selection:
-
Provide a name for the form and select the services to which the form will apply.
-
-
Form Building:
-
Utilize the form builder tool to construct your form. On the left panel, you will find various field types to include in your form.
-
Supported Field Types
- Label: This is not an input field. It is used to provide information to the customer, rather than collecting information from them.
- Text Input: Use this field to collect information from your customers.
- Text Area: This field is also used to collect information from your customers. However, the text area can accommodate longer text than the input field.
- Number Input: This field is used to collect numerical data from your customers.
- Date Input: Use this field to collect date information from your customers.
- Time Input: This field is designed to collect time data from your customers.
- Select: This field can be used to add a select type of input.
- Checkboxes: This field is used to add multi-select checkboxes.
- Radio Buttons: Use this field to collect selectable options.
- File: This field is used to collect files from your customers.
- Link: Use this field to collect links from your customers.
Creating and Applying Conditions
1. Versatile Conditions Setup: You can implement numerous conditions to show, enable, disable, or hide form fields based on specific criteria.
2. Triggering Conditions: Conditions can be set to respond to various user selections, such as the chosen location, selected service, or picked staff member.
3. Endless Customization Possibilities: The flexibility of conditional logic provides endless possibilities for customizing how and when form fields are displayed or interacted with, based on user actions or choices.
This feature makes the forms more dynamic and responsive, significantly enhancing user experience by displaying only relevant fields based on their selections and requirements.