Staff
This guide provides step-by-step instructions on how to manage staff settings within Bookified. It covers adding new staff members, creating custom weekly schedules, managing special working days, and setting up holidays. Viewing this guide would be beneficial for anyone who needs to effectively manage and organize their staff’s information, schedules, and time-off.
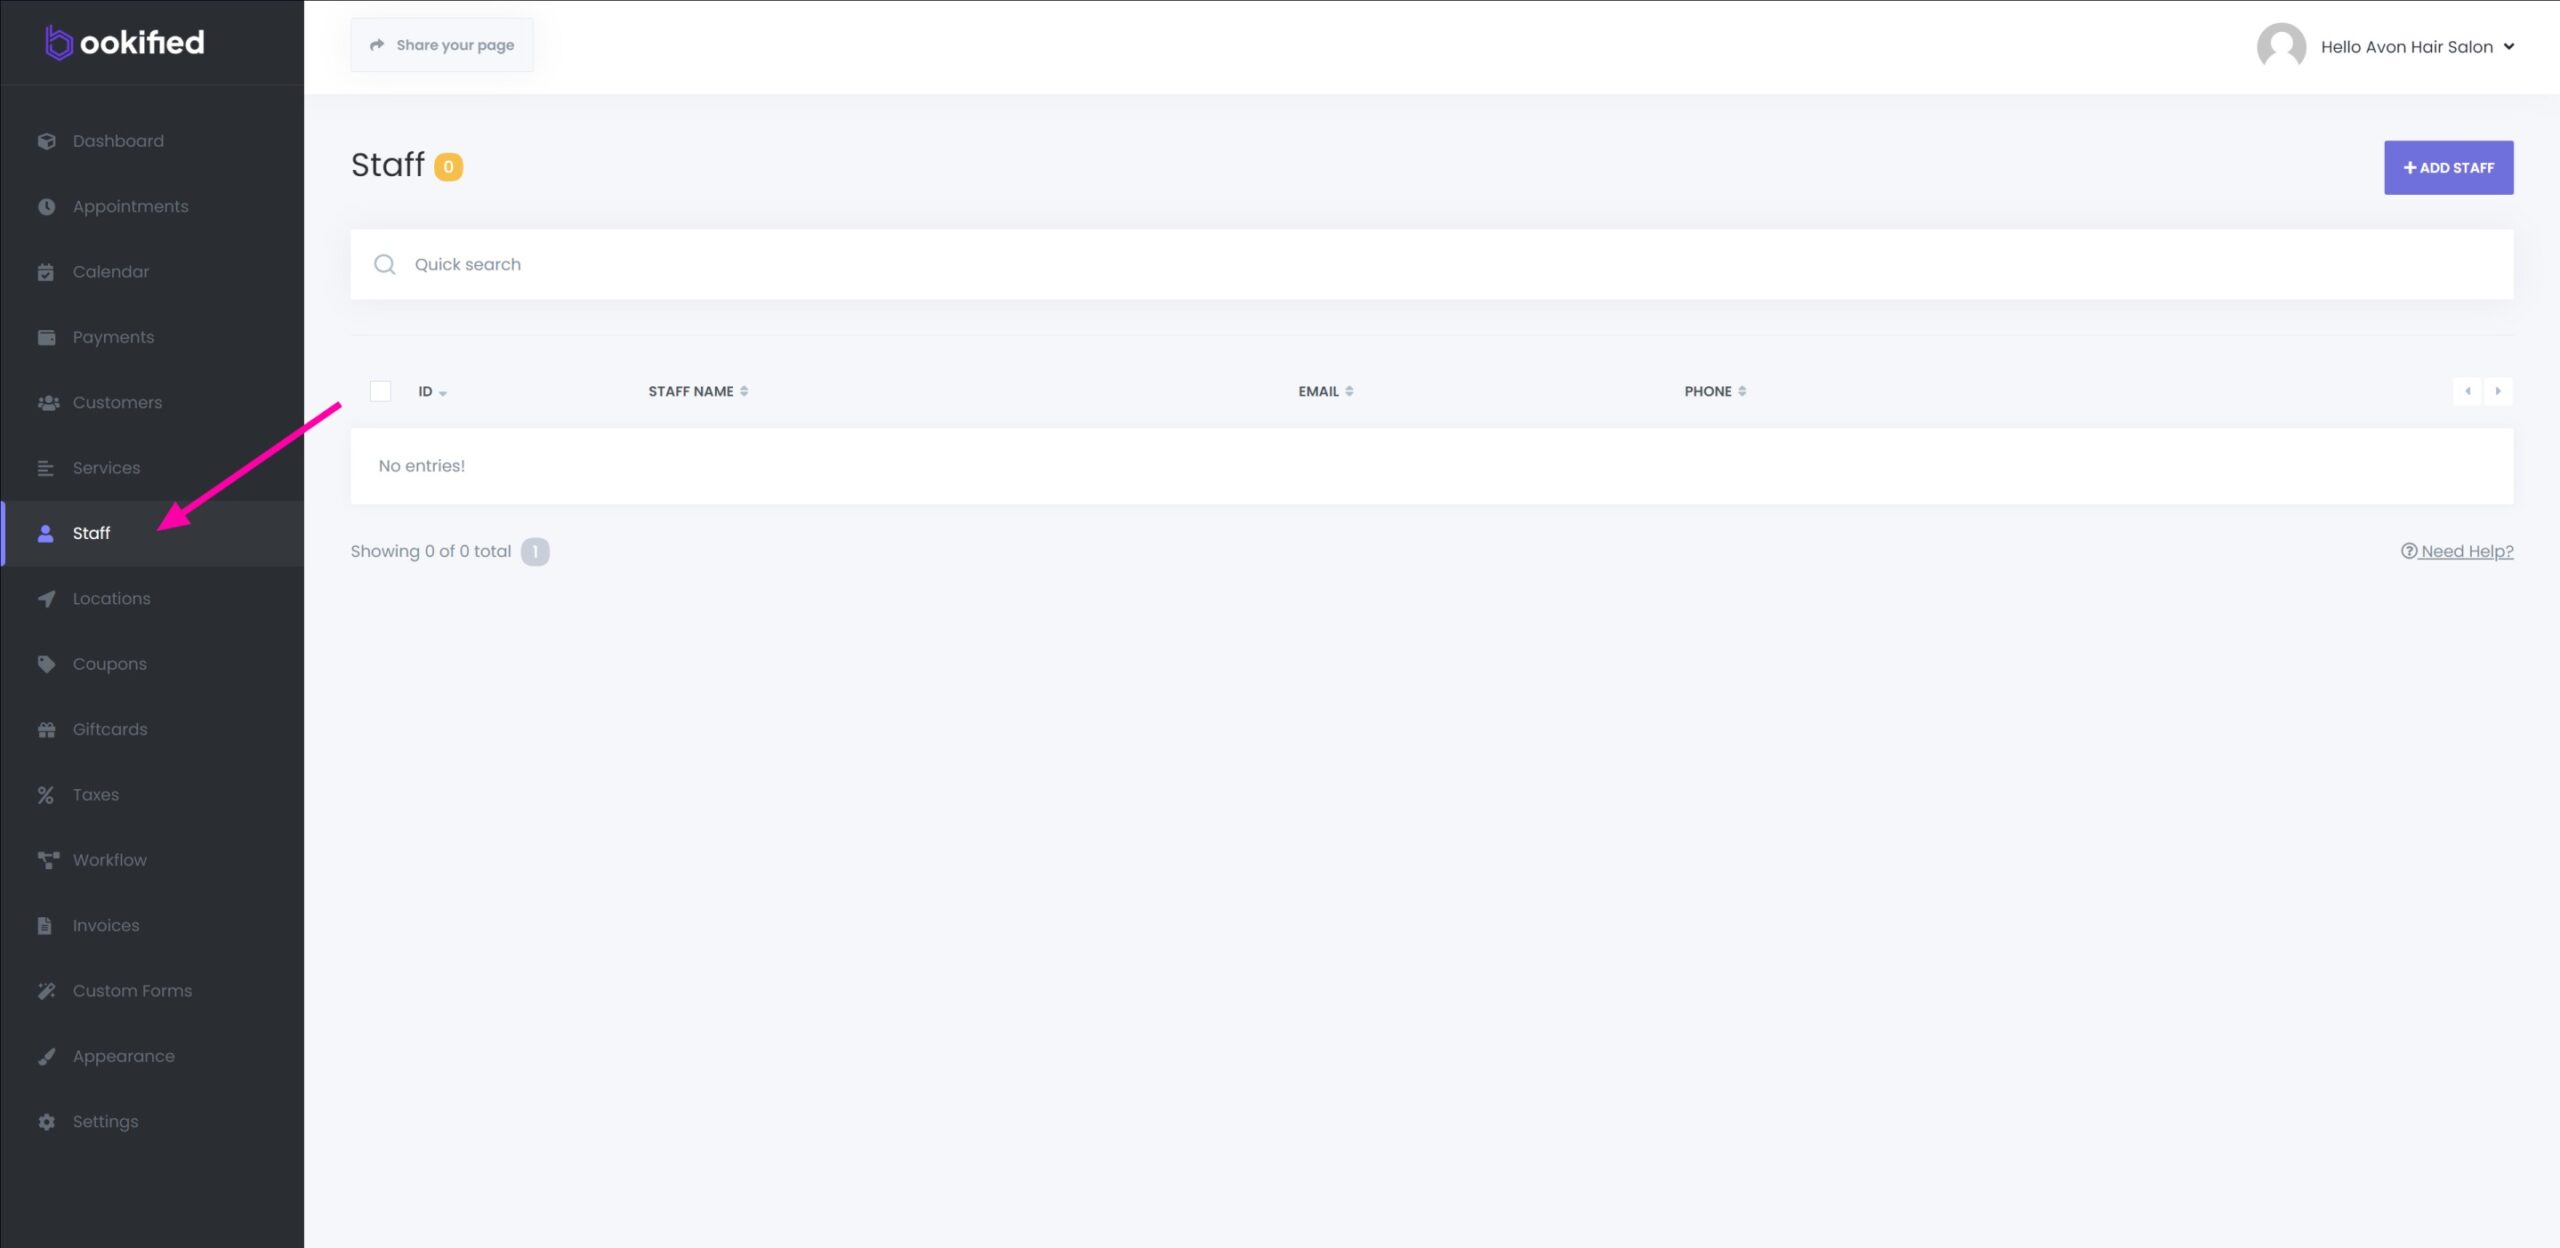
- Navigate to the Staff menu to see a complete list of all staff members.
Adding a New Staff
-
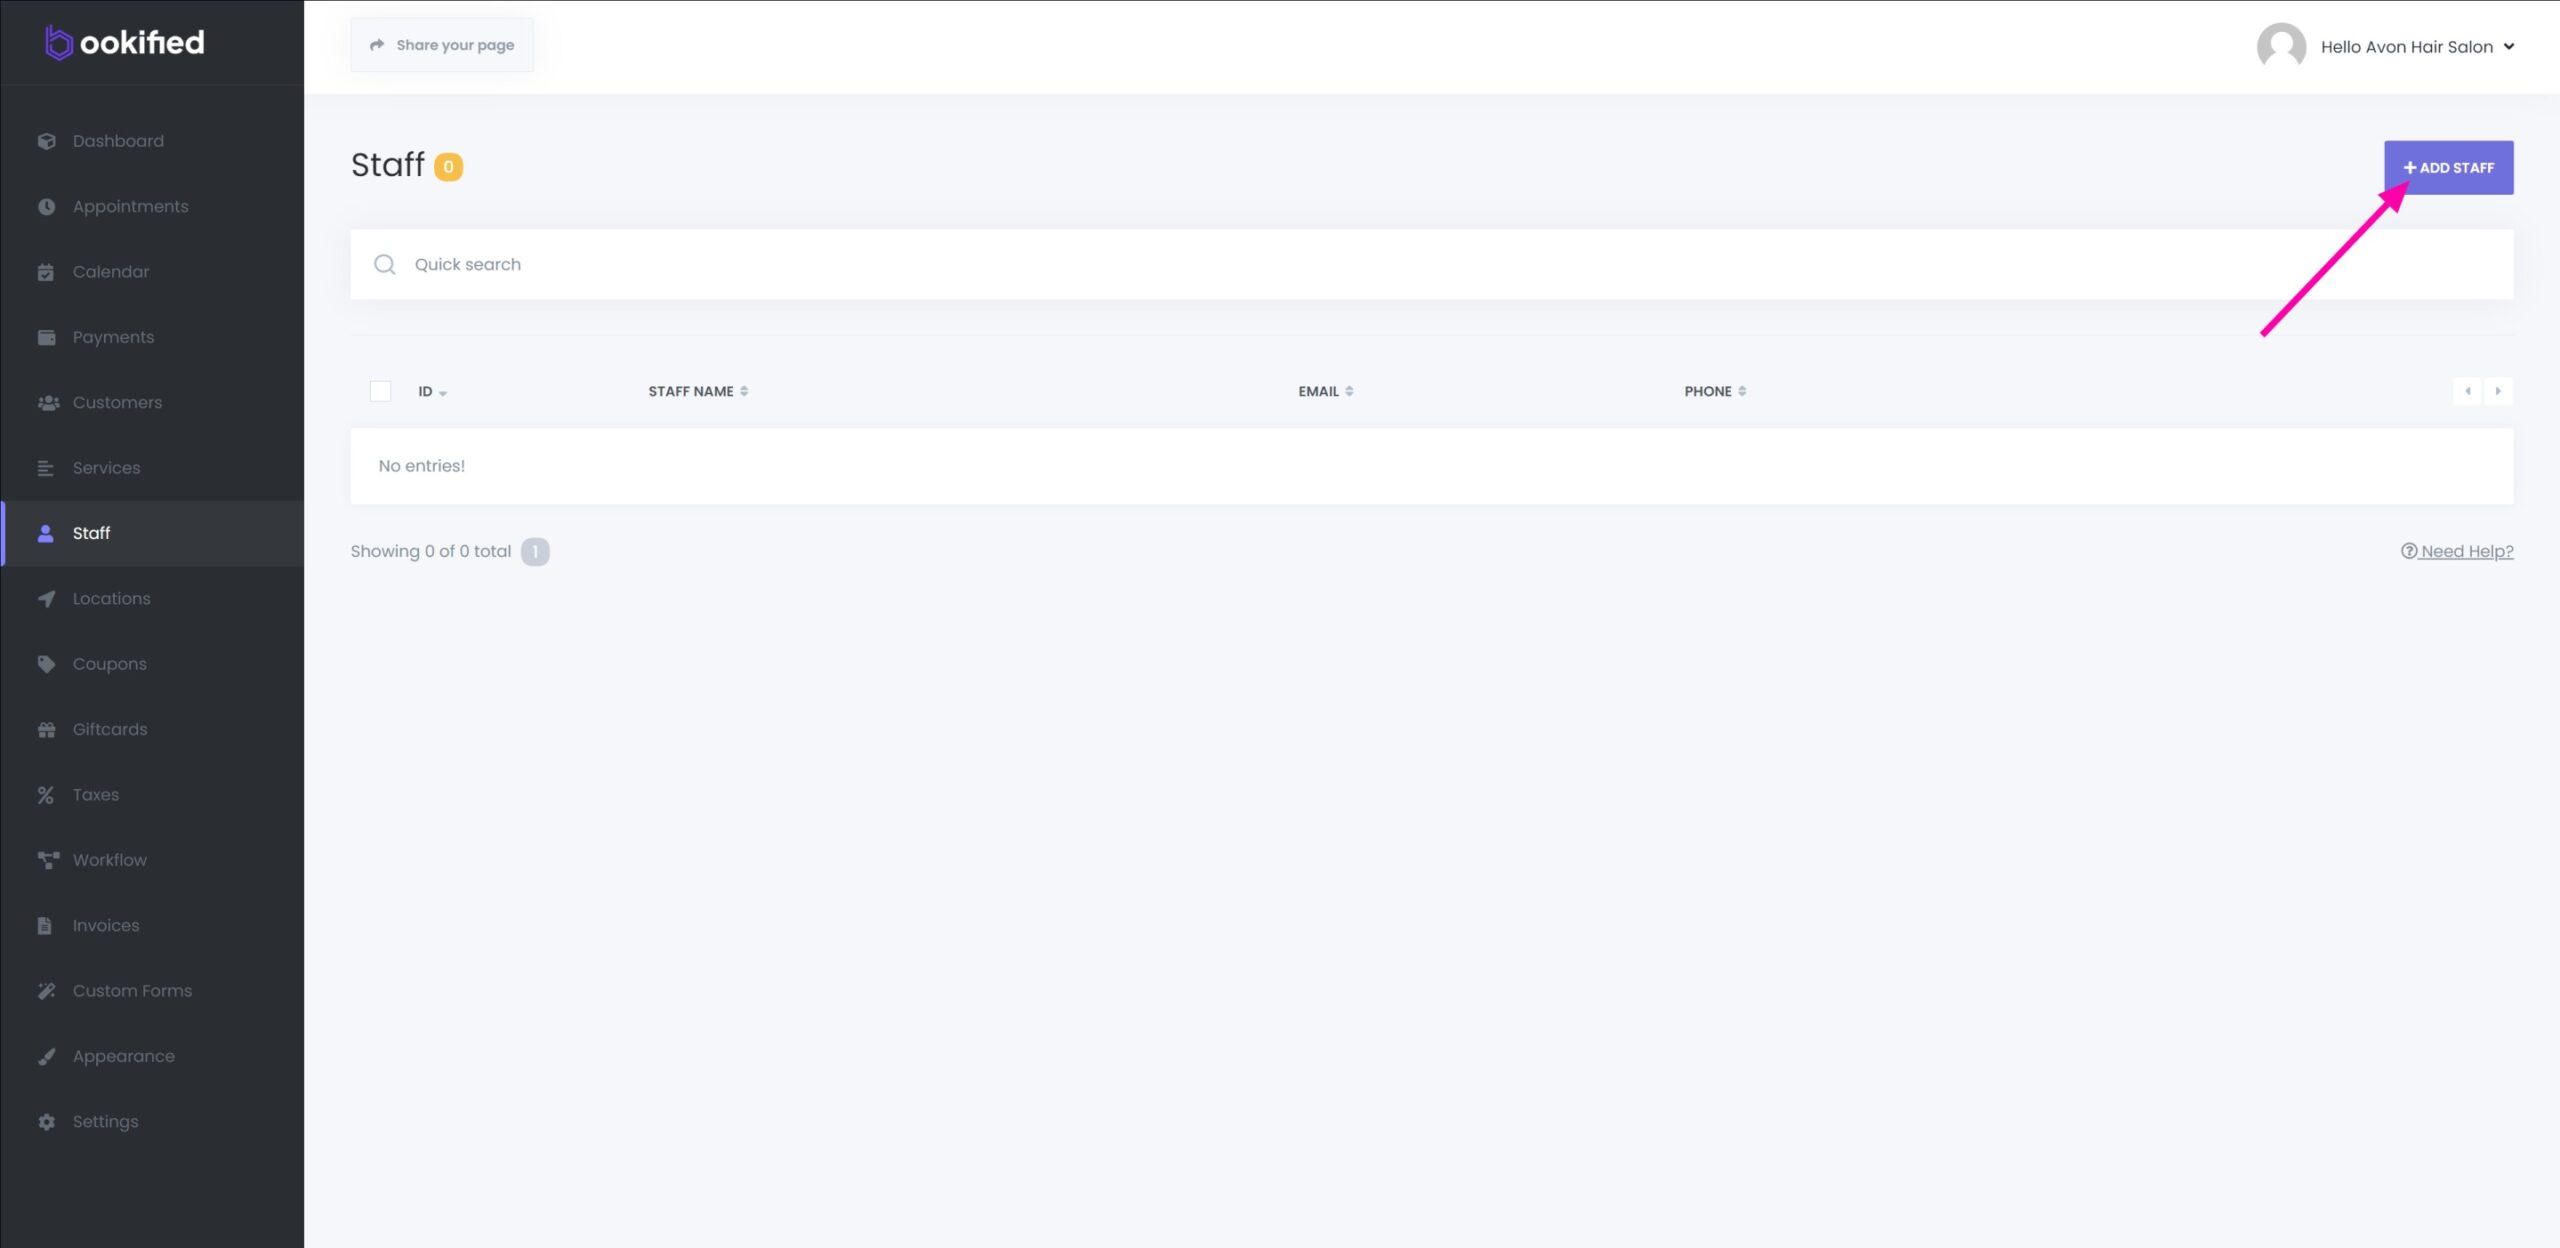
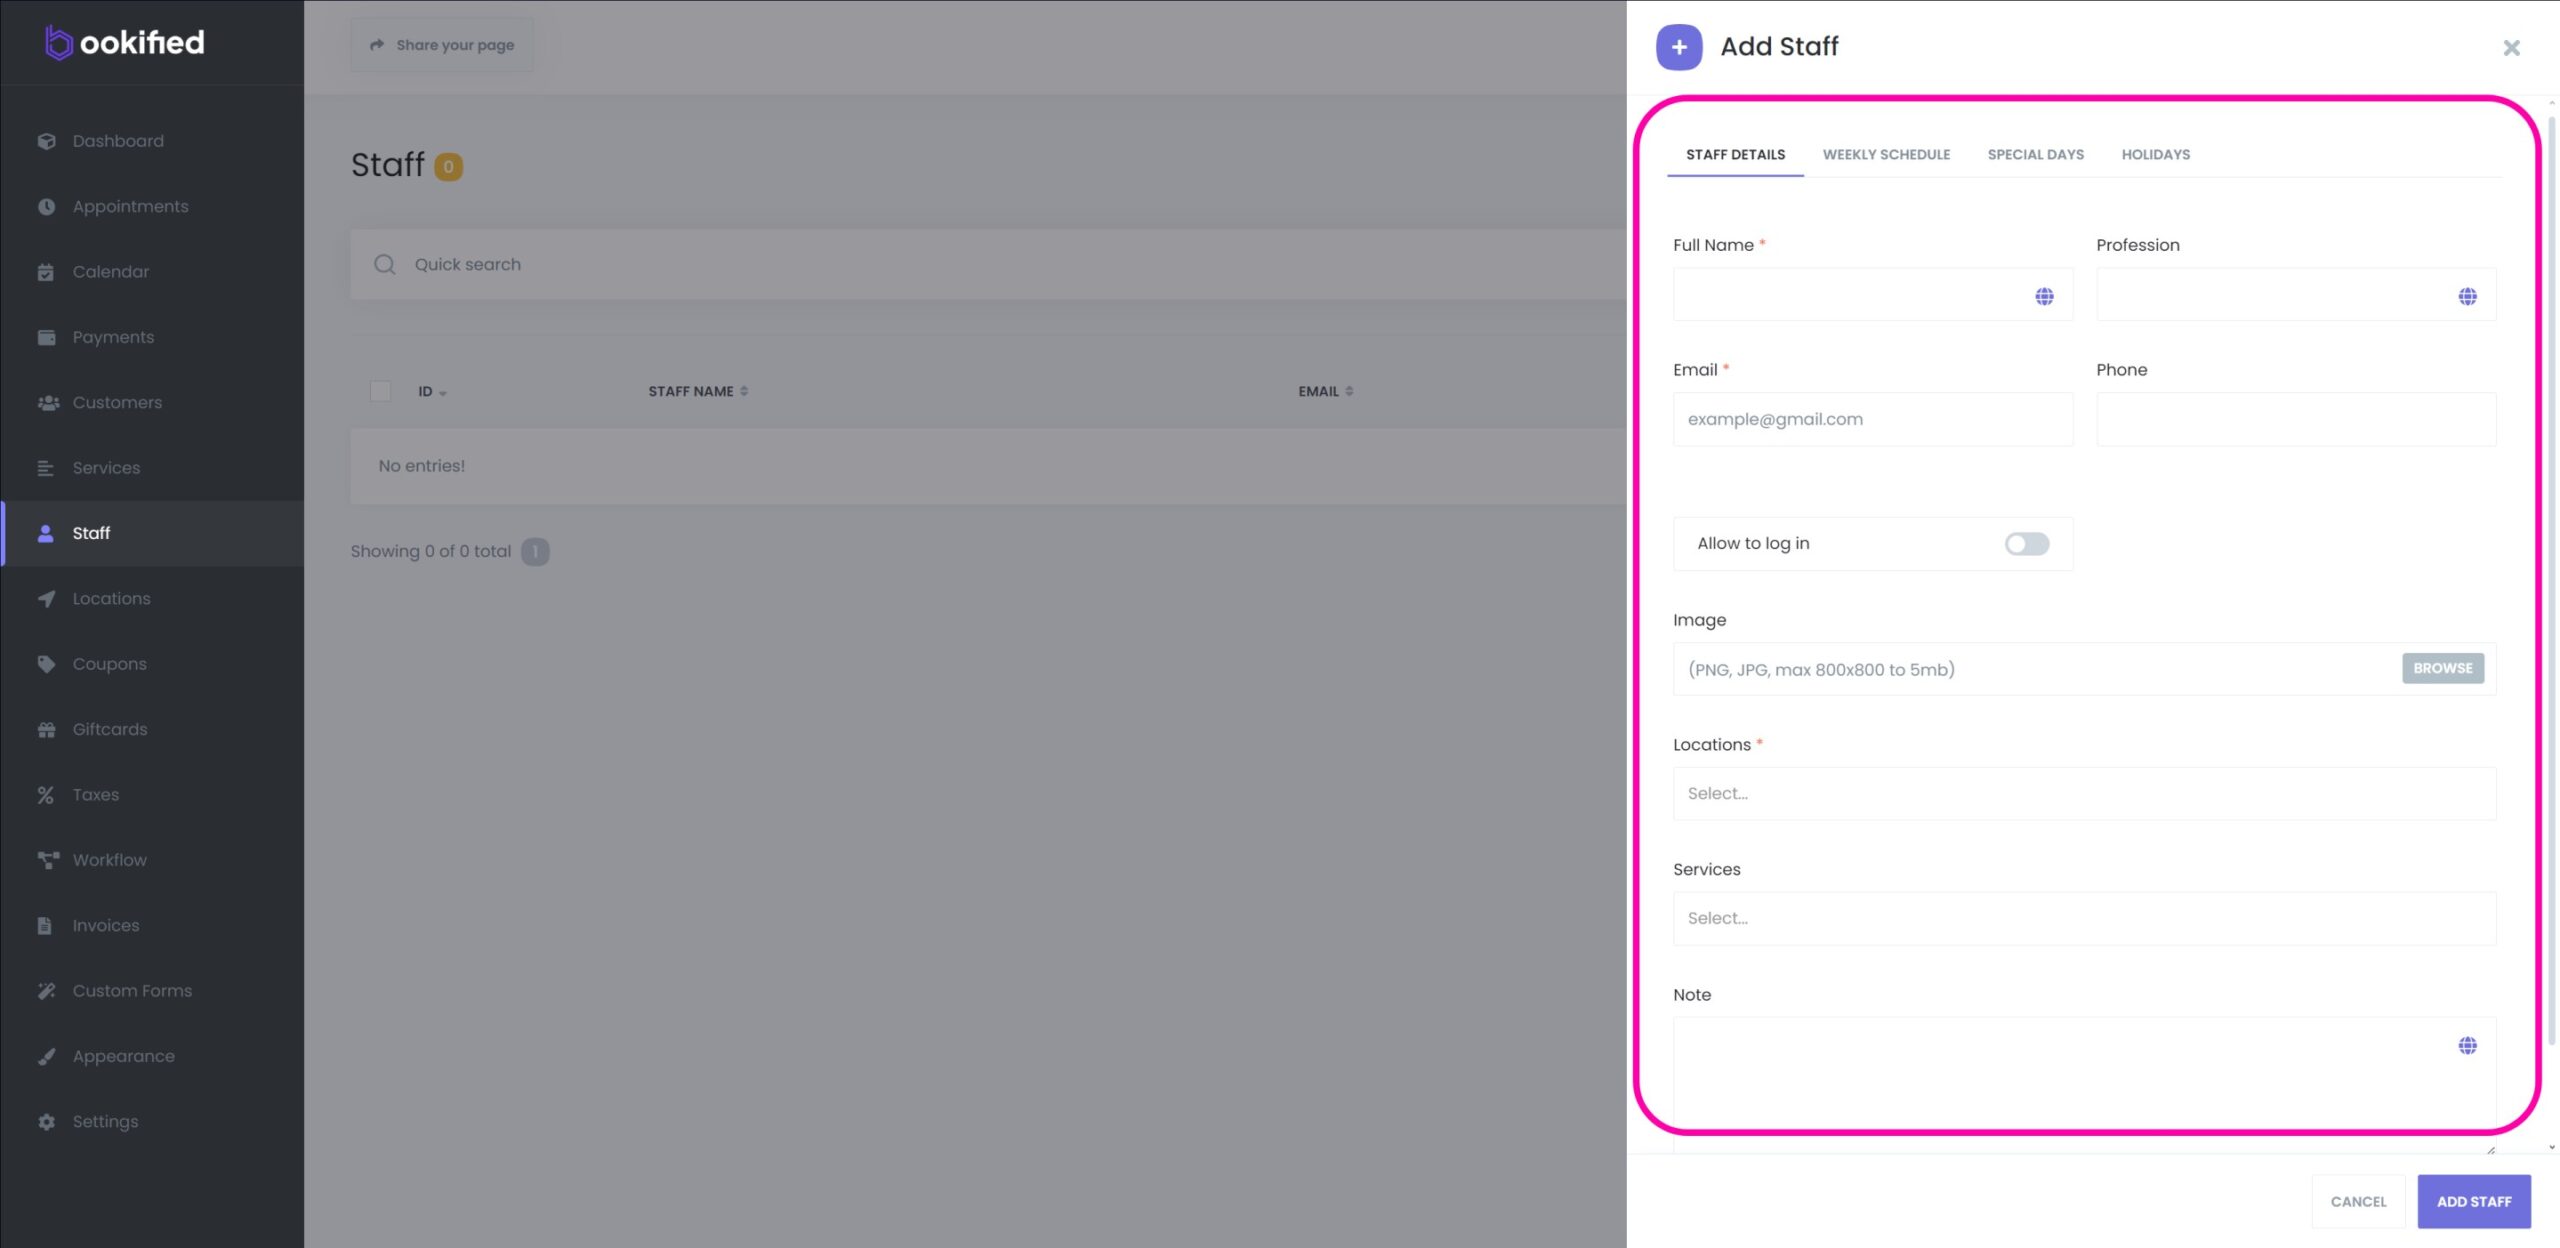
To introduce a new staff member in the system, select the ‘Add Staff’ button at the top right side. This action will display a sliding popup containing various fields to be completed with your staff’s information. To grant dashboard access to the staff, activate the ‘Allow to log in’ option and establish a password for the staff member. Additionally, you have the option to upload an image for the staff. Proceed to designate a single or multiple locations for your staff member, and assign one or more services to them. Finally, you can include a note serving as a description for the staff member.
Weekly Schedule Tab
-
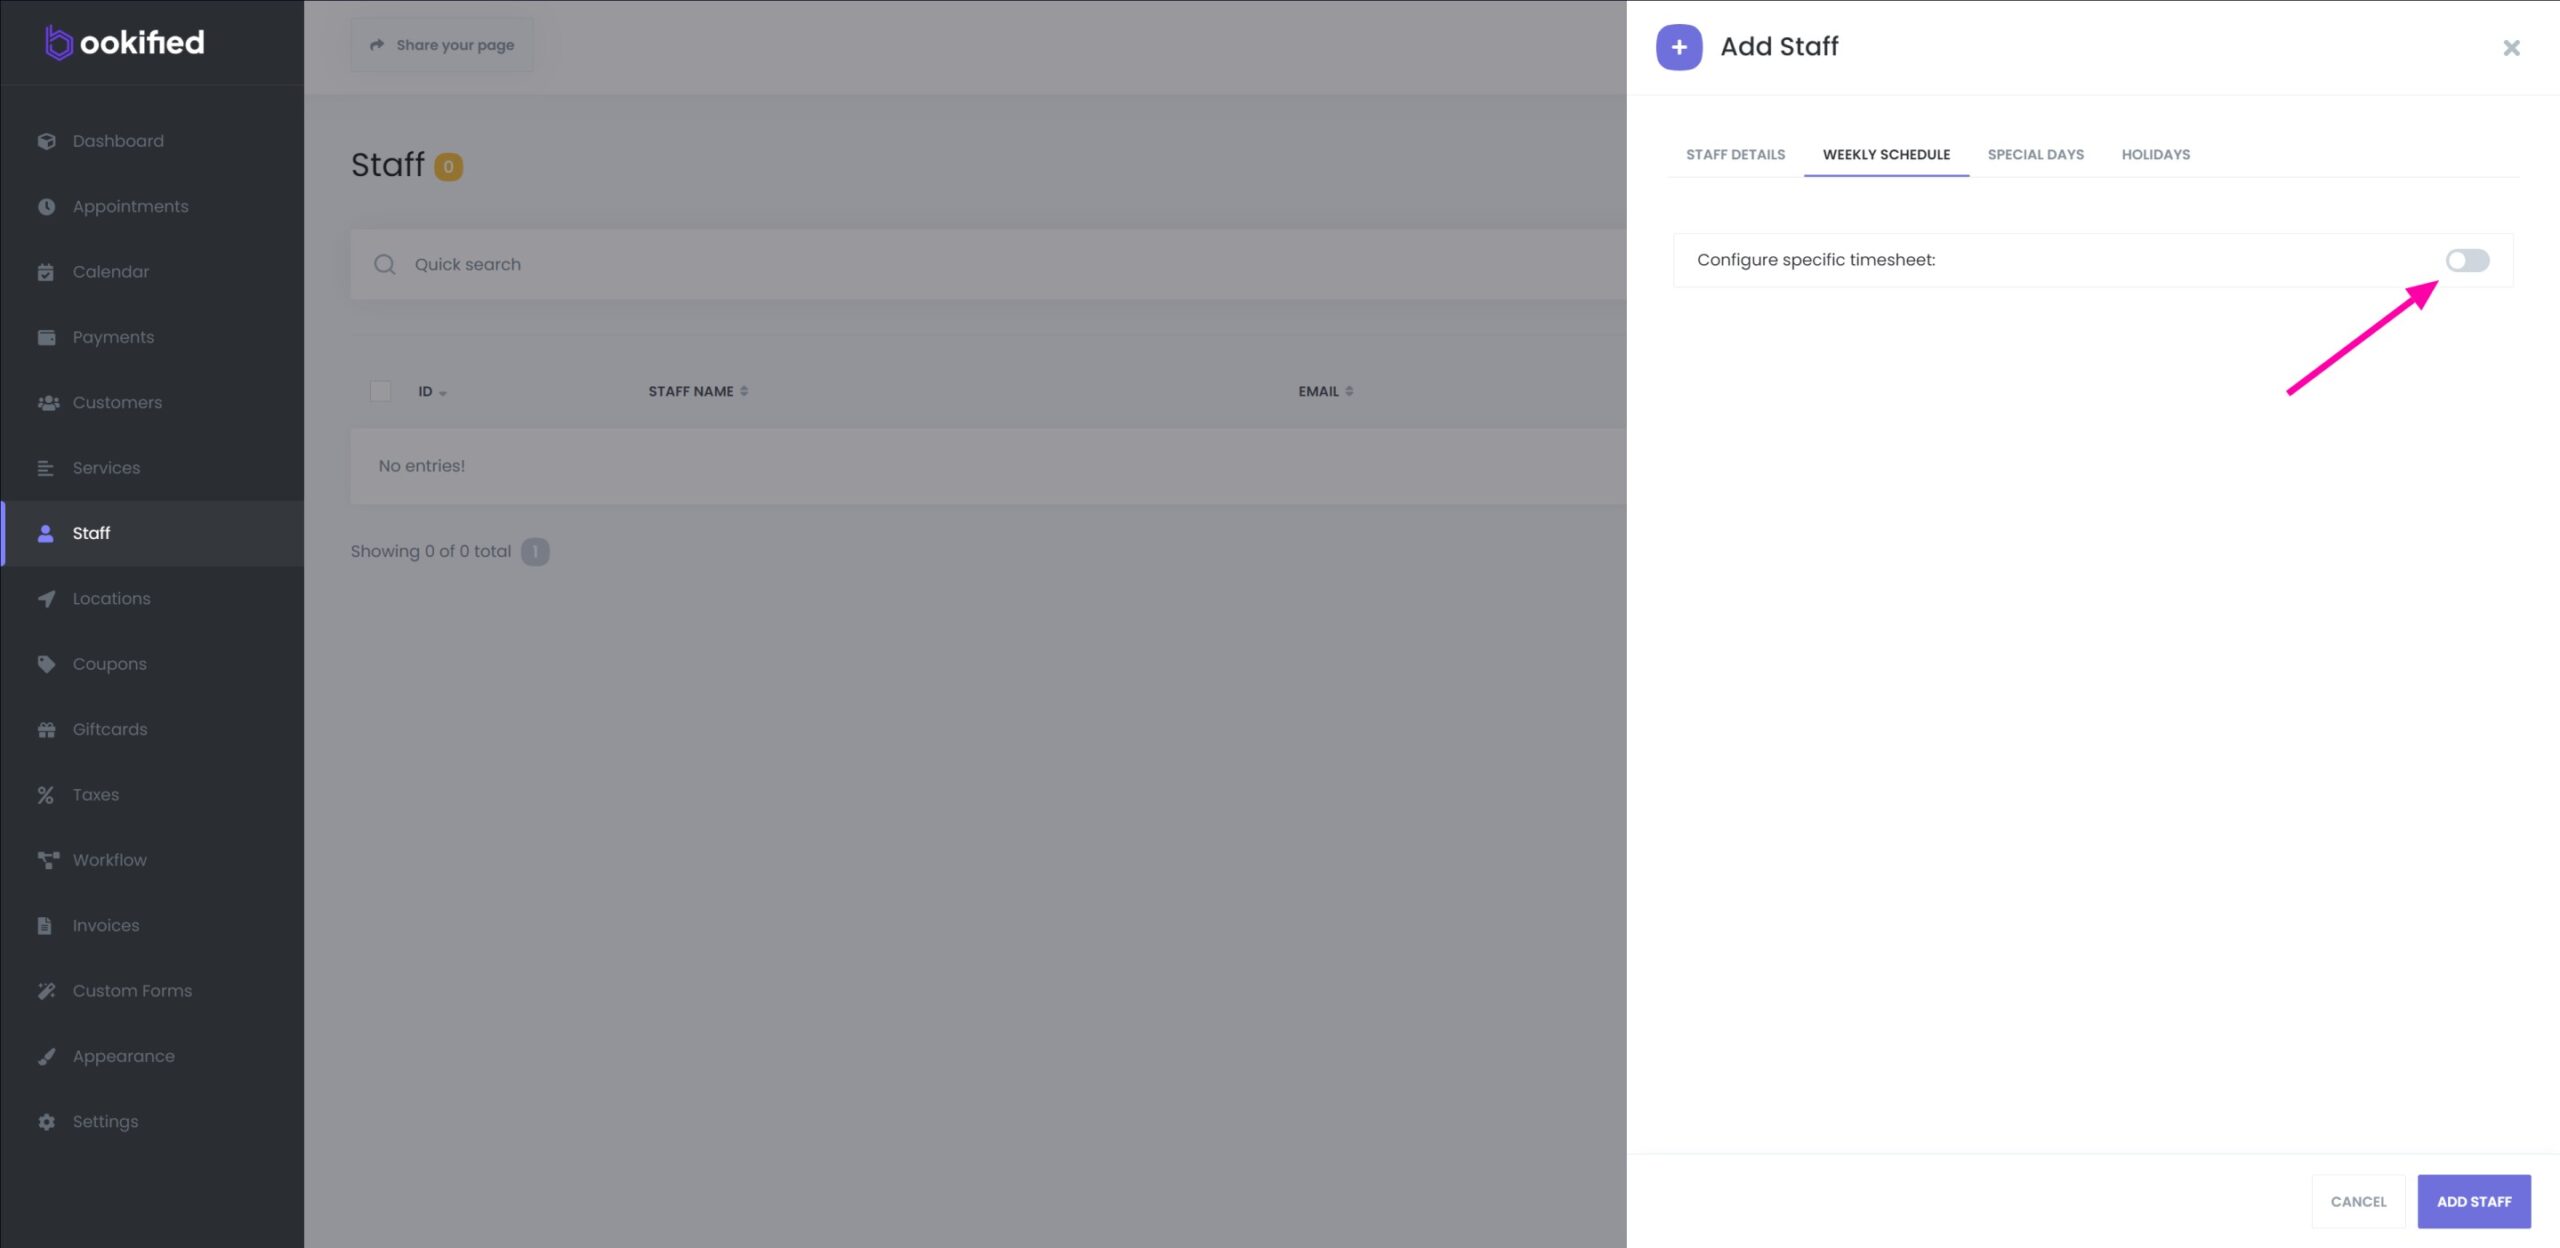
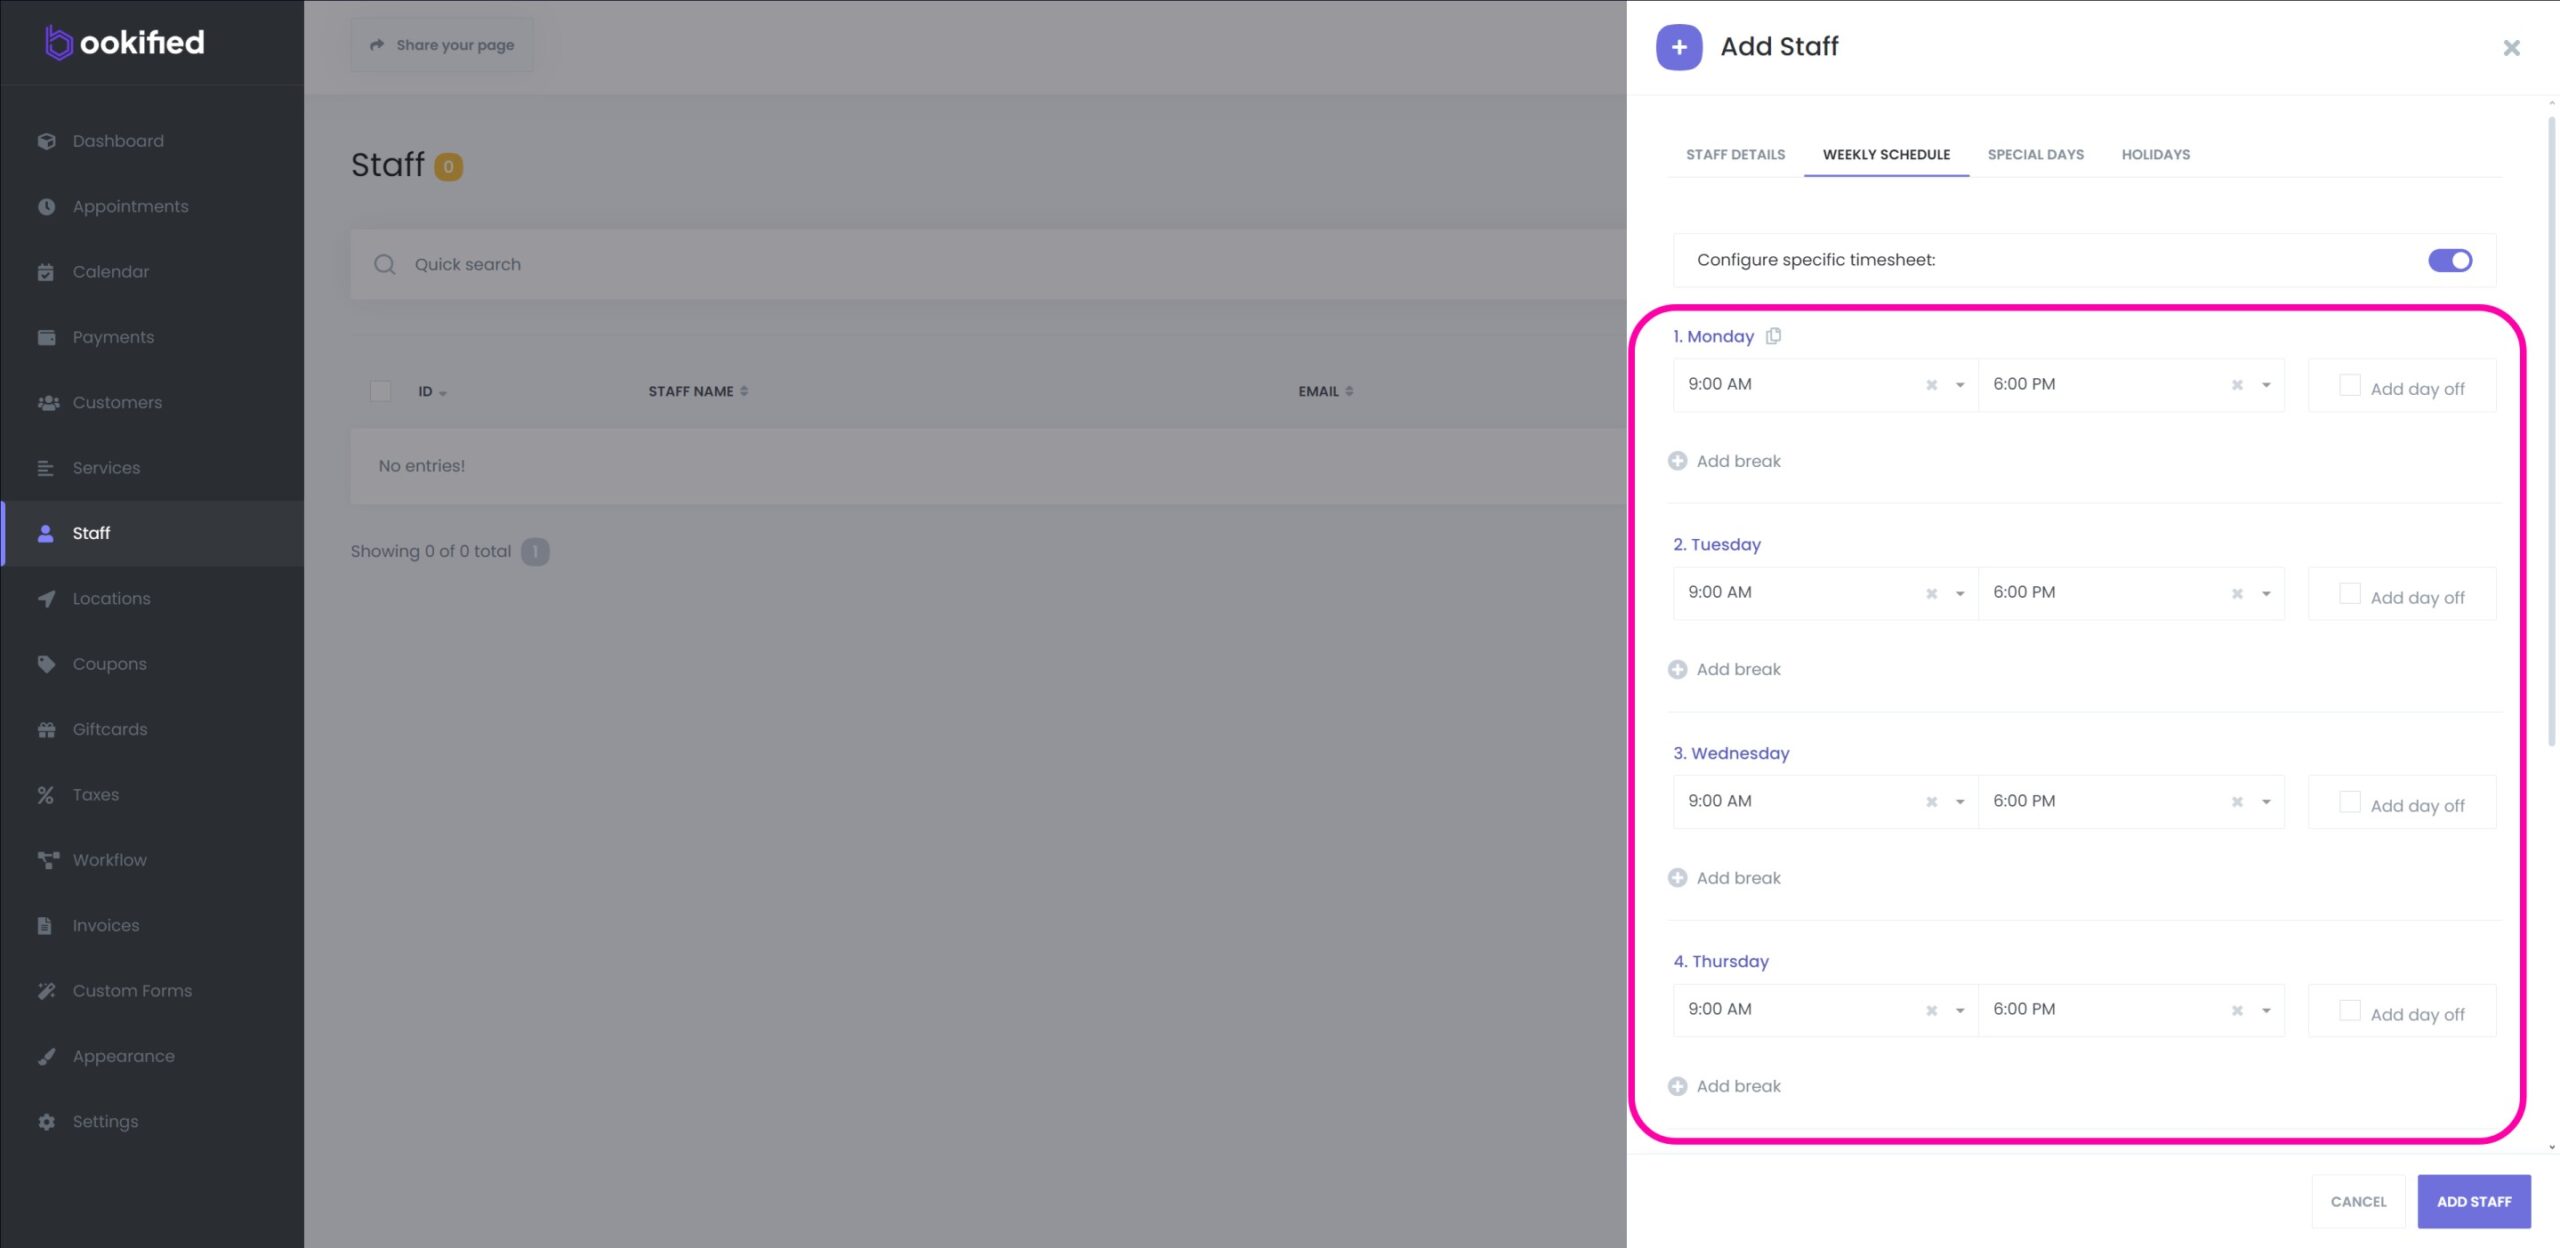
To create a custom timetable for a Staff Member, navigate to the ‘Weekly Schedule’ tab and activate the “Configure specific timesheet” option.
In the process of constructing a weekly work schedule for your staff, you have the ability to tailor a distinct schedule that includes identifying non-working days, establishing regular work hours, and scheduling break periods. This involves setting specific start and end times for each workday of the week. Additionally, you can incorporate break times by clicking the ‘Add break’ button and specifying their duration, with the flexibility to add multiple breaks each day. Furthermore, any days that are not part of the staff’s regular working schedule can be designated as ‘Day-off’.
Special Days Tab
-
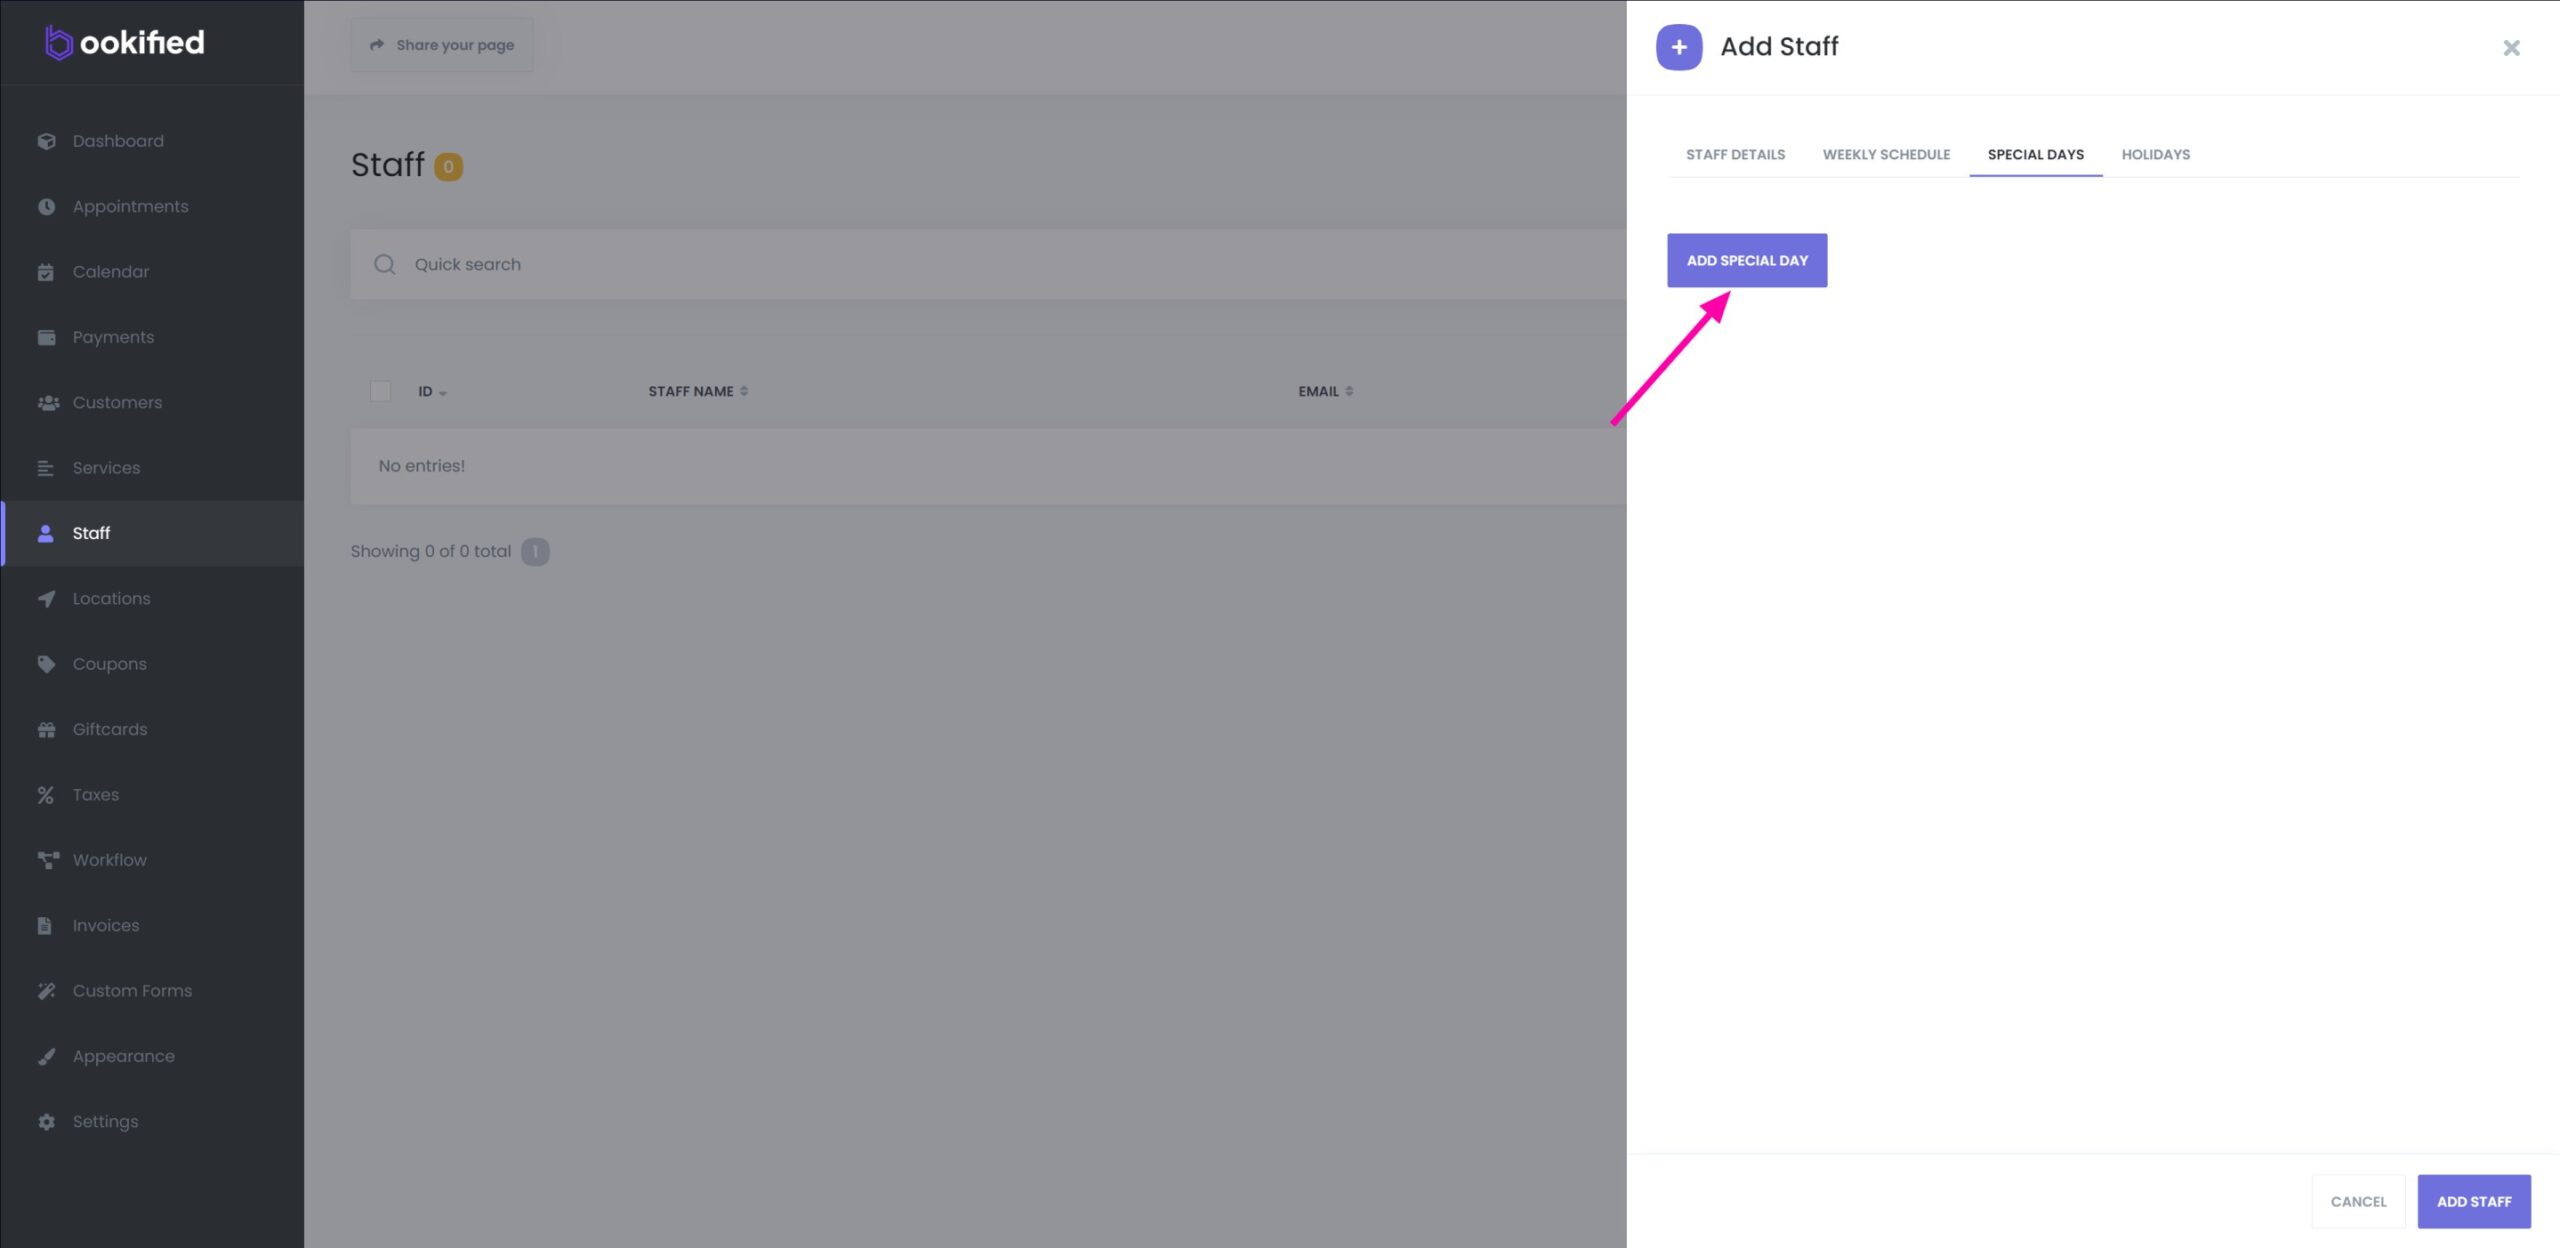
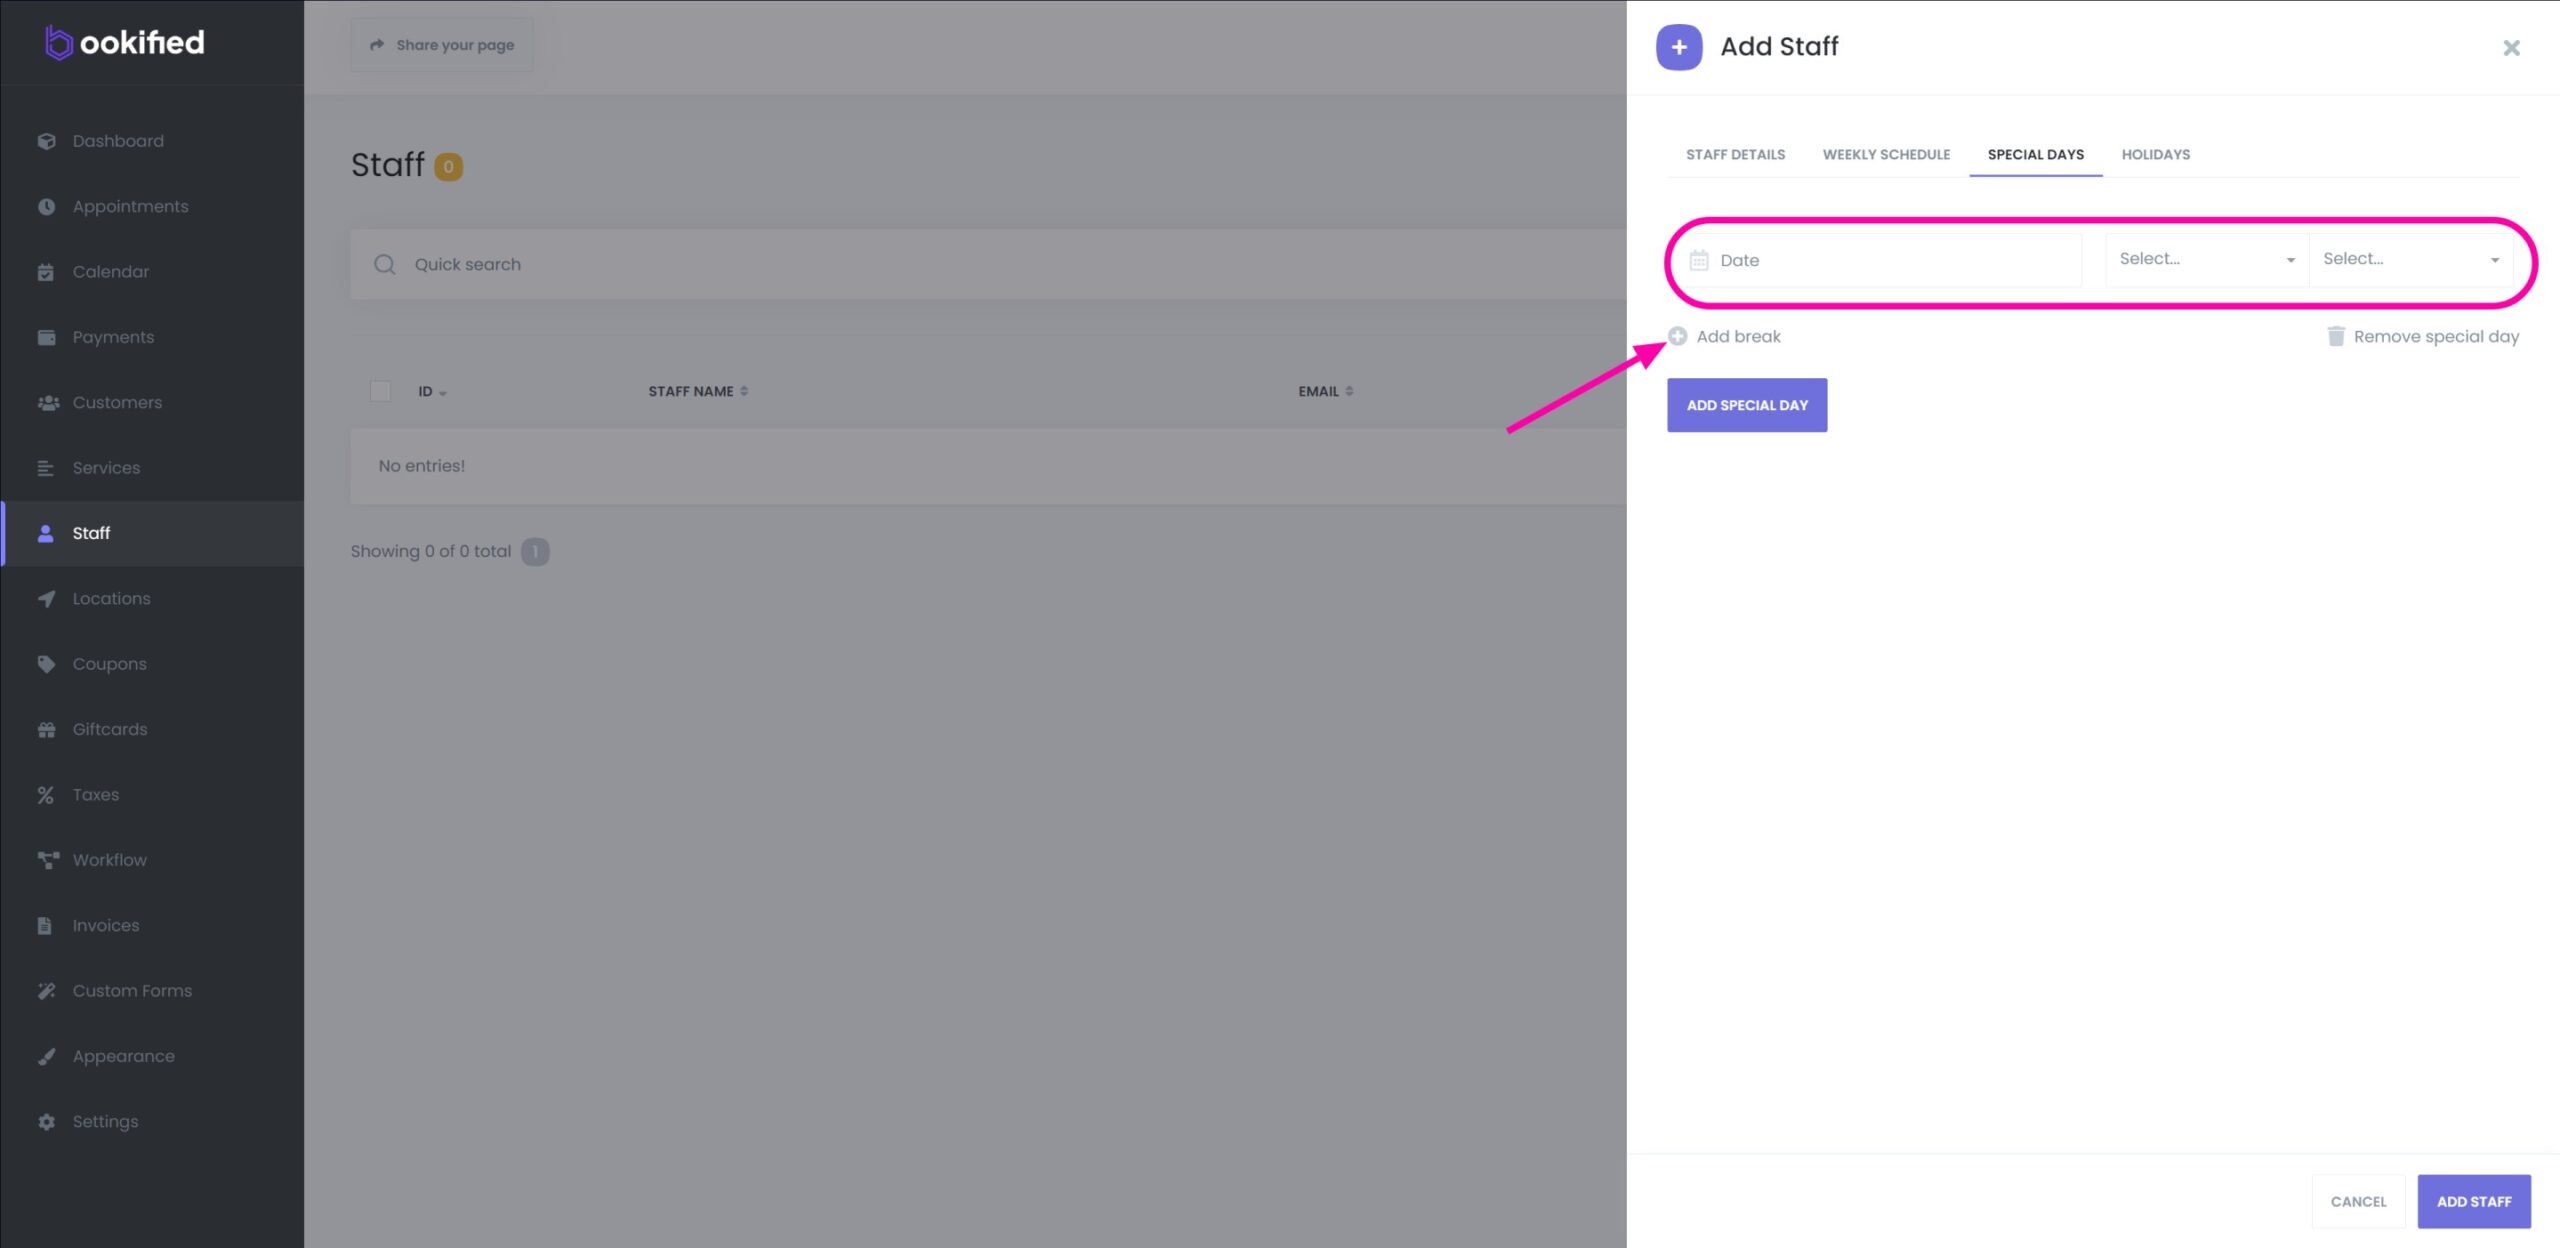
In the ‘Special Days’ tab of the system, you can easily manage the timesheets for staff on unique working days. This feature allows you to designate working hours for staff members on days that are usually non-working for the business or when they have restricted working hours, like only during the second half of the day. To add these special days, simply click on the “Add special day” button and then input the specific start and end hours in the provided panel. Furthermore, you have the option to include break times for these days by selecting the “Add break” button and setting the break durations. If there’s a need to remove any of these special days, you can do so by clicking on the ‘Remove special day’ button.
Holidays Tab
-
To set up specific holidays for your staff, start by accessing the ‘Holidays’ tab where you can choose non-working days for your staff directly from the provided calendar. It’s important to ensure that these selected staff holidays are consistent with the general business holidays outlined in the Settings > Holidays section. If your current staff requires additional holidays that are unique to them, these can be added in the same ‘Holidays’ tab. However, it’s generally advisable to keep the holiday schedules uniform across both the staff and the general business settings, unless there’s a need for distinct holidays for certain staff members.
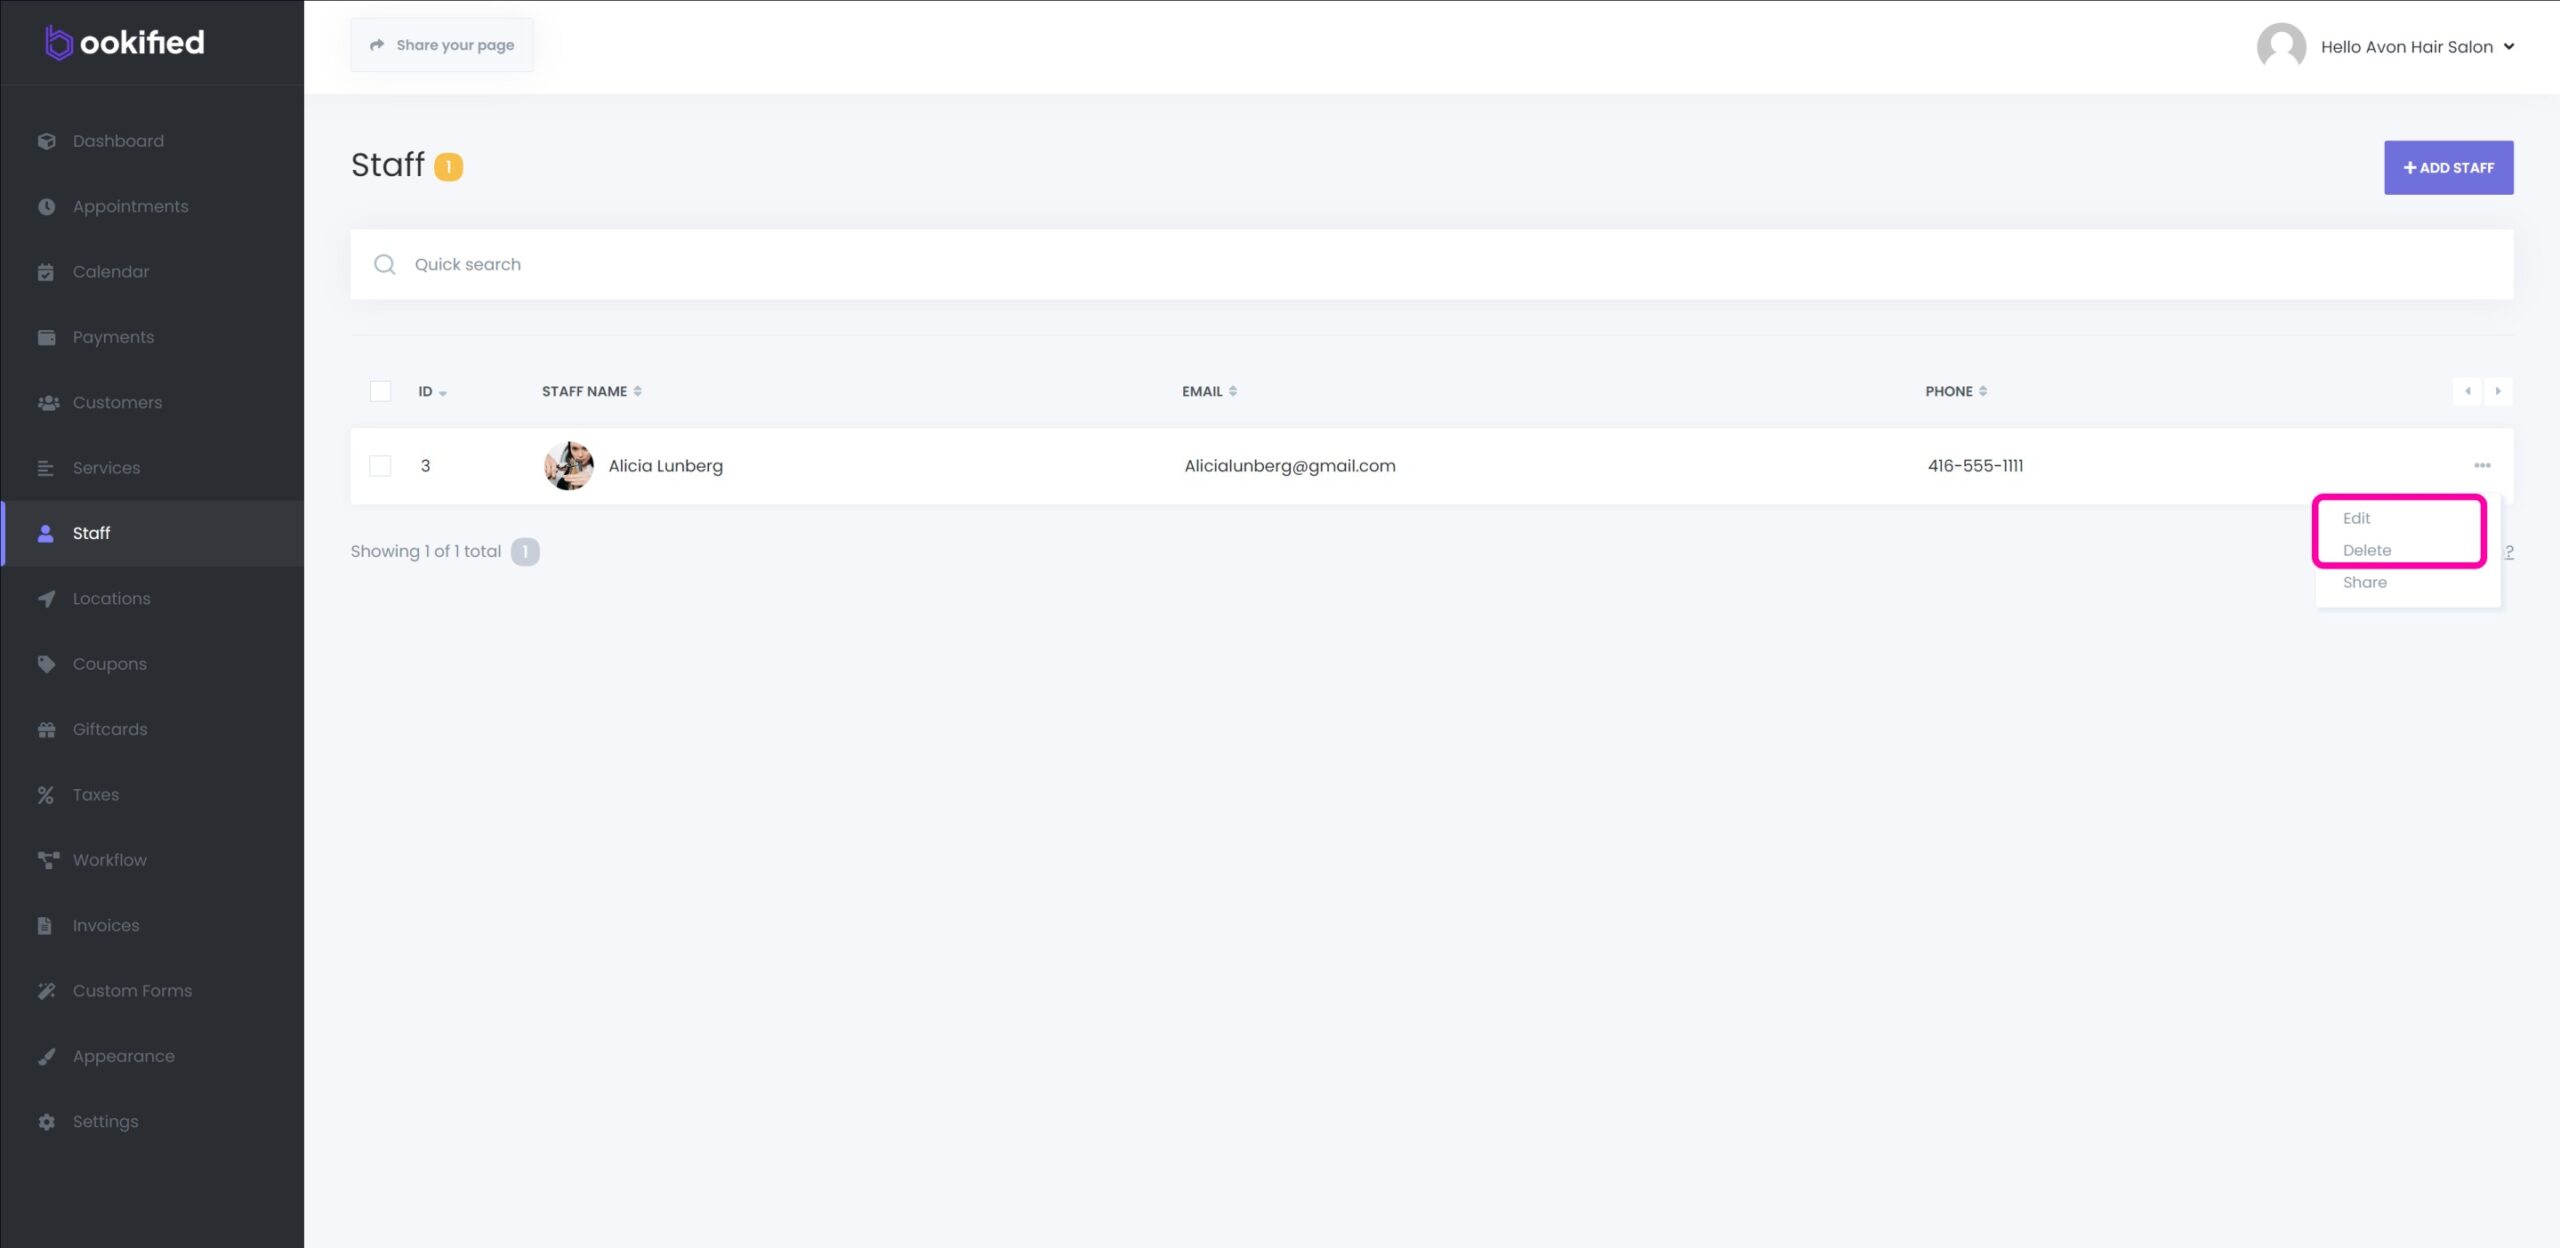
Edit or Delete a Staff Member
-
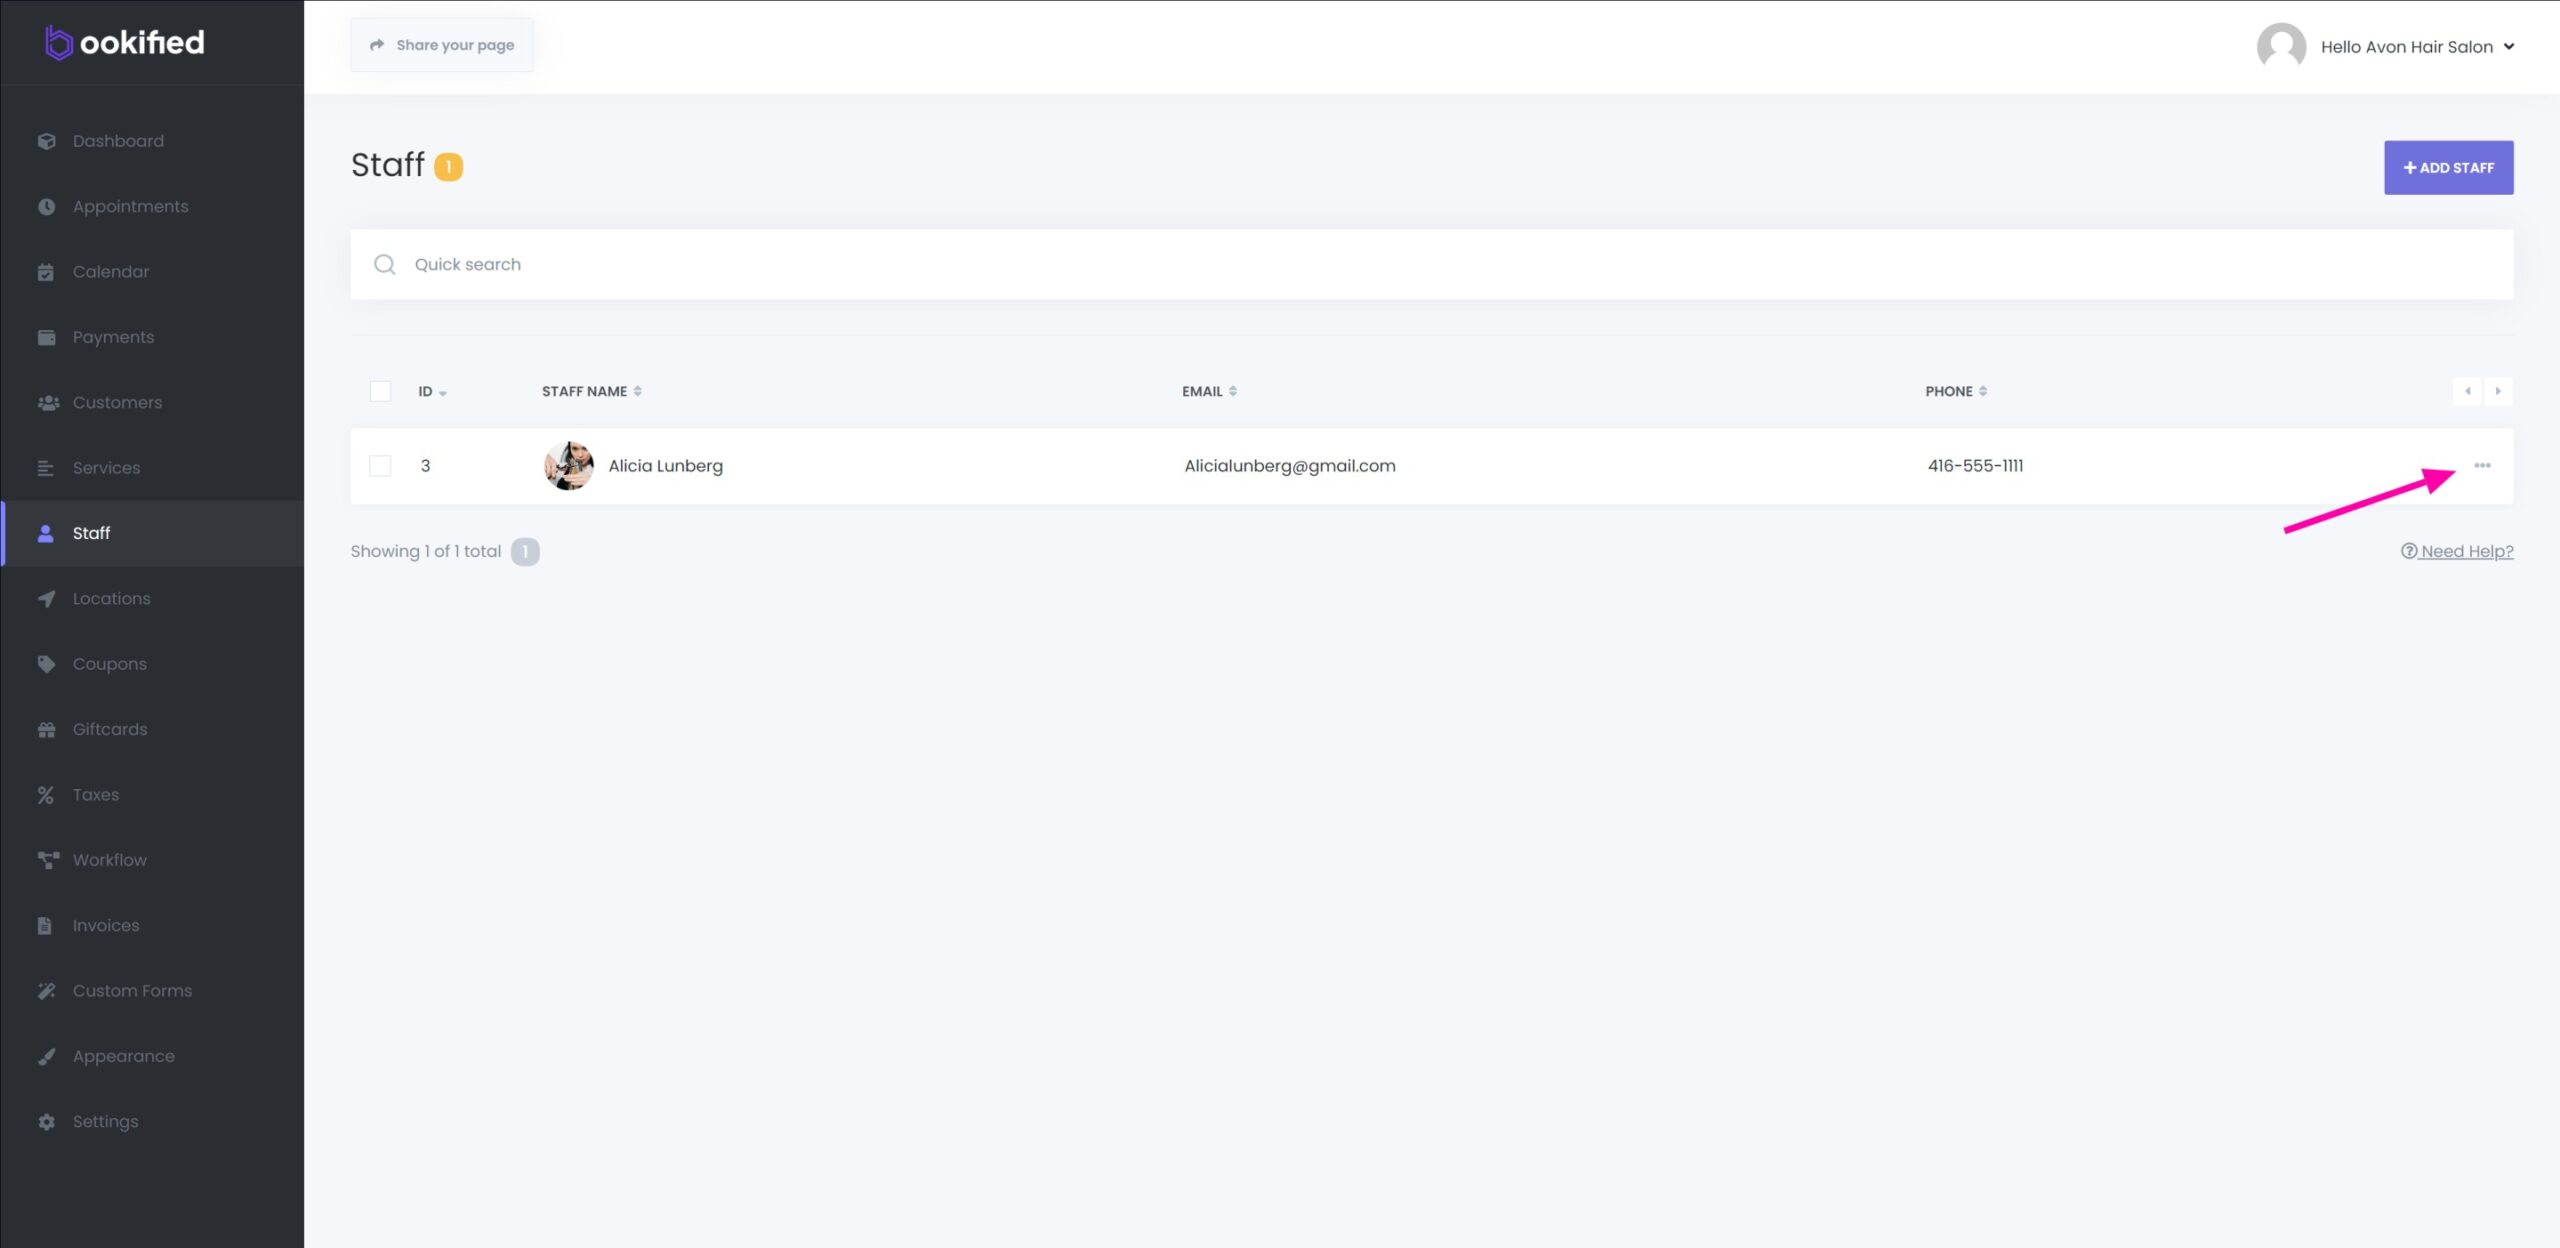
Clicking on the three dots next to any staff member allows you several actions. Make changes to their profile by clicking ‘edit’, or completely remove the staff from your system by choosing ‘delete’.
Generating and Using a Staff-Specific Booking Link
-
By clicking on the three dots next to any staff member’s name, you can access several options. One of these is the ‘Share’ option. When you click on ‘Share’, a unique booking panel link is generated for that specific staff member. This link can be used by the staff member to direct bookings specifically to themselves. They can share this custom link with their customers, who can then use it to book an appointment directly with that staff member.
Empowering Staff with Personal Account Access
- Every staff member is empowered with individual account access, enabling them to seamlessly log into the system. This personalized access provides a comprehensive view of their own appointments, calendar, payments, and customers.The benefits of this feature are multifold:
1. Efficiency: Personalized accounts streamline the process of accessing relevant information, saving valuable time.
2. Autonomy: Staff members can manage their own schedules and customer interactions, fostering a sense of independence.
3. Accountability: With individual logins, each staff member’s actions can be tracked, promoting responsibility and accountability.
4. Security: Personal accounts enhance security by ensuring that staff members only have access to information pertinent to them.