Email Settings
This guide explains how to configure your email settings within Bookified. It covers how to enter your email sender name, which is the name that appears in the recipient’s inbox when you send an email from ‘Workflow‘.
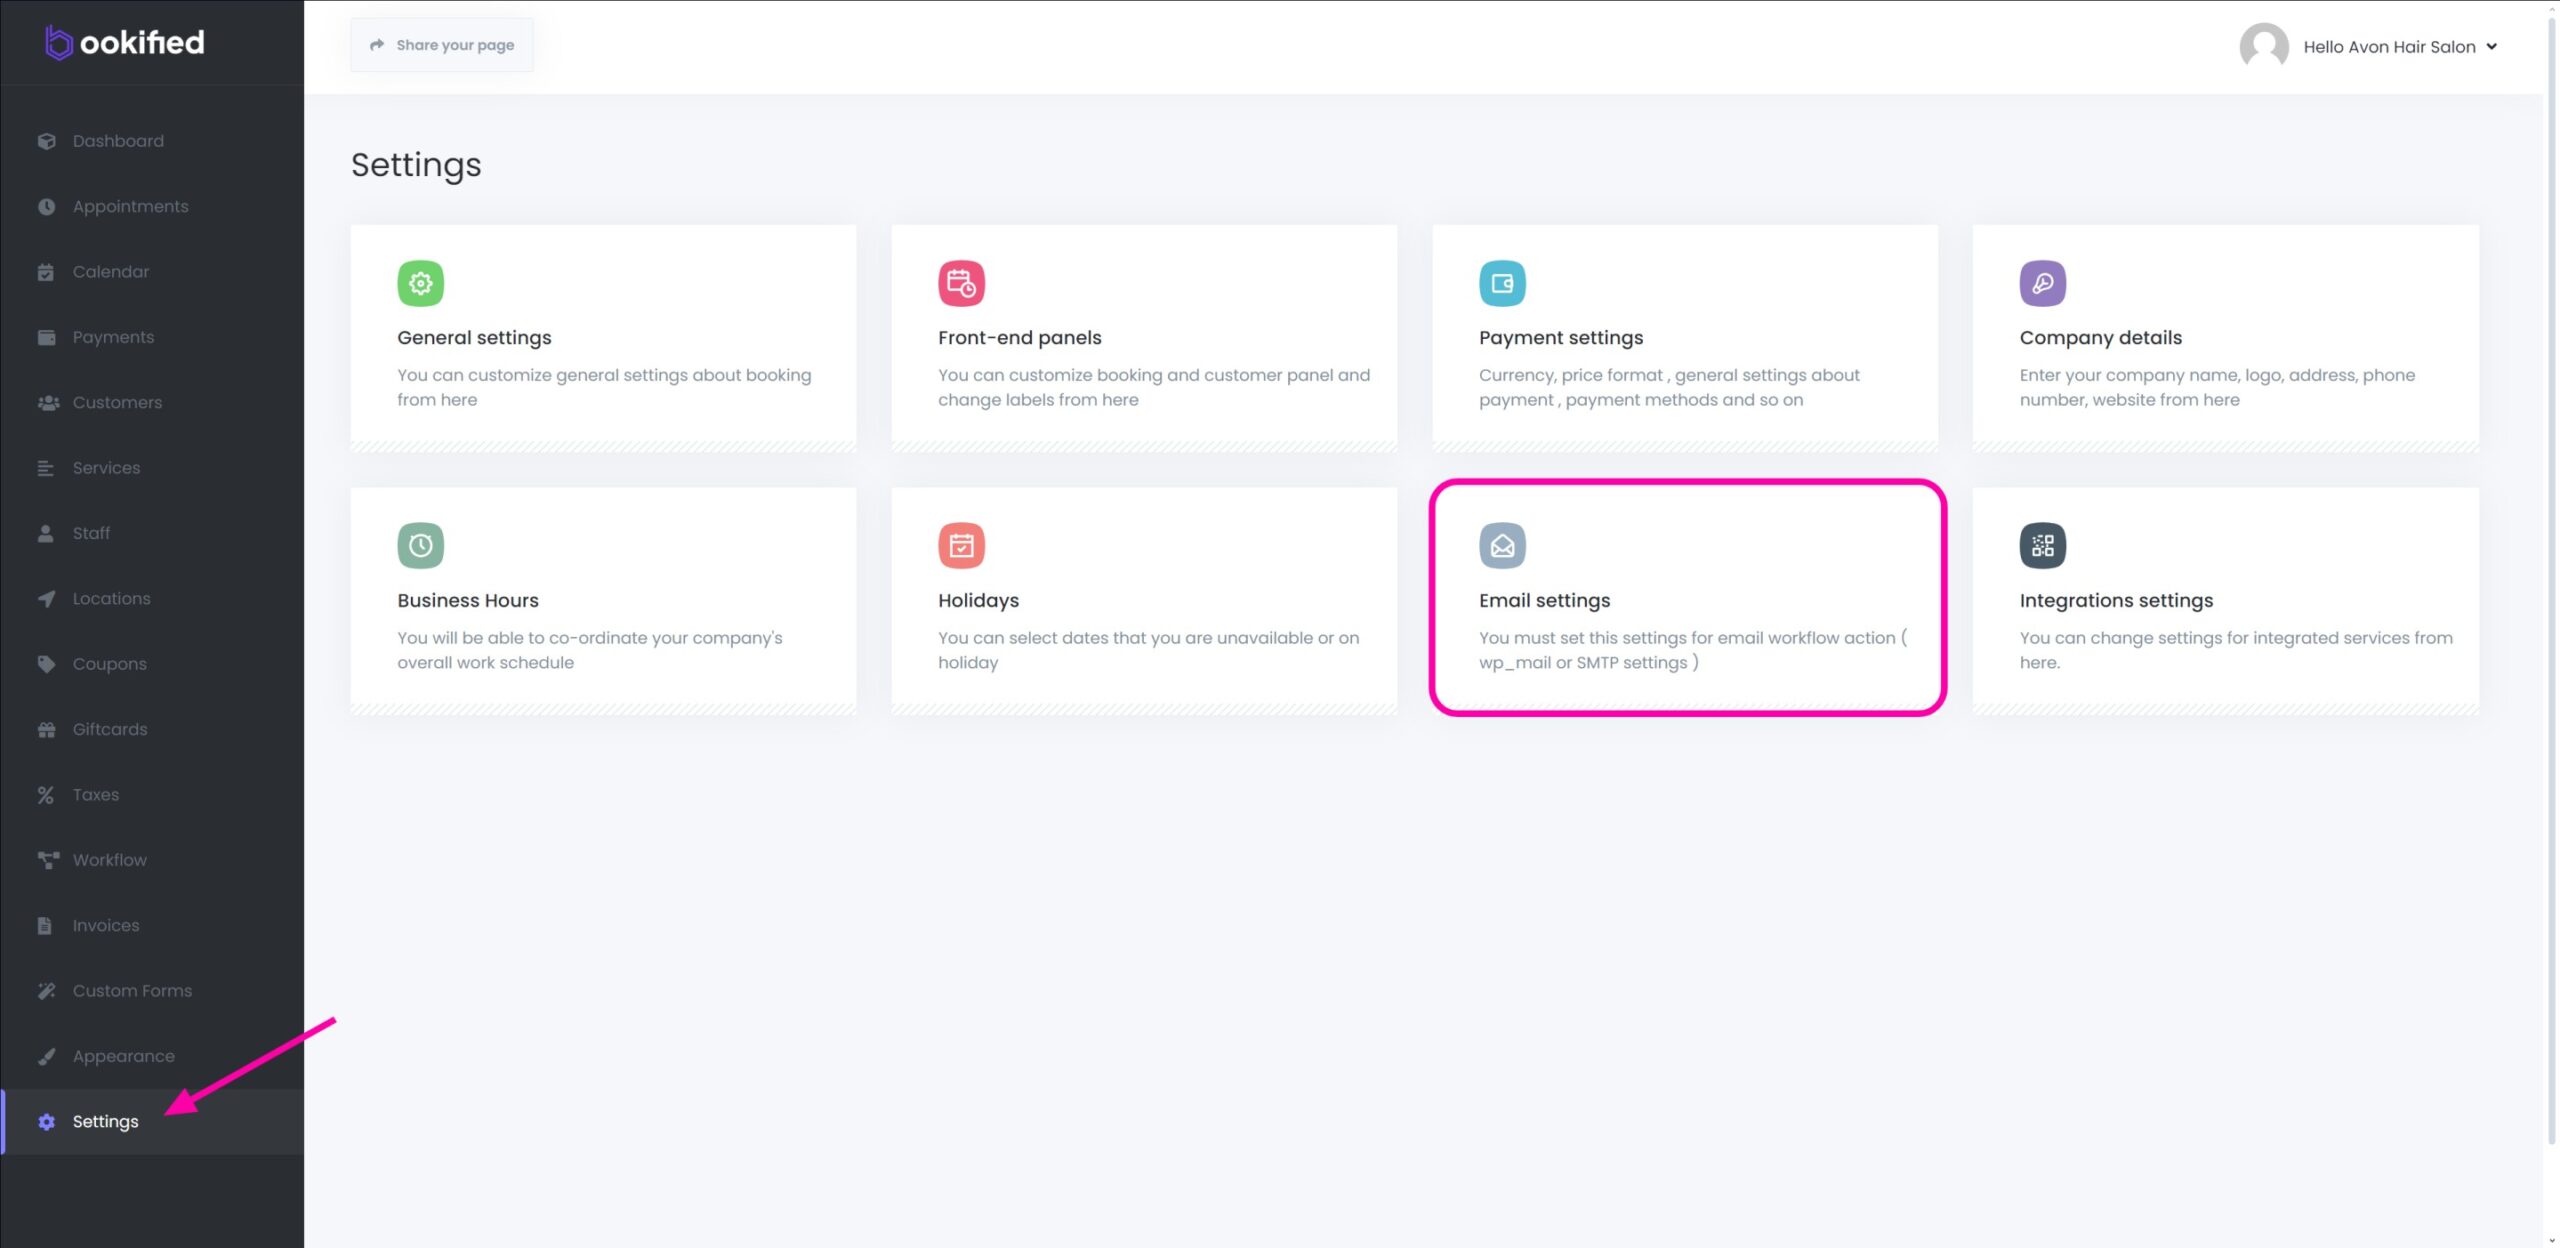
- Navigate to ‘Settings‘, then select ‘Email Settings‘.
Quick Guide
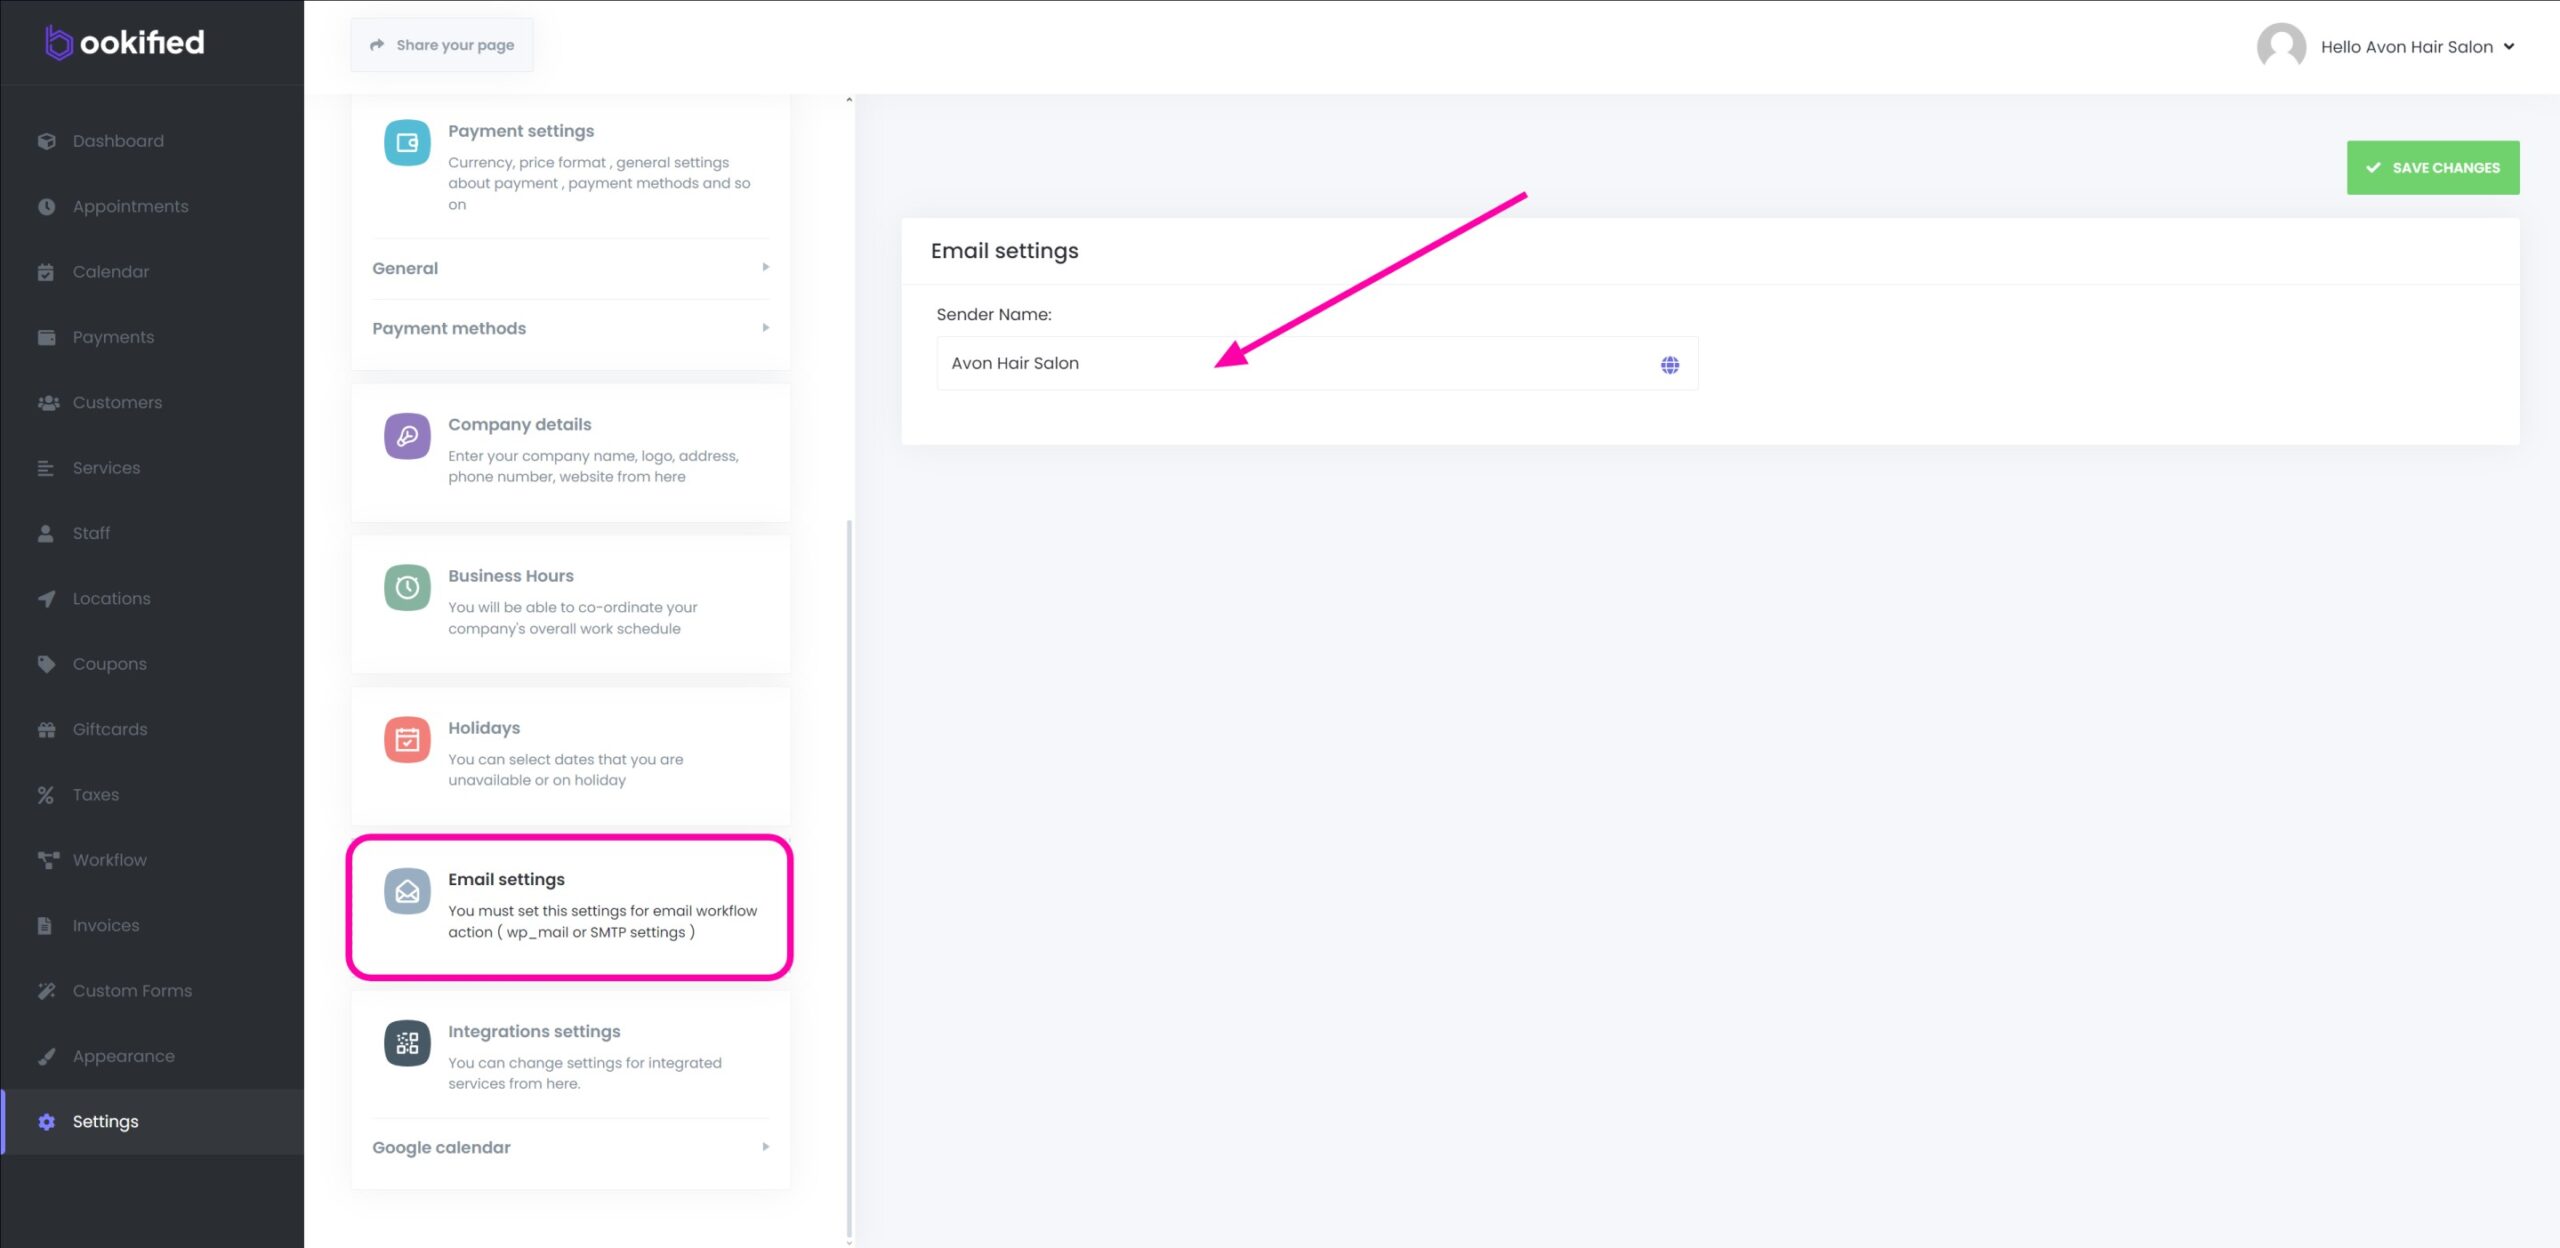
1. Locate the ‘Sender Name’ field: This is where you’ll input your business name.
2. Enter your business name: Type your business name exactly as you want it to appear in outgoing emails. Ensure it accurately represents your business to avoid confusion for the recipients.
3. Save your changes: After entering your business name, remember to save your changes. This will ensure that the “Sender Name” is updated for all future emails.
By setting the ‘Sender Name‘ to your business name, your emails will appear more professional and personalized to your customers. This is especially useful for appointment reminders, invoices, and other customer communications. It not only enhances brand recognition but also builds trust with your customers. Remember, consistent branding is key to effective customer communication.