Invoices
This guide is essential for anyone who wants to learn about the importance of invoices and how to create them within Bookified. It explains the basics of invoices, why they are important for getting paid and establishing legal rights. The guide also provides step-by-step instructions on how to enable and create invoices, as well as how to attach them to notifications.
- Navigate to the Invoice menu to create or see a complete list of all added invoices (if any exists).
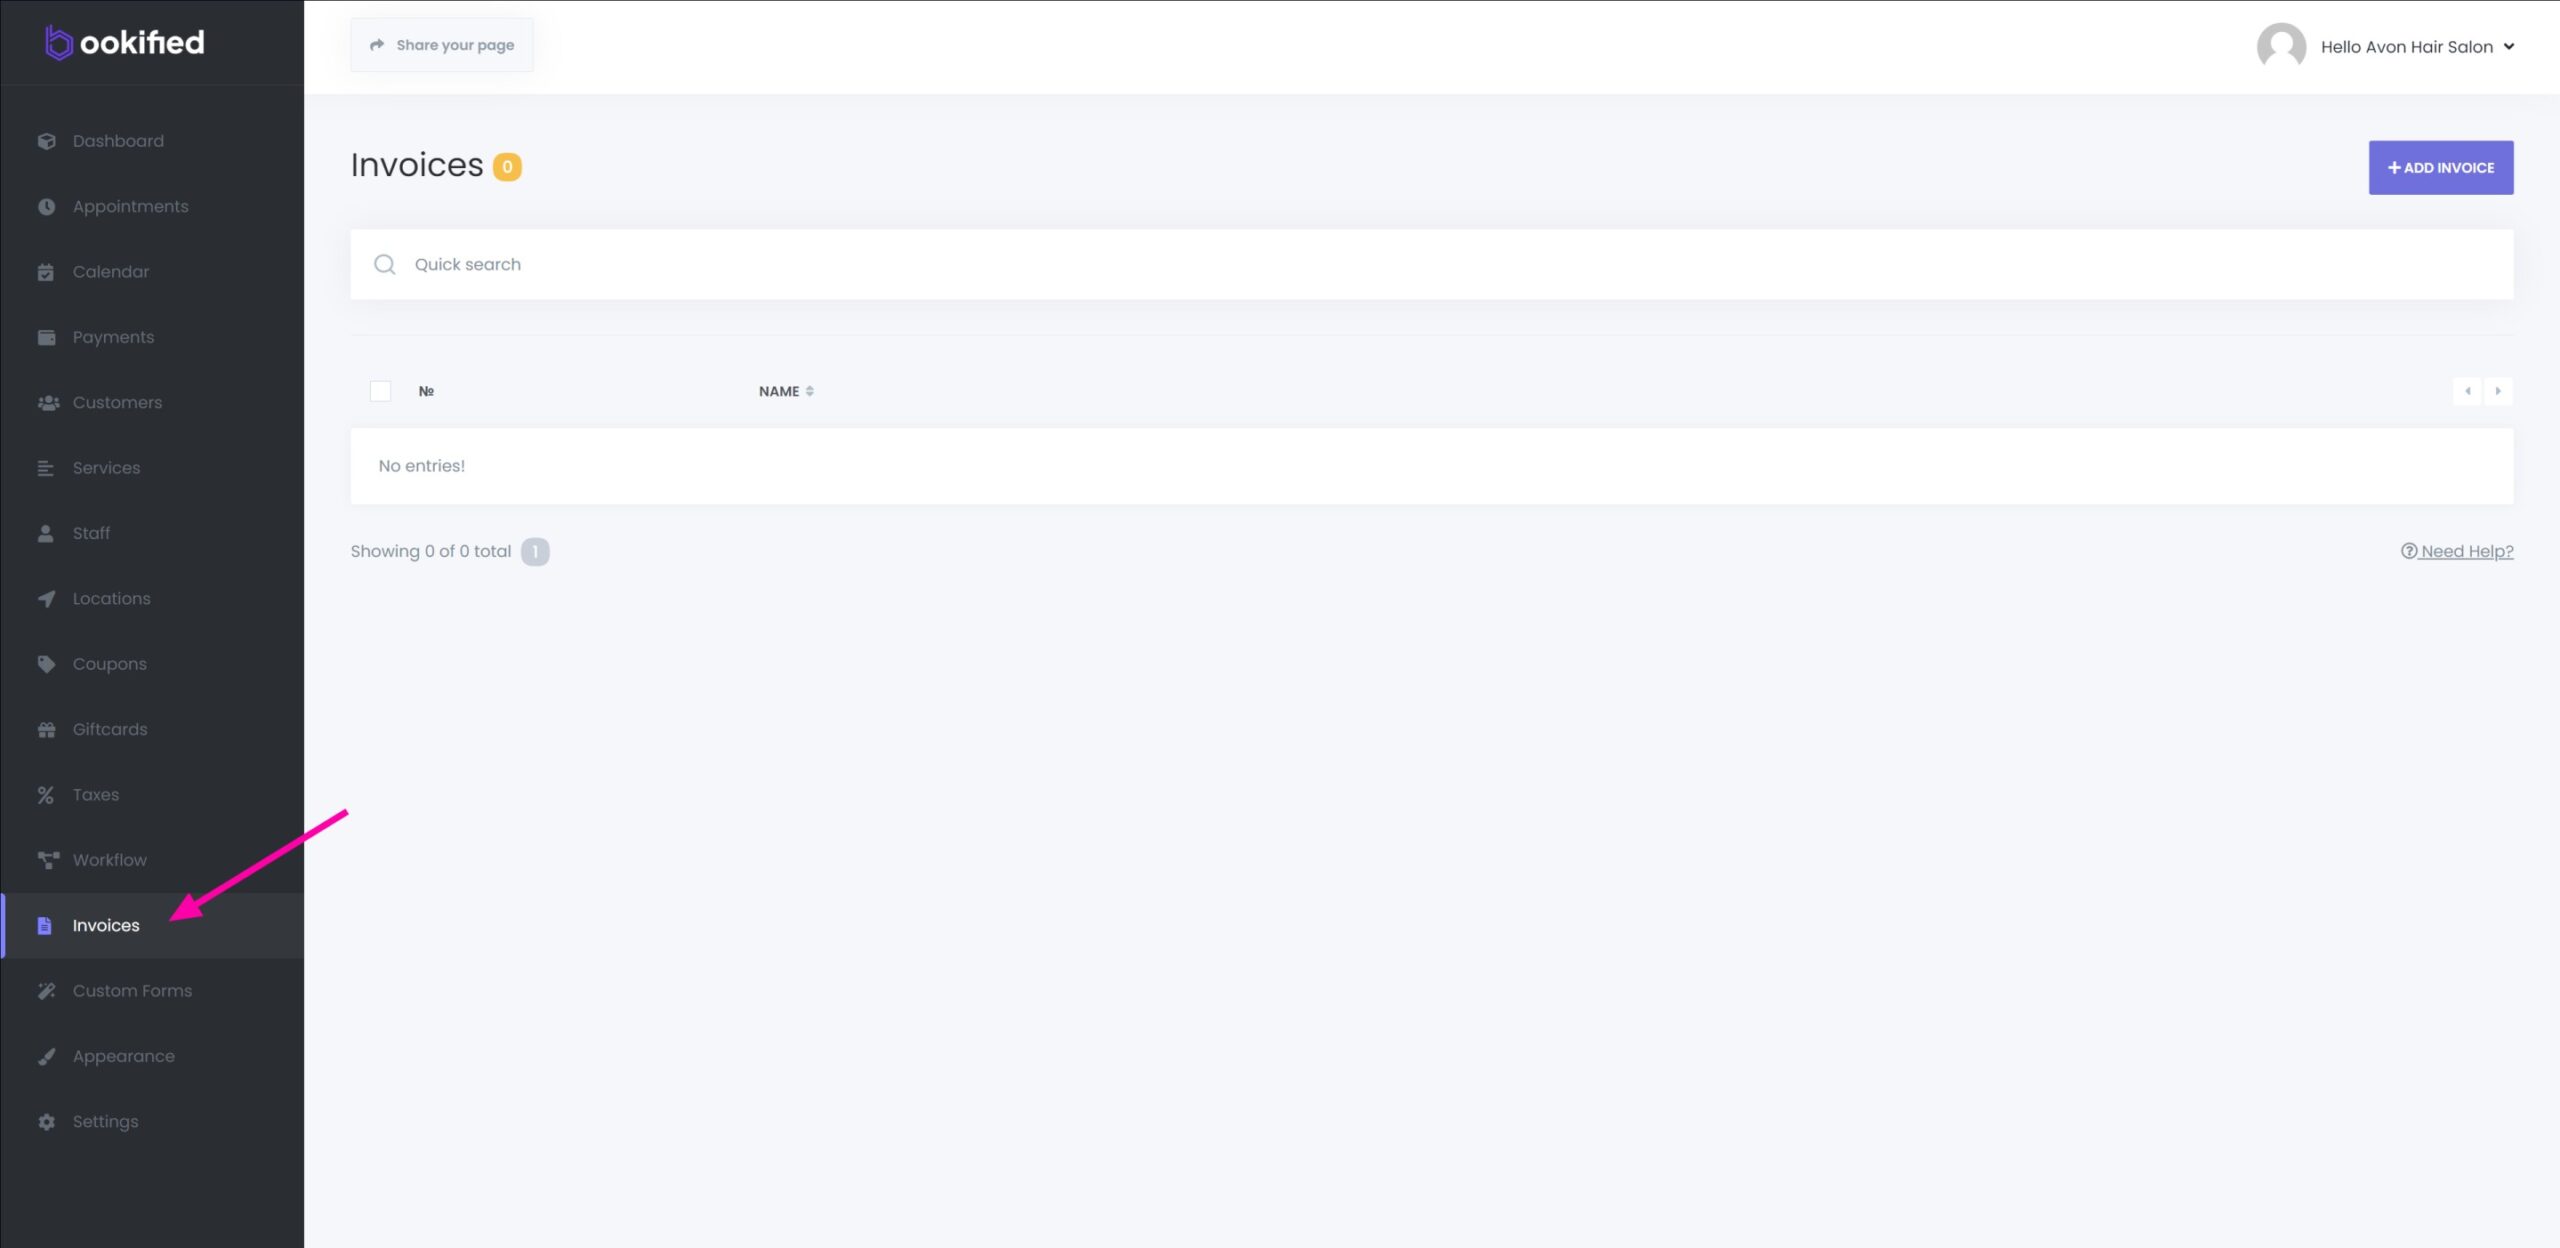
Creating an Invoice
1. Simply click the ‘+ Add Invoice’ button located at the top right side.

By clicking the keywords, you can display relevant data on the invoice. Download and preview PDF files for accuracy, or import your own HTML template as an Invoice by clicking the Code view.
Keywords will automatically be replaced by the system with the relevant data when sending out the invoice.
Adding Invoices to Notifications
-
Once invoices are created and saved, they can be attached to various notifications. In the Workflow module, you can either edit an action you’ve already created or create a new one specifically for when invoices are paid. To add your invoice attachment(s) simply select Attachment(s) section of the notification template box and select the invoice you want to attach either as URL or PATH.
Both URL and PATH can be used to add the PDF attachment. The difference lies in the display of the PDF name. When using URL, the complete PDF name along with the .pdf extension will be displayed. However, when using PATH, the .pdf extension will not be shown.